
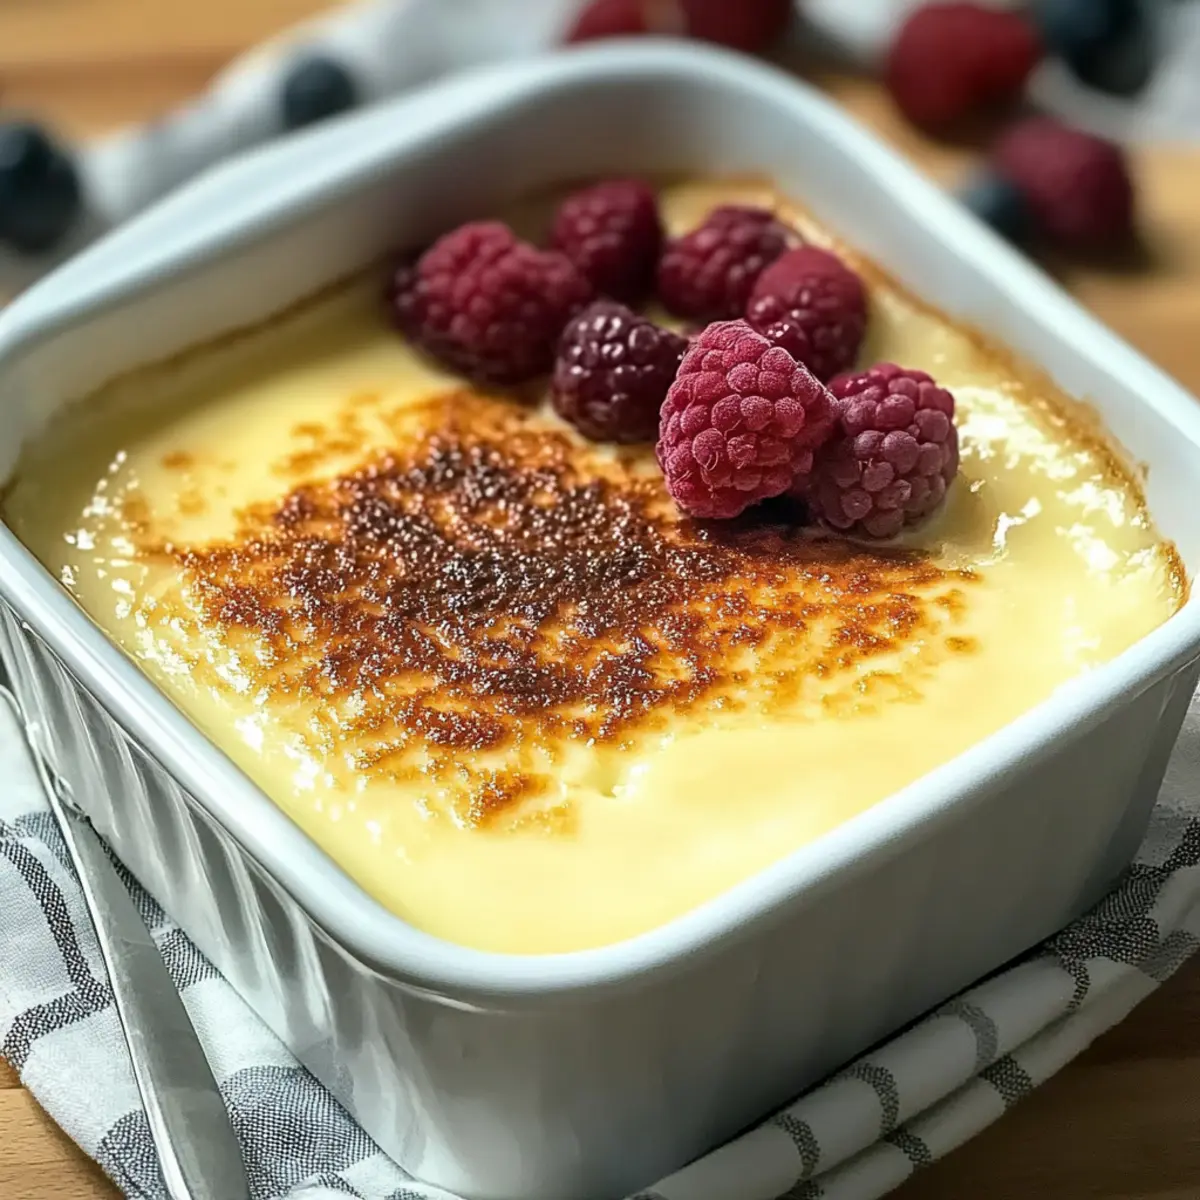
As I pulled out the warm custard from the oven, I could feel the sweet aroma of vanilla and nutmeg wrapping around me like a cozy blanket. This is not just any dessert; it’s my Dreamy Warm Baked Custard, a gluten-free delight that has become my go-to for both intimate dinners and festive gatherings. I adore how effortlessly delicious it is—whipping it up only takes a few minutes, and it’s a make-ahead marvel that actually gets better with time! Whether you’re indulging solo after a long day or impressing friends at a gathering, this silky custard invites everyone to savor each velvety spoonful. Curious how this dreamy treat can transform your dessert game? Let’s dive into the details!
Why is this custard so irresistible?
Indulgent and creamy, this Dreamy Warm Baked Custard melts in your mouth, offering a delightful dessert experience. Versatile in flavor, you can easily swap almond extract or citrus zest to give it a unique twist. Make-ahead friendly, it tastes even better after a night in the fridge, making it ideal for impressing guests or enjoying a quiet night in. Nostalgic flavors of vanilla and nutmeg wrap you in warmth, while the smooth texture ensures every bite is just as decadent as the last. For more delectable desserts, consider trying out the Pumpkin Apple Baked for a cozy fall treat or our Homemade Butter Chicken for a comforting meal!
Dreamy Warm Baked Custard Ingredients
• Dive into the essential components for this gluten-free delight!
For the Custard
- Whole Milk – Provides creaminess and smooth texture; substitute with 2% milk for a lighter option.
- Eggs – Essential for structure and richness; using large eggs gives the best results.
- Sugar – Adds sweetness to balance the custard’s flavor; feel free to adjust based on your taste.
- Vanilla Extract – Deeply flavors the custard; alternatives like almond extract or citrus zest can offer a refreshing twist.
- Ground Nutmeg – Infuses a warm, comforting aroma; a little goes a long way.
- Salt – Enhances all flavors; just a small pinch is sufficient for the best outcome.
For Topping (Optional)
- Fresh Berries – Add freshness and visual appeal; they make for an ideal topping that complements the custard well.
Step‑by‑Step Instructions for Dreamy Warm Baked Custard
Step 1: Prepare Milk Mixture
In a medium saucepan, heat 4 cups of whole milk over medium heat until you see small bubbles forming around the edges, around 5–7 minutes. Once it’s reached this point, remove it from the heat and let it cool for about 5 minutes, ensuring it’s warm but not boiling. This gentle heat prepares the milk for a creamy base in your Dreamy Warm Baked Custard.
Step 2: Mix Eggs and Sugar
In a mixing bowl, whisk together 4 large eggs, 3/4 cup of sugar, and a pinch of salt until the mixture is smooth and well blended, about 1–2 minutes. Make sure you whisk gently to avoid incorporating too much air, which can cause bubbles in the custard. This step is crucial for getting that rich texture in your custard.
Step 3: Incorporate Milk
Slowly pour the warm milk into the egg mixture while continuously whisking to temper the eggs and prevent them from cooking. After the milk is fully incorporated, stir in 1 tablespoon of vanilla extract to enhance the flavor of your Dreamy Warm Baked Custard. This mixture should be smooth and creamy, ready for the next step.
Step 4: Strain Mixture
Pour the custard mixture through a fine-mesh strainer into a 1.5-quart baking dish to remove any curdled bits and ensure an ultra-smooth consistency. This extra step is vital for achieving that velvety texture we all love in a baked custard. Set the baking dish aside as you prepare to bake it.
Step 5: Prep for Baking
Preheat your oven to 350°F (175°C). Place the baking dish into a larger pan and fill it with hot water until it reaches halfway up the sides of the custard dish. This water bath will help cook the custard gently and prevent cracking, giving your Dreamy Warm Baked Custard a perfect finish.
Step 6: Bake
Carefully place the pan in the oven and bake for 55–60 minutes. The edges of the custard should be set while the center will jiggle slightly when you gently shake the pan. Keep an eye on it to ensure it doesn’t overcook, as this will affect its creamy consistency.
Step 7: Cool
Once baked, remove the custard from the water bath and let it cool on a wire rack for about 30 minutes. Then, transfer it to the refrigerator to chill for several hours or preferably overnight. This cooling period allows the flavors to meld and ensures that your Dreamy Warm Baked Custard arrives at the ideal temperature for serving.
Step 8: Serve
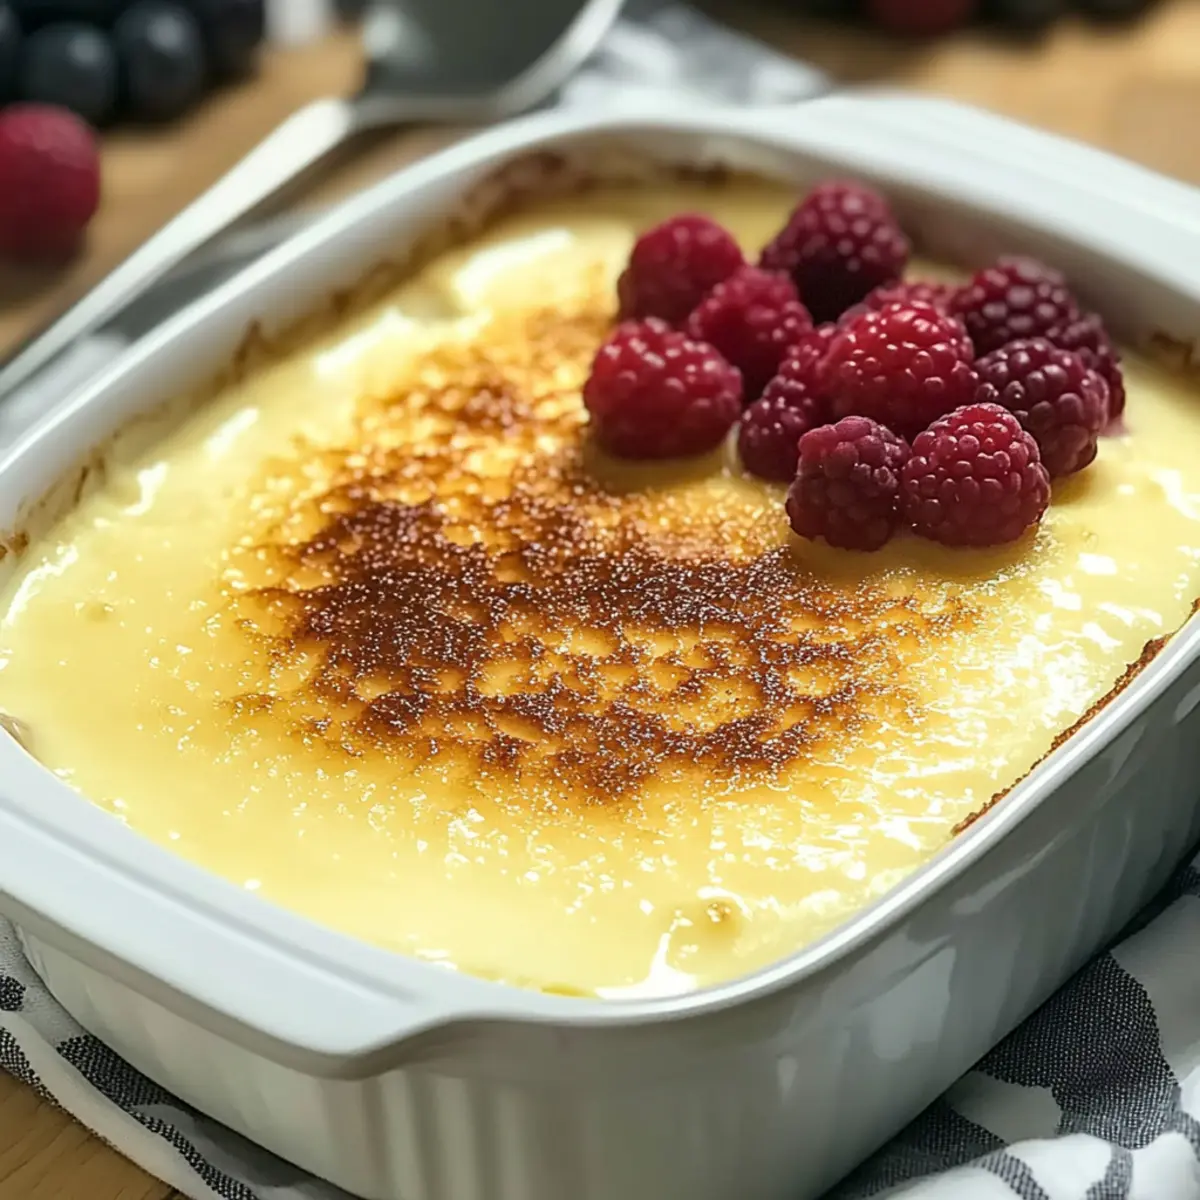
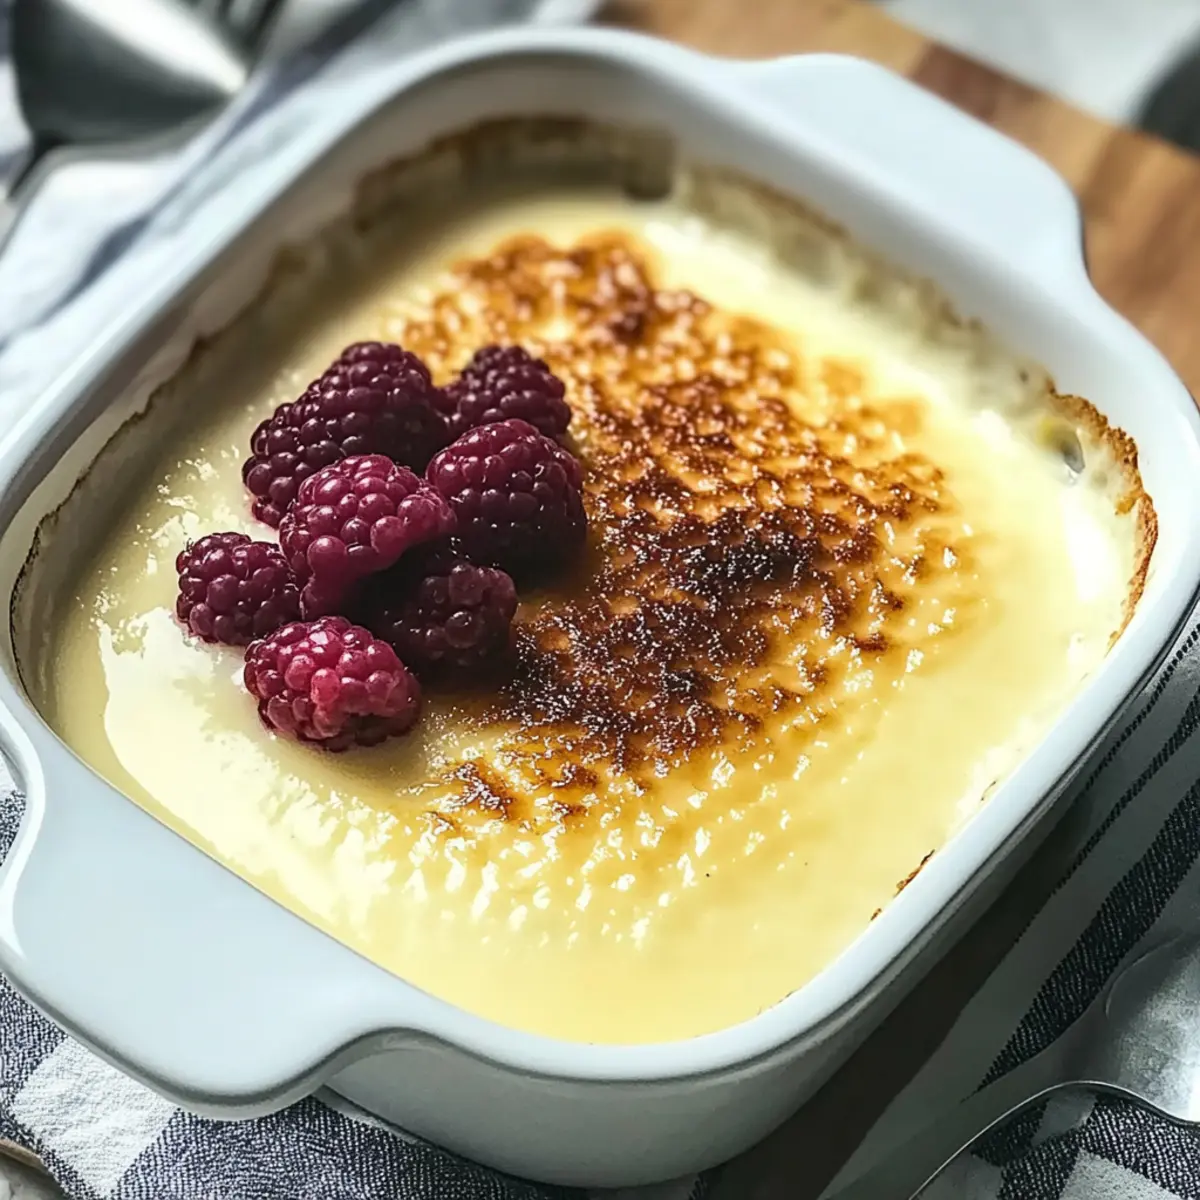
Before serving, ensure the custard is well chilled and top with fresh berries for a delightful contrast. Serve your Dreamy Warm Baked Custard as a comforting dessert that not only satisfies your sweet tooth but also provides a comforting finish to any meal.
Dreamy Warm Baked Custard Variations
Feel inspired to put your own twist on this delicious custard recipe with these delightful variations!
- Dairy-Free: Substitute whole milk with coconut or almond milk for a creamy yet dairy-free treat.
- Nut-Free: If nut allergies are a concern, swap almond extract with vanilla or omit altogether for a straightforward flavor.
- Cinnamon Twist: Add a pinch of cinnamon for a warm, spicy note that pairs beautifully with vanilla and nutmeg.
- Caramel Drizzle: Drizzle homemade or store-bought caramel sauce over the custard for an indulgent finish that adds sweetness and flavor depth.
- Fresh Fruit: Top with seasonal fruits, such as sliced peaches or berries, for a refreshing contrast and a burst of color.
- Chocolate Lovers: Stir in mini chocolate chips before baking for a rich chocolatey indulgence that children and adults alike will love.
- Maple Syrup: Replace sugar with maple syrup for a unique flavor twist; use about ½ cup as a replacement to maintain sweetness.
- Spicy Kick: Incorporate a hint of cayenne pepper for those who enjoy a little heat with their dessert; it balances beautifully with the sweetness!
Not only will these variations spark creativity, but they will also allow you to experiment and personalize the custard to match your flavor preferences. And if you’re looking for more creative desserts, don’t miss out on our Pumpkin Apple Baked recipe, or discover the comforting flavors of Healthy Baked Feta that’s sure to impress!
Make Ahead Options
These Dreamy Warm Baked Custard cups are perfect for busy home cooks looking to save time during hectic weeknights! You can prepare the custard mixture up to 24 hours in advance by following the first five steps and refrigerating the strained mixture in your baking dish. This not only enhances the flavor but ensures a smooth texture. When you’re ready to bake, simply bring the mixture back to room temperature, add it to a water bath, and bake as directed. For garnishing, top with fresh berries just before serving to maintain their freshness and vibrant color. Enjoy all the deliciousness with less stress!
Storage Tips for Dreamy Warm Baked Custard
- Fridge: Store the custard in an airtight container for up to 3 days. This will help maintain its silky texture and preserve the delightful flavors.
- Freezer: Cut the baked custard into individual portions, wrap tightly in plastic wrap, and freeze for up to 2 months. Thaw overnight in the fridge, then reheat gently in the microwave or oven just until warmed.
- Reheating: When ready to enjoy the custard again, reheat it slowly at low temperatures to avoid curdling. Add a splash of milk if needed to restore some creaminess.
- Serving Suggestions: For best results, serve chilled with fresh berries or whipped cream to add a refreshing contrast to the rich, creamy custard.
Expert Tips for Dreamy Warm Baked Custard
- Gentle Whisking: Mix eggs and sugar gently to avoid incorporating too much air, which can lead to unwanted bubbles in your custard.
- Water Bath Importance: Always bake your custard in a water bath; this method ensures even cooking and prevents cracks for a perfect finish.
- Chill for Flavor: For the best results, allow the custard to chill overnight. This enhances the flavors and makes each bite even more delightful.
- Adjust Sweetness: Don’t be afraid to tweak the sugar to your liking; balance is key for a truly delectable Dreamy Warm Baked Custard.
- Ingredient Quality: Use high-quality vanilla extract and fresh eggs for the richest flavor. The quality of your ingredients directly impacts the outcome!
What to Serve with Dreamy Warm Baked Custard
Indulging in the comforting warmth of baked custard opens up a world of delightful pairings that bring your meal to life.
- Fresh Berries: Juicy strawberries, blueberries, or raspberries add a vibrant burst of flavor and visual appeal against the creamy custard.
- Chocolate Sauce: A drizzle of rich chocolate sauce creates an irresistible contrast, enhancing the custard’s sweetness with decadent depth.
- Shortbread Cookies: Crisp, buttery cookies offer a delightful crunch that complements the smooth texture, creating a pleasing bite with every spoonful.
- Whipped Cream: Light and fluffy, whipped cream adds an airy element, making each mouthful feel indulgently light and airy.
- Cup of Coffee: A warm cup of coffee balances the dessert’s sweetness with rich, bold notes, creating a comforting end to your meal.
- Mint Tea: The refreshing notes of mint tea cleanse the palate while providing a soothing finish to your satisfying dessert experience.
- Spice Cake: A slice of moist spice cake harmonizes beautifully with the custard’s vanilla and nutmeg flavors, offering a warm, homely treat.
- Vanilla Ice Cream: A scoop of smooth vanilla ice cream melts slightly into the custard, enhancing every spoonful with its creamy goodness.
- Caramel Drizzle: A light drizzle of caramel adds a sweet, buttery finish that’s perfect for those who like a little extra indulgence.
Dreamy Warm Baked Custard Recipe FAQs
How do I know if my eggs are fresh?
Absolutely! To check the freshness of your eggs, fill a bowl with water and gently place the eggs in it. Fresh eggs will sink and lay flat on the bottom. If they stand upright or float, it’s time to toss them. Using fresh eggs can make a significant difference in the creaminess of your Dreamy Warm Baked Custard.
What’s the best way to store leftover baked custard?
Very much! You should store any leftover Dreamy Warm Baked Custard in an airtight container in the refrigerator, where it will stay fresh for up to 3 days. If you want to keep it longer, consider freezing it. Wrap individual portions tightly in plastic wrap and place them in a freezer-safe container; it can last for up to 2 months. Just remember to thaw it overnight in the fridge before reheating.
Can I freeze Dreamy Warm Baked Custard?
Absolutely! To freeze, let the custard cool completely, then cut it into portions. Wrap each piece tightly in plastic wrap or aluminum foil and store in a zip-top freezer bag. It will remain good for up to 2 months in the freezer. When you’re ready to enjoy it, thaw it in the refrigerator overnight and gently reheat in the oven or microwave until warmed through.
Why did my custard crack while baking?
Totally understandable! Cracks can occur if the custard is cooked too quickly or at too high a temperature. Always bake it in a water bath to create a gentle cooking environment. If you notice cracks, it’s often best to accept it as a character mark of homemade love. Just remember to keep an eye on the baking time and look for that slight jiggle in the center as your best cue for doneness.
Is this custard safe for pets?
Very important! Eggs and milk are generally safe for pets in moderation. However, be cautious with the sugar, as it can be harmful to some animals. It’s best to keep the Dreamy Warm Baked Custard out of reach of your furry friends – it’s such a special treat that’s best enjoyed by humans! Always check with your vet for any specific dietary concerns related to your pet.

Dreamy Warm Baked Custard That Melts in Your Mouth
Ingredients
Equipment
Method
- In a medium saucepan, heat 4 cups of whole milk over medium heat until small bubbles form around the edges, about 5–7 minutes. Remove from heat and let cool for 5 minutes.
- In a mixing bowl, whisk together 4 large eggs, 3/4 cup of sugar, and a pinch of salt until smooth, about 1–2 minutes.
- Slowly pour warm milk into the egg mixture while continuously whisking. Stir in 1 tablespoon of vanilla extract.
- Pour the custard mixture through a fine-mesh strainer into a 1.5-quart baking dish to remove curdled bits.
- Preheat oven to 350°F (175°C). Place baking dish into a larger pan and fill with hot water until it reaches halfway up the sides.
- Bake for 55–60 minutes until the edges are set and the center jiggles slightly.
- Remove custard from the water bath and let cool on a wire rack for about 30 minutes. Transfer to refrigerator and chill for several hours or overnight.
- Before serving, chill custard well and top with fresh berries.
Leave a Reply