
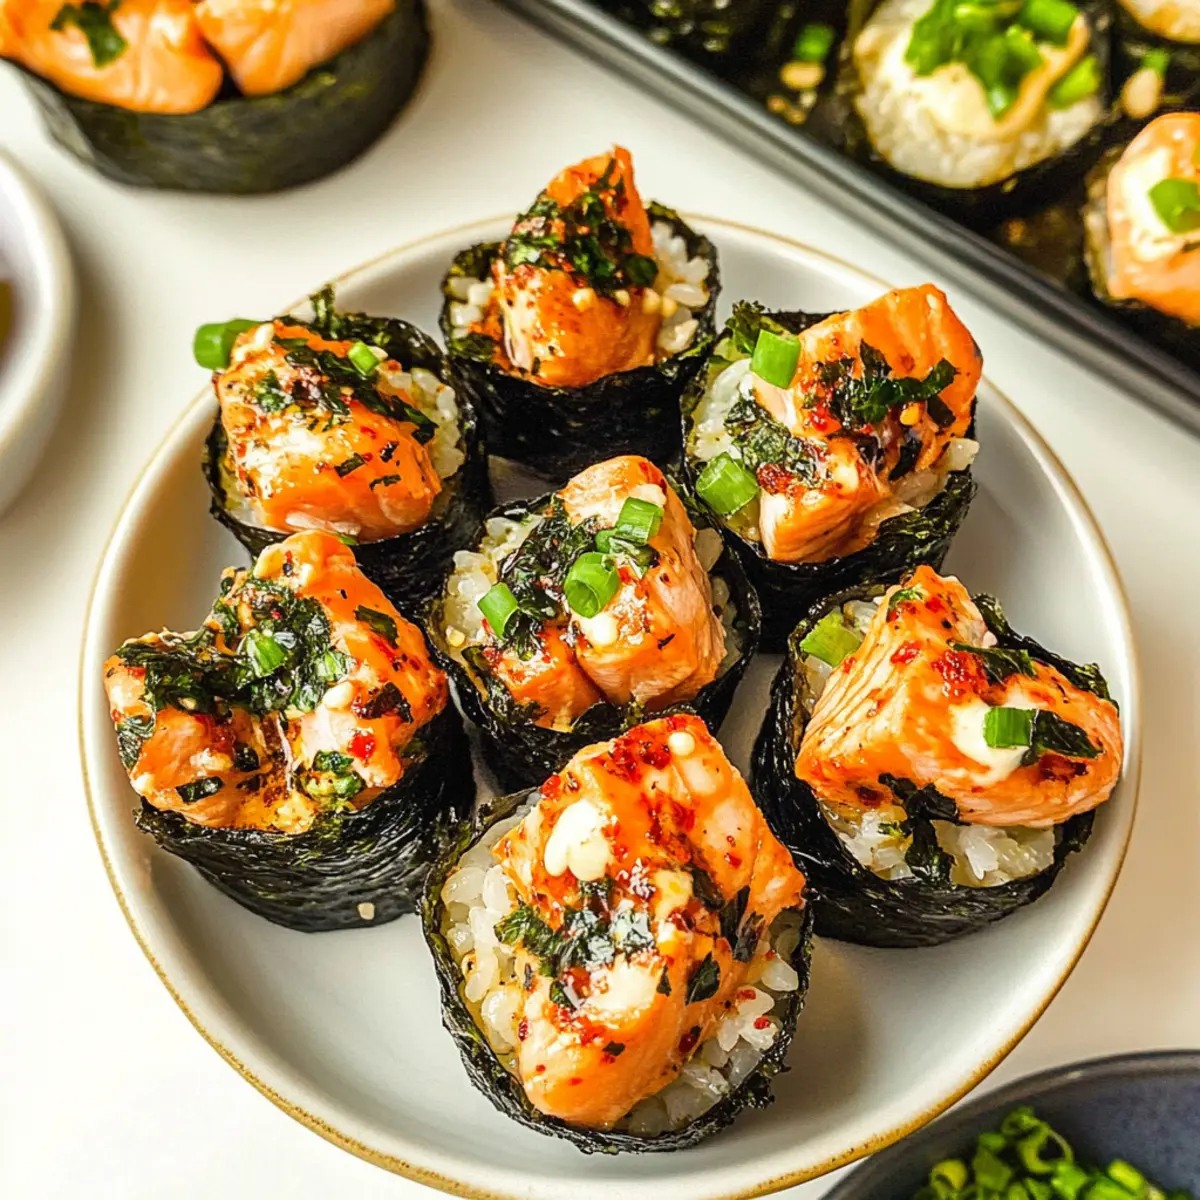
In a cozy corner of my kitchen, I just witnessed magic unfold—my Easy Baked Salmon Sushi Cups are taking shape! Inspired by a viral TikTok trend, these adorable little bites combine tender salmon, perfectly seasoned sushi rice, and the satisfying crunch of nori, creating a unique twist on traditional sushi. With just a handful of ingredients and minimal prep, they make for a quick yet impressive appetizer that’s sure to steal the show at your next gathering. Whether you’re nestled on the couch for a casual night in or entertaining friends over the weekend, these cups are warm, comforting, and undeniably delicious. Ready to give it a try? Let’s dive in and elevate your snacking game!
Why are Baked Sushi Cups So Amazing?
Deliciously Unique: The Easy Baked Salmon Sushi Cups are a mouthwatering twist on the classic sushi experience, with a perfect blend of flavors that will impress any guest.
Quick to Make: This recipe simplifies sushi-making, resulting in delectable appetizers without the fuss—ideal for busy weeknights or spontaneous gatherings.
Crowd-Pleaser: Perfect as finger food, these cups are not only appealing but also incredibly satisfying. Pair them with a light salad or some pickled ginger for a complete meal, just like with my Pumpkin Apple Baked treat!
Versatile Ingredients: Swap salmon for shrimp or crab easily—accommodating dietary needs while keeping your menu exciting.
Comforting Warmth: Enjoy the feeling of cozy home-cooked goodness with every bite. Plus, they’re perfect for meal prep and can be stored for a day or two!
Easy Baked Salmon Sushi Cups Ingredients
For the Salmon Mixture
- Salmon – Provides the main protein; use fresh or frozen cubed salmon for flavor.
- Light Soy Sauce – Adds umami and saltiness; substitute tamari for a gluten-free option.
- Kewpie Mayo – A creamier alternative to regular mayo; enhances richness in the filling.
- Sriracha – Brings heat and spice; adjust according to your taste preference.
- Sesame Oil – Adds a nutty flavor; can be swapped with olive oil for a lighter alternative.
For the Rice Base
- Uncooked Sushi Rice – The essential sticky base; jasmine or short-grain rice works as a substitute.
- Rice Vinegar – Provides tanginess to the rice; apple cider vinegar can be used if needed.
- White Sugar – Balances the acidity; can be substituted with honey or a sugar alternative.
For the Cups
- Nori Sheets – Forms the cup base; rice paper can be used if nori isn’t available.
- Cooking Spray – Prevents sticking; lightly oiling pans is an alternative option.
For the Garnish
- Furikake – A Japanese seasoning blend that enhances flavor; optional but recommended for a delightful touch.
- Green Onion – Fresh garnish that adds brightness; chives work well as a substitute if needed.
These Easy Baked Salmon Sushi Cups will elevate your gatherings and satisfy your snacking cravings with their irresistible charm!
Step-by-Step Instructions for Easy Baked Salmon Sushi Cups
Step 1: Cook Sushi Rice
Rinse 1 cup of uncooked sushi rice under cold water until it runs clear, then cook according to package instructions, typically about 15 minutes. Once the rice is fluffy and tender, transfer it to a mixing bowl, and gently fold in 2 tablespoons of rice vinegar and 1 tablespoon of white sugar to season, stirring until well combined.
Step 2: Prepare Salmon Mixture
In a separate bowl, combine 1 cup of diced salmon with 2 tablespoons of light soy sauce, 2 tablespoons of Kewpie mayo, 1 tablespoon of sriracha, and 1 teaspoon of sesame oil. Mix until the salmon is evenly coated in the rich, tangy marinade, encouraging a delightful flavor profile for your Easy Baked Salmon Sushi Cups.
Step 3: Preheat Oven
Preheat your oven to 400°F (200°C), allowing sufficient time for it to reach the proper temperature. This step is crucial as baking at this temperature ensures the salmon cooks thoroughly and the tops of your sushi cups turn a lovely golden brown, enhancing their appeal.
Step 4: Assemble Sushi Cups
Prepare your muffin tin by spraying it lightly with cooking spray to prevent sticking. Cut nori sheets into squares and place them into each muffin cup, forming your sushi cup base. Then, layer each cup with a spoonful of sushi rice, pressing it down gently to make a compact base, followed by an even layer of the salmon mixture.
Step 5: Bake
Place the muffin tin in the preheated oven and bake for 15 minutes. Keep an eye on your cupcakes; you’ll know they’re ready when the salmon is cooked through and the tops are slightly golden and bubbly, giving off a mouthwatering aroma that fills your kitchen.
Step 6: Garnish and Serve
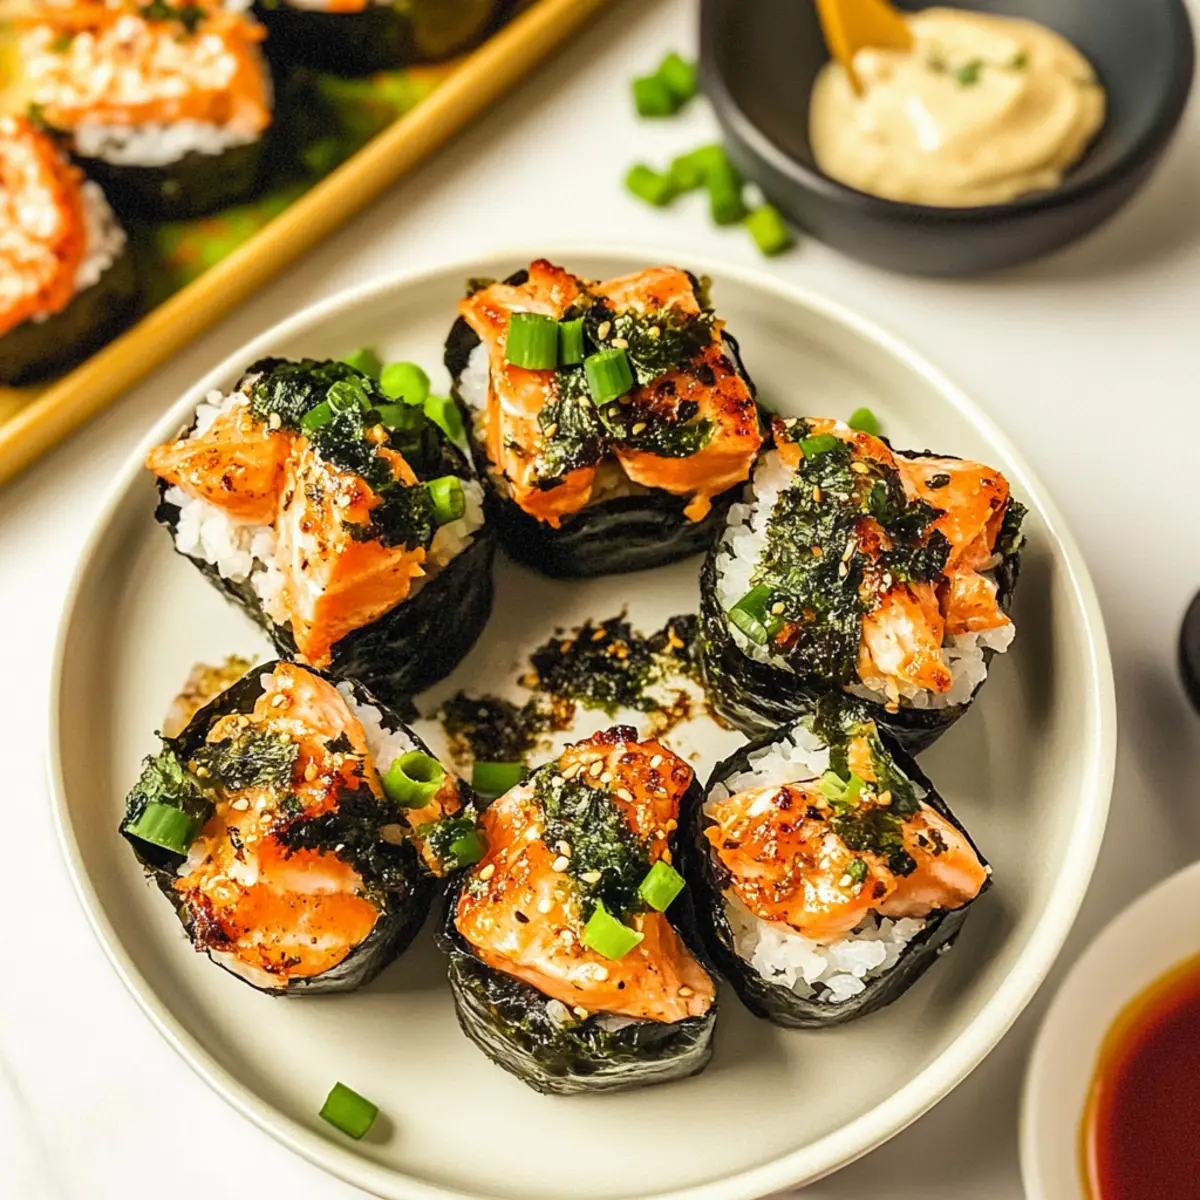
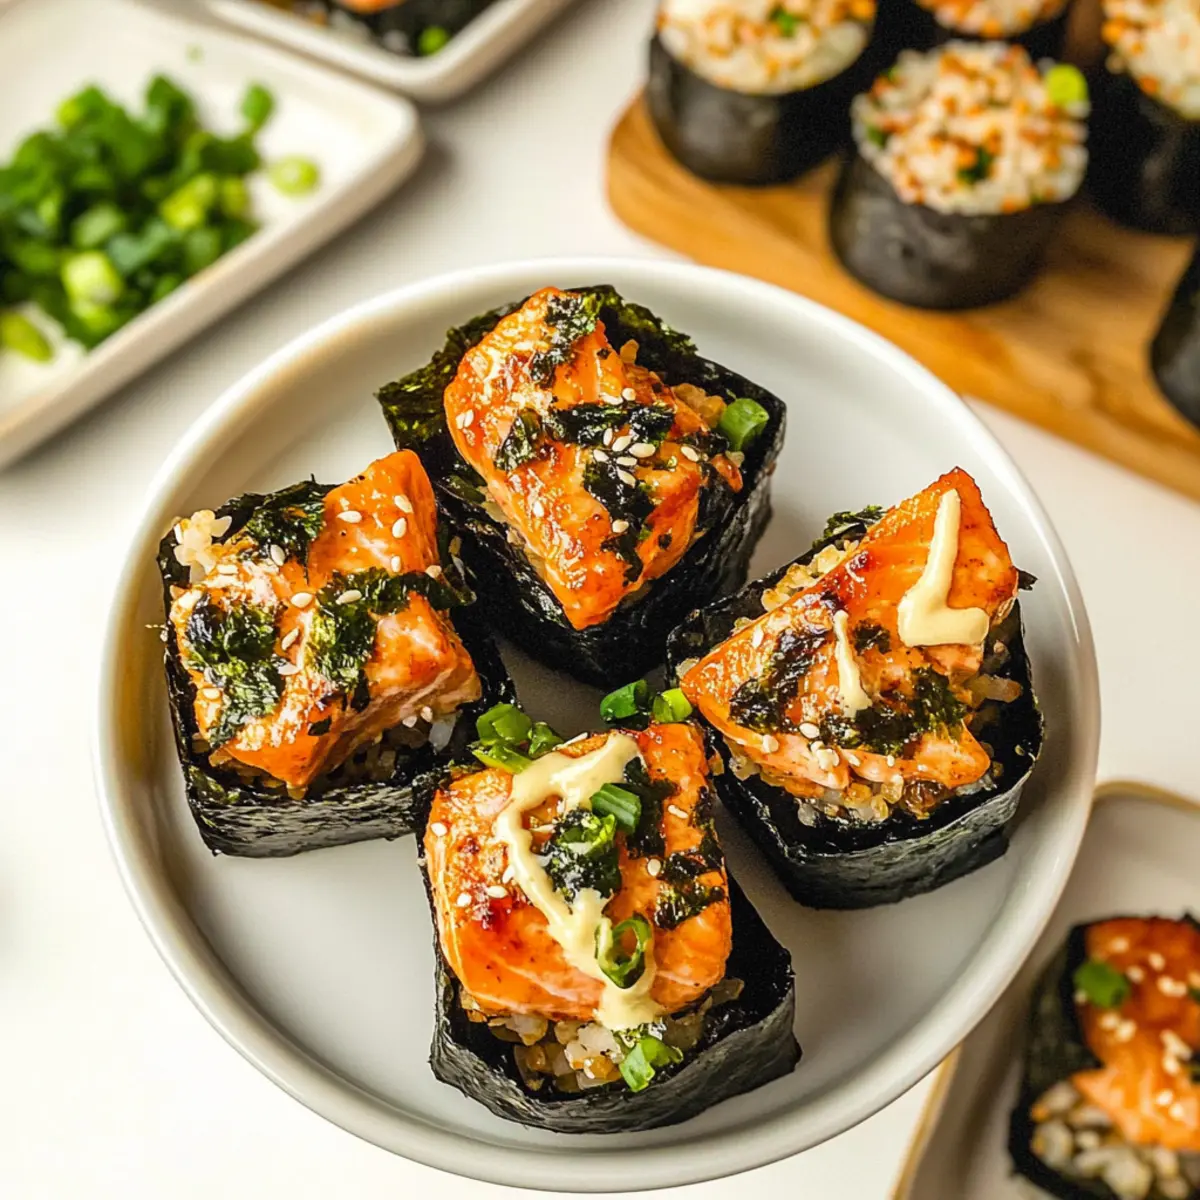
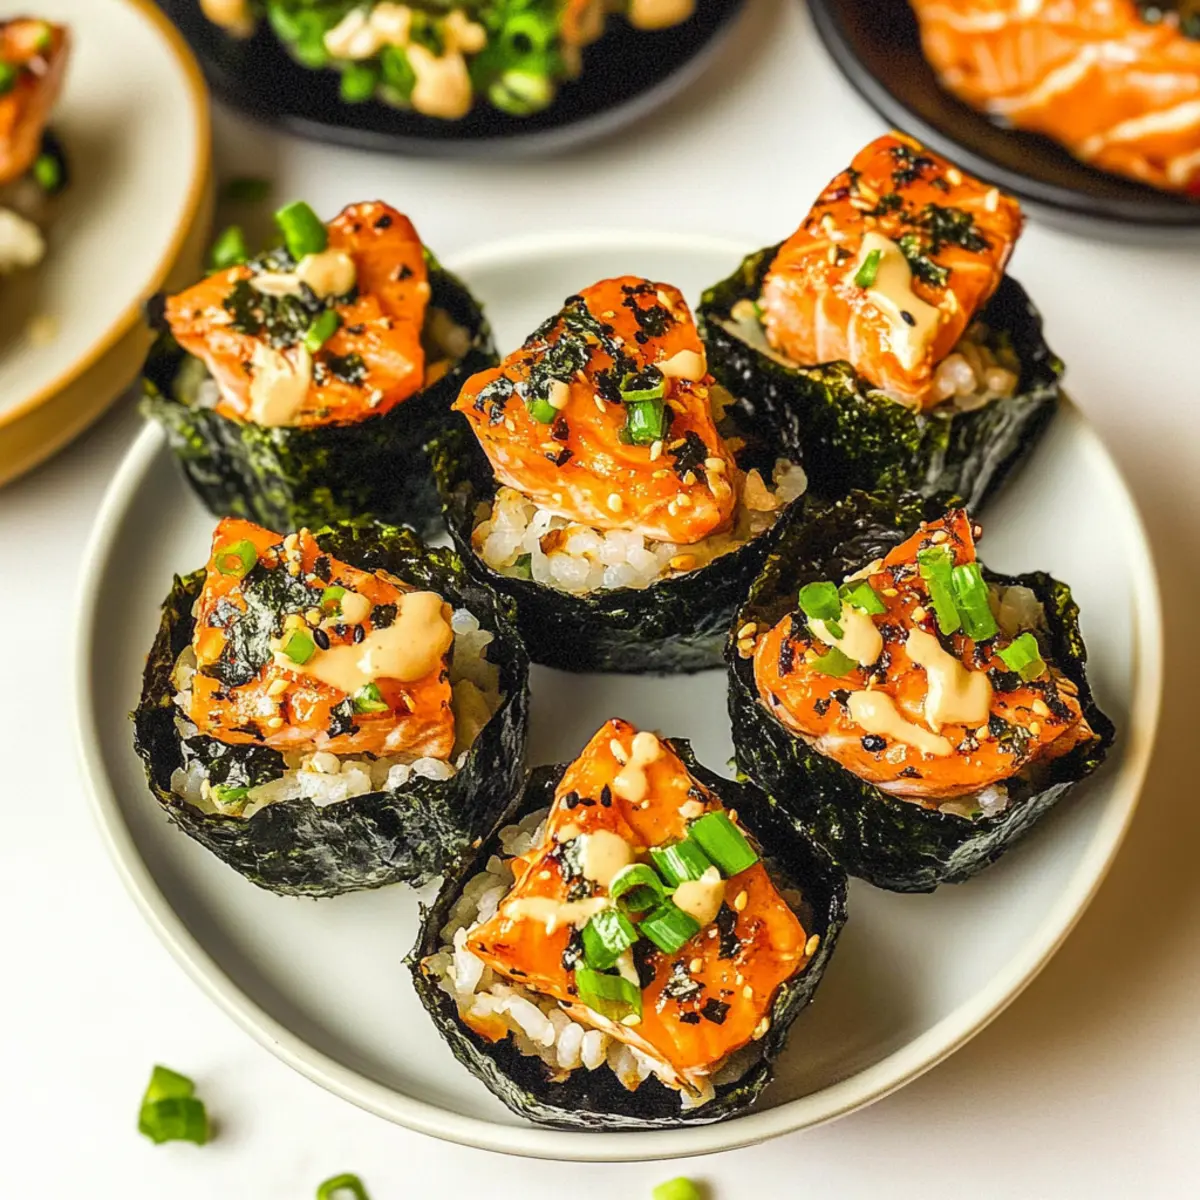
Remove the sushi cups from the oven and allow them to cool for a few minutes. Drizzle with extra sriracha or spicy mayo, and sprinkle furikake and chopped green onions on top for a flavorful garnish. Serve these delightful Easy Baked Salmon Sushi Cups warm to impress your family and friends!
What to Serve with Easy Baked Salmon Sushi Cups
Creating the perfect meal to accompany these delightful bites can elevate your dining experience.
-
Cucumber Salad: A refreshing mix of cucumbers, rice vinegar, and sesame oil complements the rich flavors of the sushi cups. The crispness of the cucumbers provides a delightful contrast to the warm salmon.
-
Edamame: Lightly salted edamame adds a fun, finger-food aspect that pairs well with Asian flavors, providing a healthy protein option. These little pods are great for snacking while waiting for the main event!
-
Miso Soup: A comforting bowl of miso soup brings warmth and depth to your meal. The umami flavors harmonize beautifully, making it a soothing pairing with the sushi cups.
-
Pickled Ginger: A classic sushi companion, this zesty condiment enhances the flavors and cleanses the palate between bites. Keeping it on hand can add an authentic touch to your dining experience.
-
Spicy Mayo Dipping Sauce: Enhance your sushi cups by serving them with a side of spicy mayo for an extra kick. This creamy, tangy condiment pairs perfectly and can be adjusted to your spice preference.
-
Boba Tea: Surprise your guests with a fun drink option like boba tea! The sweet, chewy pearls elevate the meal and offer a light, enjoyable balance to the savory sushi cups.
These accompanying dishes will not only enhance your Easy Baked Salmon Sushi Cups but also create a well-rounded and delicious dining experience.
Make Ahead Options
These Easy Baked Salmon Sushi Cups are perfect for busy home cooks looking to save time without sacrificing flavor! You can prepare the sushi rice and salmon mixture up to 24 hours in advance. Simply cook the sushi rice, then let it cool and store it in an airtight container in the refrigerator. For the salmon mixture, combine diced salmon with soy sauce, Kewpie mayo, sriracha, and sesame oil, and refrigerate it until you’re ready to assemble. When you’re ready to serve, just preheat the oven, layer the nori cups with the prepped rice and salmon mixture, and bake as directed. This way, you can whip up these delightful sushi cups with minimal effort, giving you more time to enjoy your gathering!
Easy Baked Salmon Sushi Cups Variations
Feel free to personalize your Sushi Cups with these delicious twists and substitutions to elevate your culinary experience!
-
Seafood Swap: Replace salmon with cooked shrimp or crab for a different ocean-inspired flavor. This variation delivers a similarly delightful taste while providing seafood lovers an option to enjoy.
-
Vegetarian Twist: For a meatless version, use grilled or sautéed vegetables like zucchini, bell peppers, or mushrooms instead of salmon. This creates a vibrant, fresh combination that’s equally satisfying and perfect for plant-based diets.
-
Heat Adjustments: If you’re not a fan of spice, tone down the heat by omitting sriracha and adding creamy avocado instead. The coolness of avocado will balance the flavors beautifully, making each bite rich and satisfying.
-
Flavor Boost: Sprinkle an extra dash of sesame seeds or chopped cilantro into the salmon mixture for added texture and freshness. These simple enhancements can elevate your Easy Baked Salmon Sushi Cups into a whole new flavor profile.
-
Rice Alternatives: If you’d like to try something different, swap sushi rice for quinoa or cauliflower rice for a healthier twist. This will provide a unique texture while still keeping the essence of the dish.
-
Zesty Kick: Experiment with flavored mayo by using a wasabi-infused mayonnaise instead of Kewpie mayo for an exciting kick. The wasabi will add an extra layer of flavor that sushi enthusiasts will surely love!
-
Garnish Options: Instead of green onions, consider using chopped fresh herbs like cilantro or basil for a fragrant sprinkle. This will lend a fresh, aromatic quality to your cups, making them visually appealing and taste delightful.
-
Crunch Factor: For an added crunch, serve with crispy tempura flakes on top just before serving. This little extra touch can create a fun texture, enhancing the overall dining experience.
These variations not only make your Easy Baked Salmon Sushi Cups your own but also keep your meals fresh and exciting over time. Pair them with a light side dish like my Pearl Couscous Salmon for a complete meal that feels both indulgent and comforting!
Expert Tips for Easy Baked Salmon Sushi Cups
-
Salmon Quality Counts: Use the freshest salmon available; frozen works, but ensure it’s properly thawed for the best flavor in your Easy Baked Salmon Sushi Cups.
-
Rice Consistency: Don’t skip rinsing the sushi rice! This crucial step removes excess starch, giving you that perfect sticky texture when combined with the vinegar and sugar.
-
Avoid Overfilling: Keep salmon and rice proportions balanced in each cup. Overfilling can lead to messy presentations and uneven cooking!
-
Nori Crispness: For the crispest texture, serve immediately after baking. If making ahead, consider baking the cups shortly before serving to maintain that delightful crunch.
-
Adjust Spiciness: If your guests are spice-sensitive, start with less sriracha in the salmon mixture, allowing others to add their desired heat later on.
Storage Tips for Easy Baked Salmon Sushi Cups
Fridge: Store any leftover Easy Baked Salmon Sushi Cups in an airtight container for up to 2-3 days, ensuring they stay fresh and flavorful.
Freezer: For longer storage, freeze the sushi cups in a single layer on a baking sheet, then transfer to a freezer-safe container. They can be stored for up to 2 months.
Reheating: To enjoy your sushi cups again, reheat in an oven at 350°F (175°C) for about 10 minutes until warmed through, or use the microwave for quicker heating—just keep an eye to avoid sogginess!
Easy Baked Salmon Sushi Cups Recipe FAQs
What type of salmon should I use?
Absolutely! You can use either fresh or frozen salmon for these Easy Baked Salmon Sushi Cups. If using frozen salmon, make sure to properly thaw it beforehand for the best texture and flavor. Look for fillets that are bright pink without dark spots – that’s a sign of freshness!
How should I store leftover sushi cups?
To keep your leftover Easy Baked Salmon Sushi Cups fresh, store them in an airtight container in the refrigerator for 2-3 days. This way, they retain their flavor and texture. If you want to enjoy them later, follow the freezing tips below!
Can I freeze these sushi cups?
Yes, they freeze beautifully! To freeze your Easy Baked Salmon Sushi Cups, first let them cool completely after baking. Then, place them in a single layer on a baking sheet and freeze until solid. Transfer them to a freezer-safe container for up to 2 months. When ready to enjoy, reheat them as described above for a quick snack!
What if my sushi rice isn’t sticky enough?
No worries! If your sushi rice has turned out too dry or isn’t sticky, try rinsing it more thoroughly before cooking next time to remove excess starch. Alternatively, when mixing in the rice vinegar and sugar, gently fold the ingredients to avoid breaking the rice grains too much. Practice makes perfect!
Are there any dietary considerations for this recipe?
Certainly! If you’re making these Easy Baked Salmon Sushi Cups for guests with dietary restrictions, remember that Kewpie mayo contains eggs, so you can substitute it with a vegan mayonnaise if needed. Plus, using tamari instead of soy sauce makes it gluten-free! Always double-check ingredient labels, especially if you’re catering to those with allergies.
Easy Baked Salmon Sushi Cups for Tasty Home Snack Bliss
Ingredients
Equipment
Method
- Rinse 1 cup of uncooked sushi rice under cold water until it runs clear, then cook according to package instructions (about 15 minutes). Fold in 2 tablespoons of rice vinegar and 1 tablespoon of white sugar once cooked.
- In a separate bowl, combine 1 cup of diced salmon with 2 tablespoons of light soy sauce, 2 tablespoons of Kewpie mayo, 1 tablespoon of sriracha, and 1 teaspoon of sesame oil. Mix until salmon is evenly coated.
- Preheat your oven to 400°F (200°C).
- Spray muffin tin lightly with cooking spray. Cut nori sheets into squares and place them into each muffin cup. Layer each cup with sushi rice and followed by an even layer of the salmon mixture.
- Bake for 15 minutes until salmon is cooked and tops are golden brown.
- Remove from oven and allow to cool for a few minutes. Garnish with extra sriracha or spicy mayo, sprinkle furikake and chopped green onions on top.
Leave a Reply