
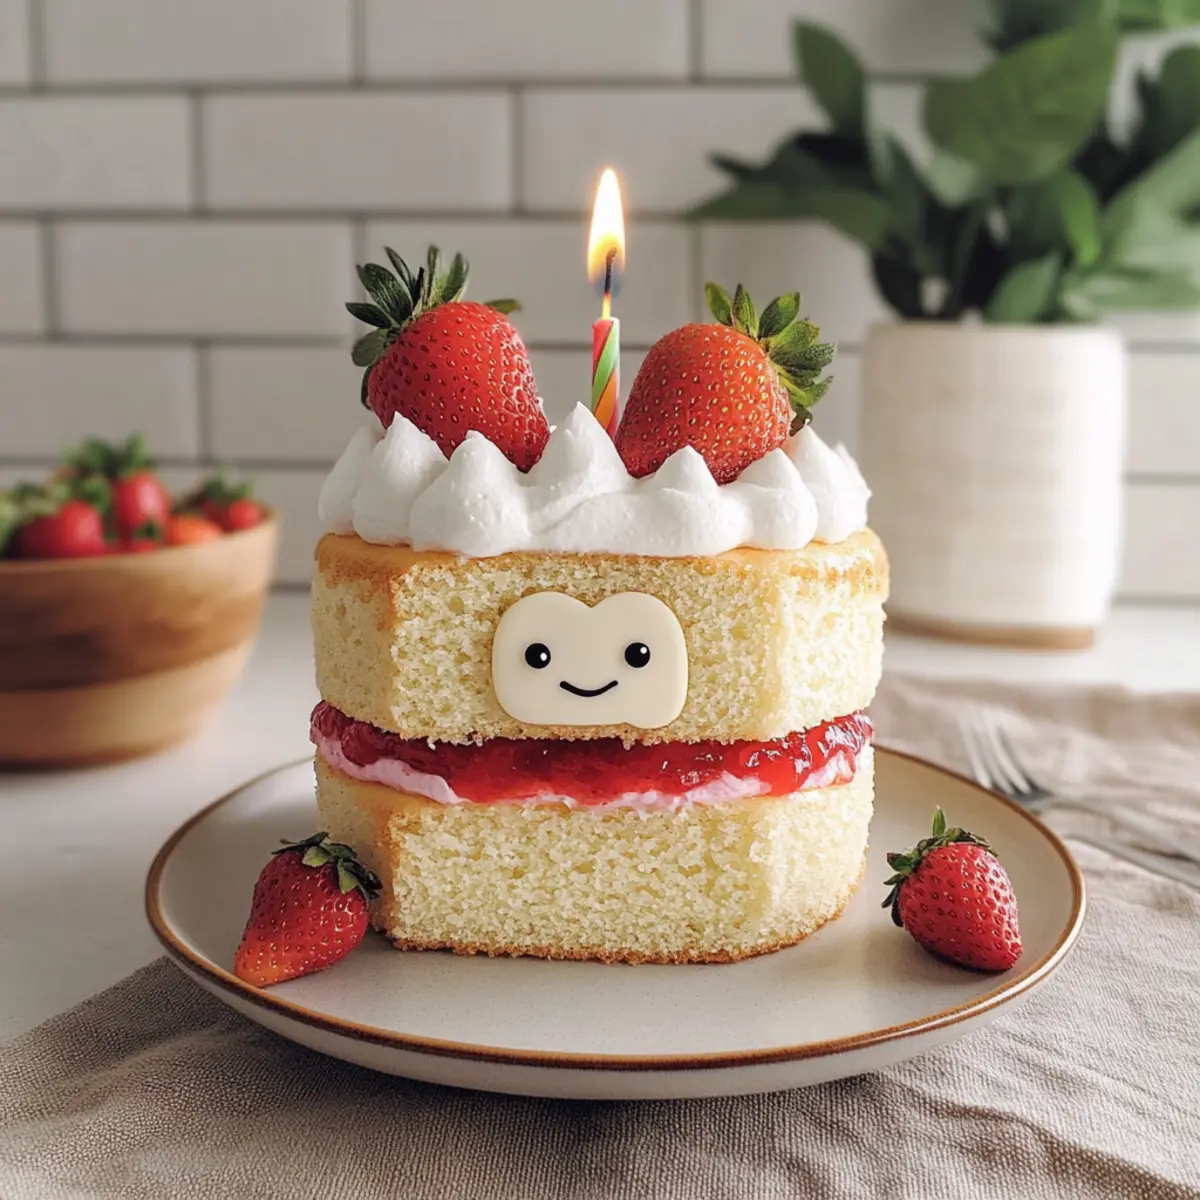
As I wandered through a bustling toy store, the vibrant colors and cheerful plushies caught my eye, but one particular Jellycat stood out, sparking a delightful idea: what if I could transform that adorable toy into a cake? Enter the Jellycat Birthday Cake—a whimsical vanilla delight that infuses the joyful spirit of childhood into every celebratory moment. This recipe offers not only quick prep but also a stunning centerpiece that will have everyone oohing and aahing. With fluffy layers of moist vanilla cake, luscious strawberry jam, and fluffy whipped cream, it’s the ultimate indulgence for birthdays or any gathering. Ready to create a cake that’s as charming as it is delicious? Let’s dive in!
Why Is the Jellycat Birthday Cake Perfect?
Whimsical Appeal: This cake brings imagination to life, perfect for both kids and adults alike.
Delightful Layers: Two layers of moist vanilla cake are complemented by fruity strawberry jam and fluffy whipped cream, creating a unforgettable flavor combo.
Easy to Make: With straightforward steps, this cake doesn’t require advanced baking skills, making it accessible for everyone.
Dazzling Decoration: The charming design emulates the lovable Jellycat, making it an eye-catching centerpiece for celebrations. Try pairing it with a scoop of ice cream for an extra touch of indulgence!
Versatile Flavors: Feel free to customize with different jams or frostings, like switching to buttercream for a sturdier finish.
Whether you’re reminiscing about your favorite plush toys or celebrating a milestone, this Jellycat Birthday Cake is sure to spread joy and sweet smiles!
Jellycat Birthday Cake Ingredients
Capture the magic with these delightful components!
For the Cake
- All-purpose flour – Provides structure; substitute with cake flour for an even lighter crumb.
- Baking powder – Acts as a leavening agent; ensure it’s fresh for a perfect rise.
- Salt – Enhances flavor; sea salt or kosher salt works wonderfully here.
- Large eggs – Binds ingredients together; using room temperature eggs yields the best results.
- Granulated sugar – Adds sweetness and moisture; brown sugar can give a lovely caramel taste.
- Unsalted butter – Creates rich flavor; can be swapped with margarine for a dairy-free option.
- Milk (dairy or non-dairy) – Provides moisture; almond or oat milk are great dairy-free substitutes.
- Vegetable oil – Ensures tenderness; use any neutral oil like canola for best results.
- Vanilla extract – Adds delightful flavor; fresh vanilla or vanilla bean paste can enhance the taste.
For the Filling and Topping
- Whipping cream – Perfect for layering and topping; opt for coconut whipping cream for a non-dairy version.
- Powdered sugar – Sweetens the whipped cream; adjust to taste or omit for less sweetness.
- Strawberry jam – Adds a fruity layer; homemade or store-bought works wonderfully!
- Fresh strawberries – Decorative and flavorful; choose ripe strawberries for the best taste.
For Decoration
- Birthday candle – A festive touch; colorful candles make the cake feel extra special.
- Dark chocolate – Use for piping features resembling your favorite Jellycat; white chocolate is a great substitute if desired.
Create the charming Jellycat Birthday Cake that’s bound to bring joy to every occasion with these delightful ingredients!
Step‑by‑Step Instructions for Jellycat Birthday Cake
Step 1: Preheat and Prepare
Preheat your oven to 350°F (175°C) and prepare two 6-inch round cake pans by lining the bottoms with parchment paper and greasing the sides. This ensures your Jellycat Birthday Cake comes out easily and retains its lovely shape. Set the pans aside while you prepare the batter for a smooth baking experience.
Step 2: Mix Dry Ingredients
In a medium-sized mixing bowl, whisk together 2 cups of all-purpose flour, 1 tablespoon of baking powder, and ½ teaspoon of salt. Make sure to combine these dry ingredients thoroughly, as it enhances the structure of your cake. Once mixed, set this bowl aside to ensure the flavors meld and the baking powder is evenly distributed.
Step 3: Combine Wet Ingredients
In a small saucepan over low heat, melt ½ cup of unsalted butter, then add 1 cup of milk, ¼ cup of vegetable oil, and 2 teaspoons of vanilla extract until they are warm but not boiling. Keeping this mixture warm is crucial as it activates the cake’s leavening agents, creating a light and fluffy texture in the Jellycat Birthday Cake.
Step 4: Beat Eggs and Sugar
In a large mixing bowl, beat together 4 large eggs and 1 cup of granulated sugar for about 6 minutes. The mixture should turn pale and fluffy, creating an airy base for the Jellycat Birthday Cake. This step is important as it incorporates air, allowing the cake to rise beautifully while baking.
Step 5: Combine Dry and Wet Mixtures
Gradually add the dry ingredients to the fluffy egg and sugar mixture, mixing on low speed until just combined. Then, slowly pour in the warm milk mixture while continuing to mix gently. The resulting batter should be smooth and well combined, with a glossy finish indicating it’s ready for baking.
Step 6: Bake the Cake
Divide the batter evenly between the two prepared cake pans. Place them in the preheated oven and bake for 35 to 40 minutes, or until they are golden brown and a toothpick inserted in the center comes out clean. Keep an eye on the cakes, as every oven may vary slightly in baking time.
Step 7: Cool the Cakes
Once baked, remove the pans from the oven and let them cool on wire racks for about 10 minutes. Then, gently remove the cakes from the pans and allow them to cool completely. Ensuring the cakes are fully cooled is essential for easy layering and decorating of your delightful Jellycat Birthday Cake.
Step 8: Whip the Cream
In a medium bowl, whip 1 cup of heavy cream with 2 tablespoons of powdered sugar and 1 teaspoon of vanilla extract until soft peaks form. For a creative twist, set aside a small portion to mix with 2 tablespoons of cocoa powder, creating a luscious chocolate whipped cream for decoration on your Jellycat Birthday Cake.
Step 9: Layer the Cake
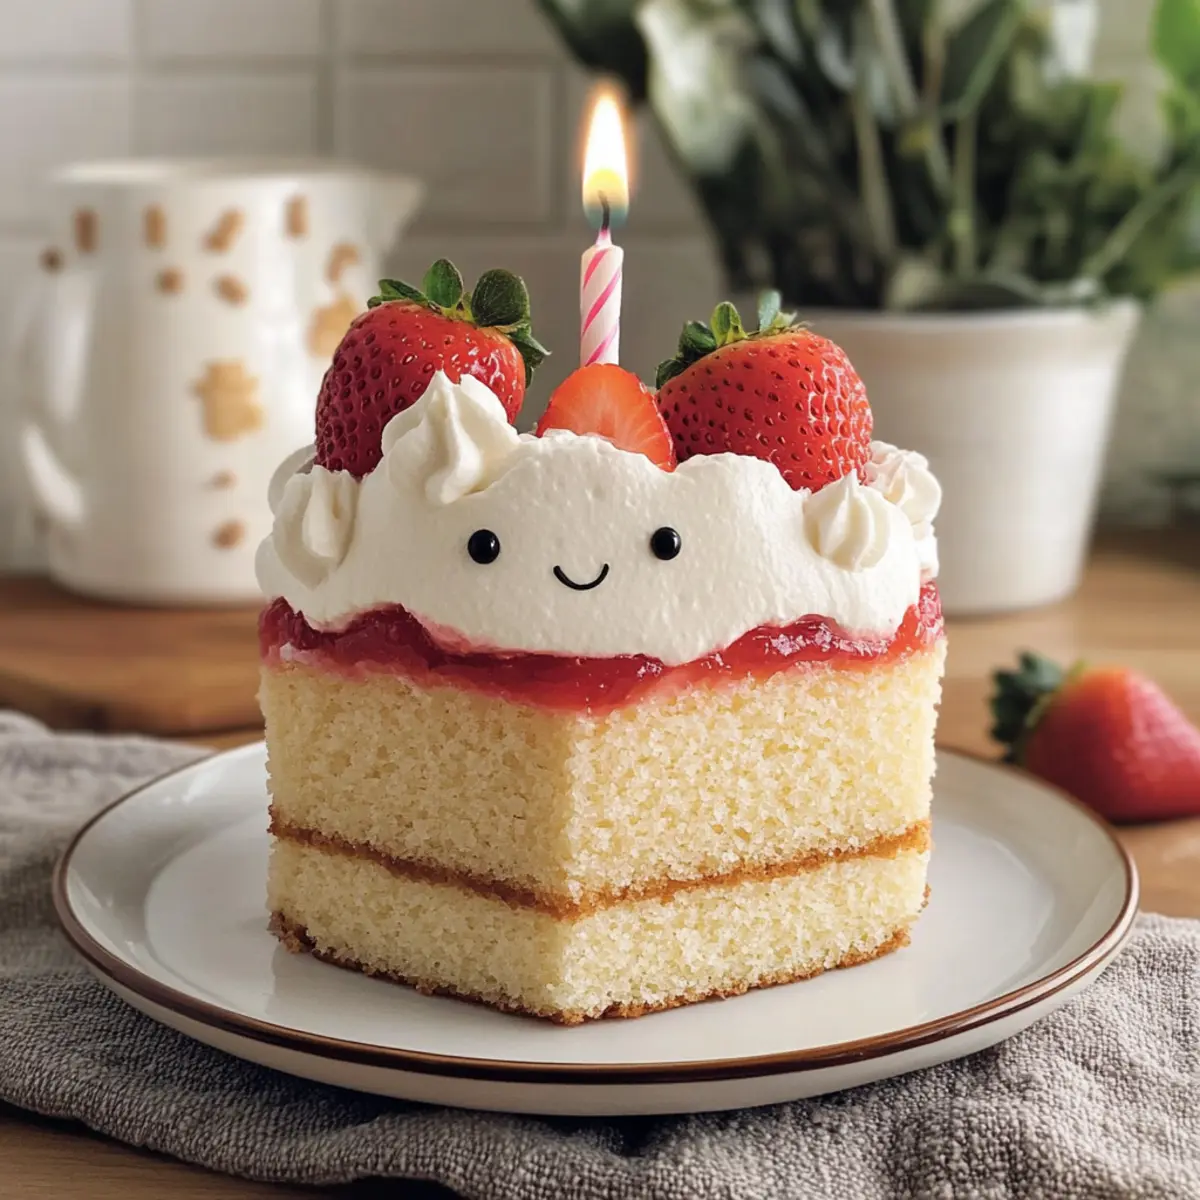
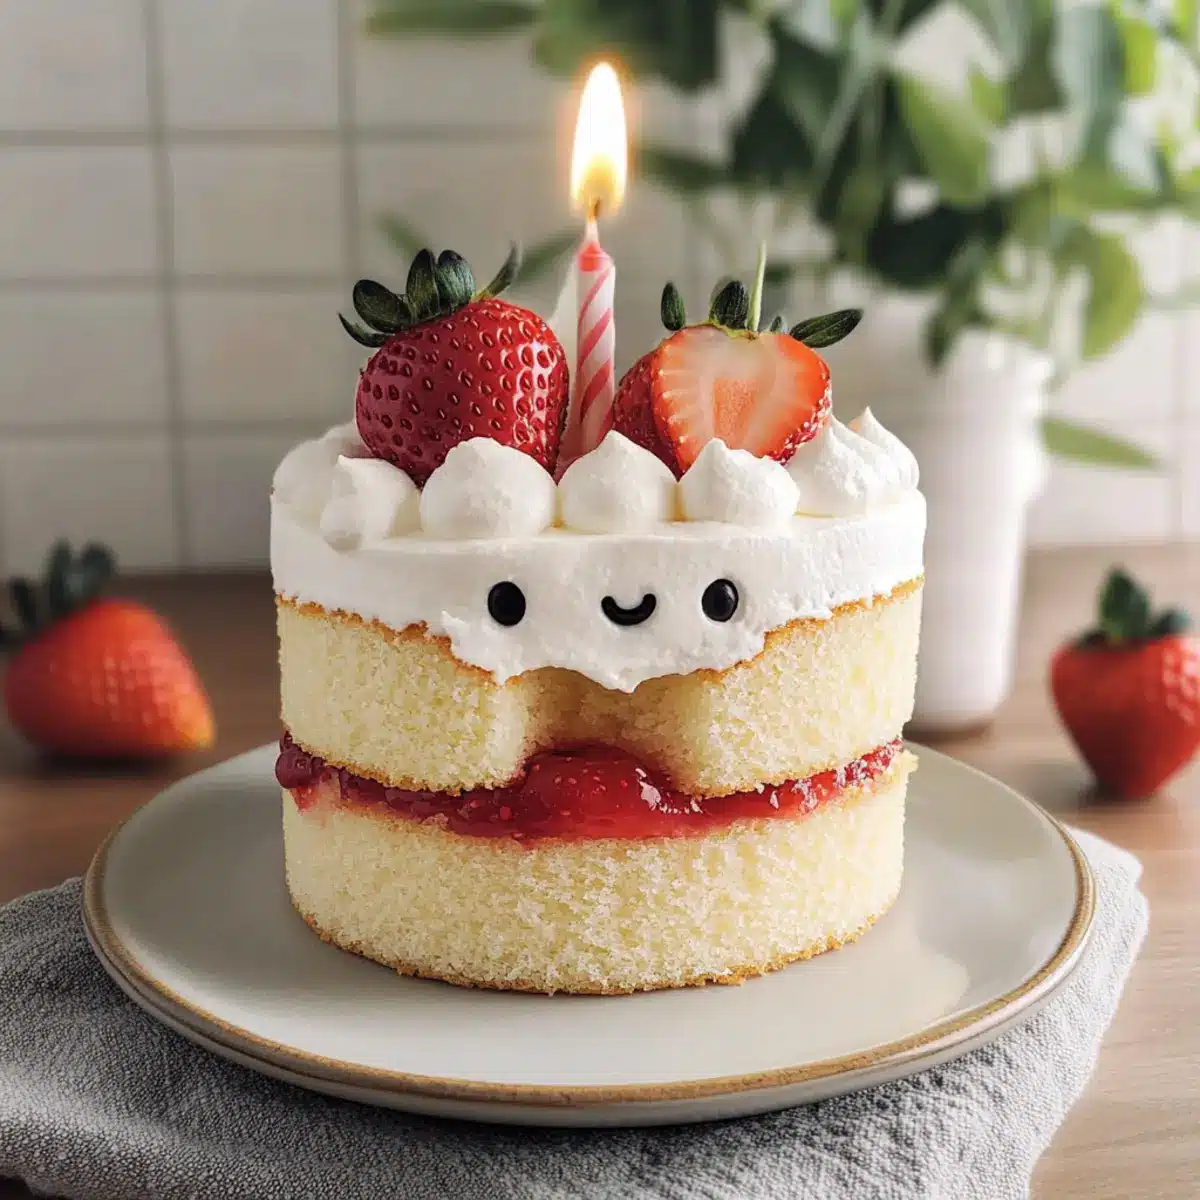
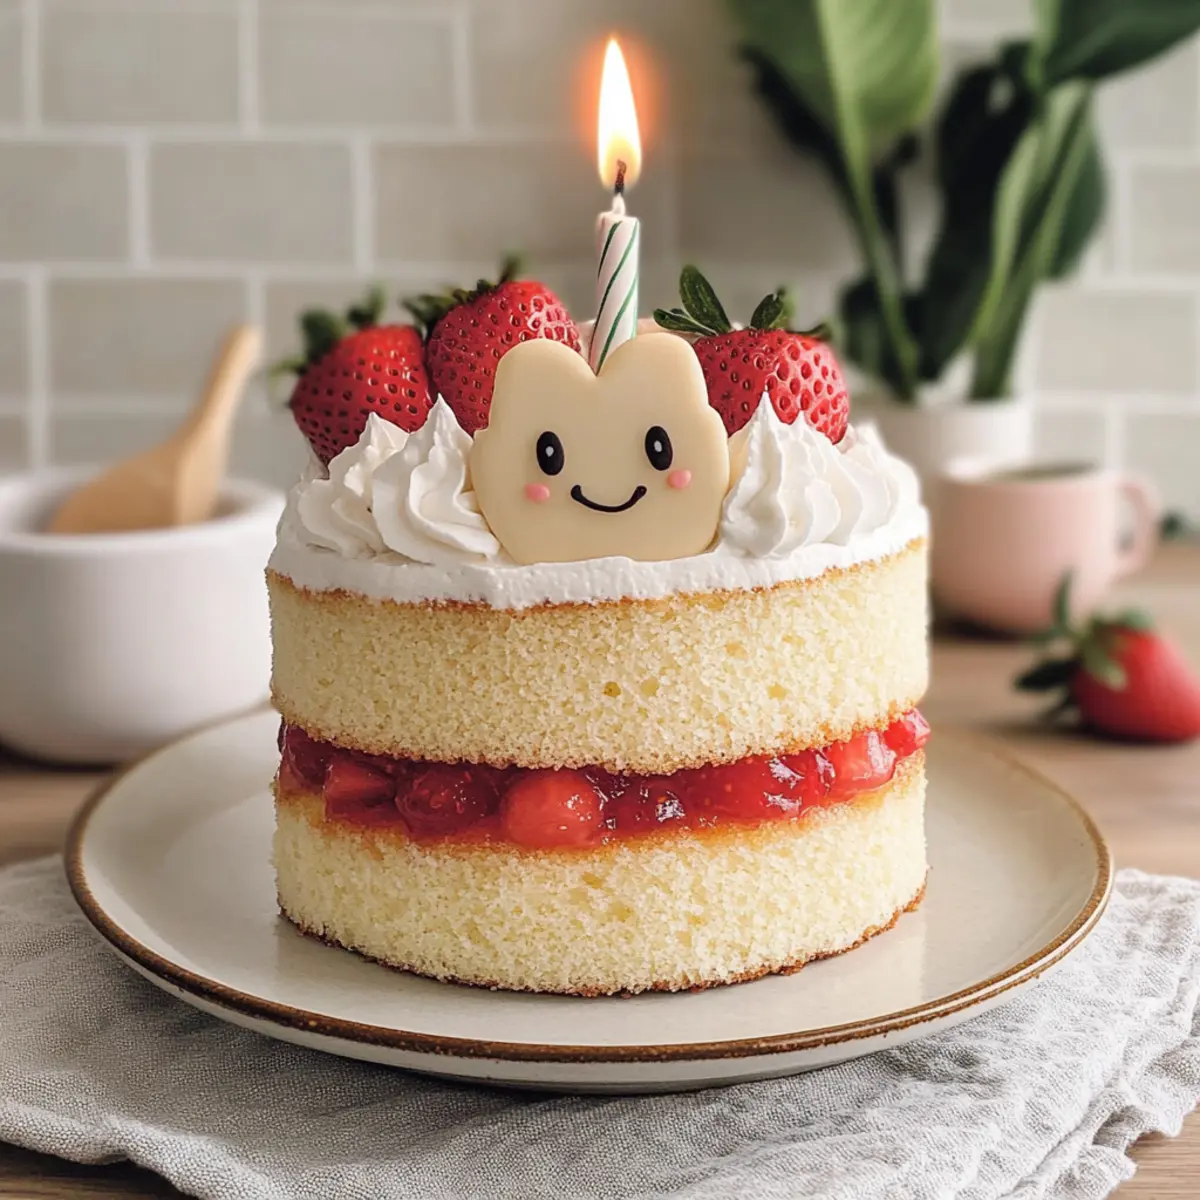
Once the cakes are completely cool, place one layer on a serving platter. Spread a generous layer of whipped cream followed by a layer of strawberry jam. Top this with the second cake layer, gently pressing down to secure the filling and create the perfect balance of flavors in your Jellycat Birthday Cake.
Step 10: Decorate the Cake
Using the remaining whipped cream, frost the top and sides of the Jellycat Birthday Cake, creating a smooth surface. Decorate with fresh strawberries on top and use melted dark chocolate to pipe any desired features that mimic the Jellycat plush toy. This playful decoration will make your cake truly eye-catching!
Step 11: Serve and Celebrate
Finally, add colorful birthday candles on top for a festive touch, ready to be lit for that special moment. Slice your whimsical Jellycat Birthday Cake and serve it to excited guests, making sure to enjoy the joyful atmosphere it brings to any celebration!
What to Serve with Jellycat Birthday Cake?
Bring your birthday celebration to life with these delightful pairs that complement the whimsical joy of this cake!
- Vanilla Ice Cream: The creamy richness of vanilla ice cream balances the cake’s sweetness, adding a delightful, cool texture that makes every bite even more indulgent.
- Fresh Berries: A mix of strawberries, blueberries, and raspberries adds a refreshing burst of flavor, enhancing the fruitiness of the cake’s strawberry jam filling while looking stunning on the plate.
- Chocolate Sauce: Drizzling warm chocolate sauce adds a decadent touch that creates a wonderful contrast with the fluffy cake and whipped cream. It’s a chocolate lover’s dream!
- Sparkling Lemonade: This bright, bubbly drink is refreshing and pairs wonderfully with the dessert, cutting through the sweetness while providing a festive, vibrant touch to the party atmosphere.
- Fruit Salad: A medley of seasonal fruits provides a light and refreshing option that complements the cake’s flavors while adding a variety of textures. Consider mint for an extra burst of freshness!
- Creamy Milkshake: Serve a thick milkshake alongside for a playful experience that will remind everyone of their childhood favorites, tying perfectly into the Jellycat theme!
- Mini Cheesecakes: Individual cheesecakes offer a rich yet light dessert option along with the cake, creating a delightful variety of sweet bites for your guests to enjoy.
- Coffee or Tea: A warm cup of coffee or herbal tea rounds out the meal, providing a cozy and comforting finish to the celebration while helping balance the cake’s sweetness.
Explore these delicious options to enhance the experience of your Jellycat Birthday Cake, creating memories that will last long after the last bite!
Jellycat Birthday Cake Variations
Feel free to play around with this delightful recipe and let your imagination run wild as you create your perfect Jellycat Birthday Cake!
- Berry Bliss: Substitute the strawberry jam with blueberry or raspberry for a burst of different berry flavors.
- Buttercream Finish: Swap whipped cream for buttercream for a sturdier and richer frosting that holds up beautifully in warmer weather.
- Gluten-Free Goodness: Use gluten-free flour blends to cater to sensitive tummy needs while maintaining delicious flavor.
- Chocolate Cake: Transform this into a chocolate wonder by adding cocoa powder to the dry ingredients, enriching the layer with extra decadence.
- Fruit Layers: Layer fresh fruit slices, such as banana or kiwi, between the cake layers for an exciting twist on texture and taste.
- Nutty Addition: Blend in some finely chopped nuts like almonds or hazelnuts to the batter or sprinkle them between layers for a delightful crunch.
- Vanilla Bean Essence: Try swapping classic vanilla extract for vanilla bean paste to elevate the flavor profile of your cake to gourmet levels.
Whether you explore flavors from a delicious Peach Cake Brown or a rich Espresso Cheesecake Decadent, let your creativity shine in every bite!
How to Store and Freeze Jellycat Birthday Cake
Fridge: Store the Jellycat Birthday Cake in an airtight container for up to 3 days. This helps maintain its moisture and freshness while keeping it safe from other odors.
Freezer: If you want to enjoy the Jellycat Birthday Cake later, wrap it tightly in plastic wrap and then in aluminum foil; it can be frozen for up to one month.
Reheating: To serve a frozen slice, thaw it overnight in the fridge, then bring to room temperature before serving to ensure the best taste and texture.
Decoration Tip: If the cake features whipped cream, consider adding fresh strawberries just before serving for a vibrant touch, preserving their delicious flavor!
Expert Tips for the Jellycat Birthday Cake
-
Room Temperature Ingredients: Ensure your eggs and milk are at room temperature to help create an airy texture in the cake; this will prevent a dense result.
-
Avoid Overmixing: Mix only until combined when adding dry ingredients to the wet mixture; overmixing can lead to a tough cake, so be gentle!
-
Use Fresh Baking Powder: Always check that your baking powder is fresh for the best rise; if it’s been sitting for a while, your cake might not rise properly.
-
Chill Whipping Cream: For the fluffiest texture, chill your mixing bowl and whipping cream before whipping; this simple step significantly improves the final cream consistency!
-
Decorating Tips: Use a serrated knife to level the cooled cakes before layering; this creates an even base for your stunning Jellycat Birthday Cake.
-
Flavor Variations: Explore different jam flavors, like raspberry or blueberry, to personalize your Jellycat Birthday Cake according to your taste preferences!
Make Ahead Options
The Jellycat Birthday Cake is perfect for those frenetic days when you want to celebrate but need to save time! You can bake the cake layers up to 3 days in advance; simply allow them to cool completely, then wrap each layer tightly in plastic wrap and refrigerate. The whipped cream can be prepared up to 24 hours ahead—just store it in an airtight container in the fridge to keep it fresh and fluffy. When you’re ready to serve, layer the cake with whipped cream and strawberry jam, frost the top, and decorate with fresh strawberries. This way, you’ll have a stunning, delicious centerpiece ready with minimal last-minute effort!
Jellycat Birthday Cake Recipe FAQs
What is the best way to select ripe strawberries?
Absolutely! When picking strawberries for your Jellycat Birthday Cake, look for berries that are bright red, firm to the touch, and have a natural sheen. Avoid any that have dark spots or are overly soft, as these can indicate overripeness. It’s best to use fresh strawberries that are in season as they will provide the best flavor!
How should I store leftover Jellycat Birthday Cake?
Very! Store any leftover slices of your Jellycat Birthday Cake in an airtight container in the fridge for up to 3 days. This helps maintain the cake’s moisture while preventing it from absorbing any fridge odors. If you’re not planning to eat it within that time frame, freezing is a great option!
Can I freeze the Jellycat Birthday Cake?
Absolutely! To freeze your Jellycat Birthday Cake, wrap it tightly in plastic wrap and then in aluminum foil to protect it from freezer burn. It can be frozen for up to one month. When you’re ready to enjoy a slice, simply thaw it overnight in the fridge and allow it to come to room temperature before serving for the best flavor and texture.
What if my cake doesn’t rise well?
Don’t worry! If your Jellycat Birthday Cake doesn’t rise as expected, it may be due to expired baking powder. Always check the expiration date before using it. Additionally, ensure that you’re whipping the eggs and sugar long enough to incorporate air—this is key for a fluffy texture. If you’ve overmixed the batter, that could also create a denser cake, so always mix just until everything is combined!
Are there any dietary considerations for this cake?
Yes! If you’re making the Jellycat Birthday Cake for someone with dietary restrictions, you can easily accommodate them. Substitute all-purpose flour with a gluten-free flour blend, use margarine instead of butter for dairy-free options, and opt for coconut whipping cream instead of traditional cream. This way, everyone can enjoy a slice of this delightful cake without worry!
How long can I keep the decorated cake?
For the best quality, I recommend serving the decorated Jellycat Birthday Cake within 2-3 days. If made ahead, store it in the fridge and avoid adding fresh fruits like strawberries until just before serving to keep everything looking and tasting fresh. If you need to store it longer, consider freezing it before decorating!
Jellycat Birthday Cake: A Sweet Celebration for All Ages
Ingredients
Equipment
Method
- Preheat your oven to 350°F (175°C) and prepare two 6-inch round cake pans.
- In a bowl, whisk together flour, baking powder, and salt.
- Melt butter and mix with milk, oil, and vanilla until warm.
- Beat eggs and sugar for about 6 minutes until pale and fluffy.
- Gradually combine dry and wet mixtures, mix gently until smooth.
- Divide batter between pans and bake for 35 to 40 minutes.
- Cool the cakes on wire racks and let them cool completely.
- Whip cream with powdered sugar and vanilla until soft peaks form.
- Layer whipped cream and strawberry jam between cake layers.
- Frost with remaining whipped cream and decorate as desired.
- Add birthday candles and serve to celebrate!
Leave a Reply