
As I stood in my cozy kitchen, the aroma of toasted coconut filled the air, instantly transporting me back to my childhood favorites. That’s when I realized my craving for something sweet was calling for a creative twist: No-Bake Samoa Cookies! These easy-to-make delights mimic the beloved Girl Scout treat without the need for an oven, allowing you to whip them up in under 30 minutes. With their chewy caramel layer and rich chocolate drizzle, they’re guaranteed to be a crowd-pleaser at any gathering or a sweet indulgence after a long day. Plus, they’re a fantastic option for those who prefer or need gluten-free desserts. Ready to dive into these delicious no-bake wonders? Let’s get started!
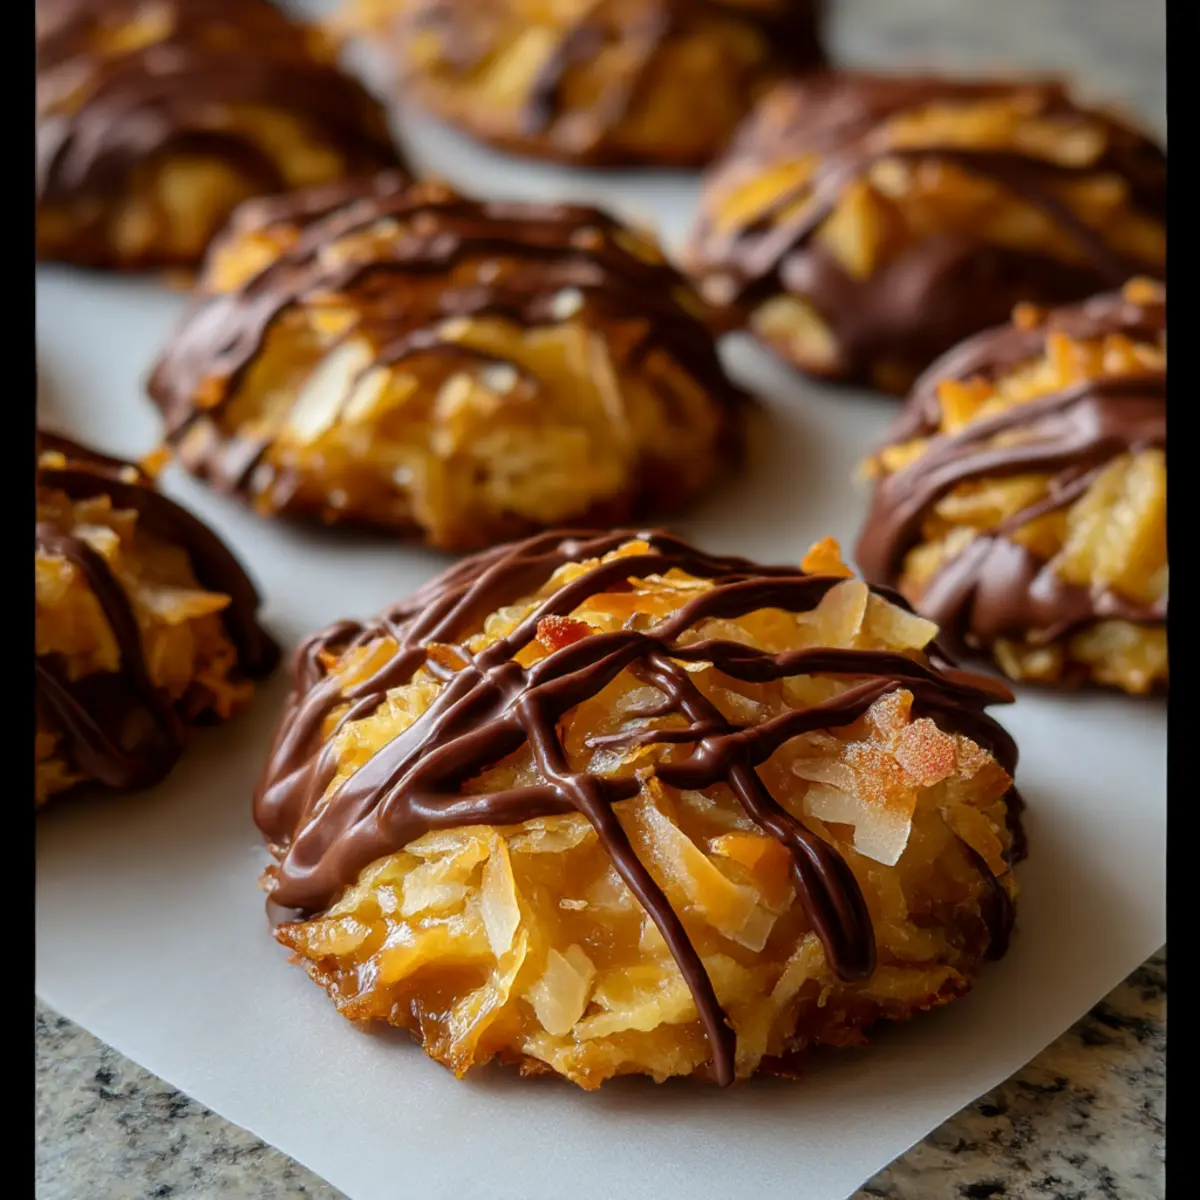
Why Are No-Bake Samoa Cookies So Special?
Irresistible Flavor: These cookies bring together chewy caramel, toasted coconut, and rich chocolate, creating a delightful combination that mirrors the beloved Girl Scout classic.
No Oven Required: Enjoy easy preparation—whip these up in under 30 minutes, making them a perfect last-minute dessert.
Crowd-Pleasing Appeal: Their unique taste and appealing look make them perfect for parties, gatherings, or simply as a treat after a long day.
Versatile Options: Want to customize? Try adding nuts for crunch or experimenting with different chocolate types for a new flavor twist. Check out my Thick Chewy Cookies or Chocolate Chip Cookies for more inspiration!
No-Bake Samoa Cookies Ingredients
For the Cookie Base
- Unsweetened Shredded Coconut – Adds chewy texture and a nutty flavor; consider using unsweetened for a less sweet option.
- Soft Caramel Candies – Provides sweetness and binds the cookies; about 20 pieces are ideal, with Werther’s or Kraft being perfect for melting.
- Milk (or Heavy Cream) – Enhances the spreadability of the caramel; heavy cream gives a richer flavor for your No-Bake Samoa Cookies.
For the Chocolate Layer
- Semi-Sweet Chocolate Chips – Creates a rich chocolate layer; dark chocolate can provide an even more intense flavor.
- Coconut Oil (or Butter) – Helps in melting the chocolate smoothly; butter can serve as a good substitute if desired.
For Flavor Enhancement
- Vanilla Extract – Adds depth to the flavor profile, elevating the overall taste beautifully.
- Sea Salt – A pinch balances the sweetness and enhances flavors; adjust to your taste preference.
Step‑by‑Step Instructions for No-Bake Samoa Cookies
Step 1: Toast the Coconut
Begin by preheating a skillet over medium heat. Add the unsweetened shredded coconut to the skillet and toast it, stirring frequently for about 3-5 minutes until the coconut turns golden brown and fragrant. Keep a close eye on it to prevent burning. Once toasted, remove from heat and set aside to cool.
Step 2: Melt the Caramel
In a saucepan, combine the soft caramel candies and milk (or heavy cream) over low heat. Stir continuously for about 5 minutes, or until the mixture is smooth and fully melted. Once melted, add a splash of vanilla extract and a pinch of sea salt. Keep stirring until everything is well incorporated, creating a luscious caramel base for your No-Bake Samoa Cookies.
Step 3: Combine Coconut and Caramel
Now, gently fold the toasted coconut into the melted caramel in the saucepan. Stir until the coconut is completely coated in the sticky caramel mixture, which should take about 1-2 minutes. Ensure that every shred of coconut is covered, creating that delightful caramel-coconut blend that defines your No-Bake Samoa Cookies.
Step 4: Shape the Cookies
Lay a sheet of parchment paper on a baking sheet. Using a spoon or a cookie scoop, drop generous spoonfuls of the caramel-coconut mixture onto the parchment. Flatten each mound slightly with the back of the spoon or your fingers to form round cookies. Aim for a uniform appearance to ensure they set evenly, then let them cool while you prepare the chocolate layer.
Step 5: Melt the Chocolate
In a microwave-safe bowl, combine the semi-sweet chocolate chips and coconut oil (or butter). Heat them in the microwave in 30-second intervals, stirring in between, until smooth and melted. This should take about 1-2 minutes total. Ensure the chocolate is completely melted and glossy, which will create a delectable finish for your No-Bake Samoa Cookies.
Step 6: Dip and Drizzle
Once the chocolate is melted, take each cookie from the parchment and dip the bottom in the chocolate, allowing any excess to drip off. Return the cookies to the parchment paper and drizzle more melted chocolate on top for that finishing touch. Repeat this process for all cookies, ensuring they are generously coated with chocolate.
Step 7: Set and Serve
Now, place the baking sheet in the refrigerator for about 15-20 minutes, allowing the chocolate to firm up completely. After they’ve set, your No-Bake Samoa Cookies will be ready to enjoy. For the best texture, let them come to room temperature before serving, so they soften slightly for that perfect chewy bite.
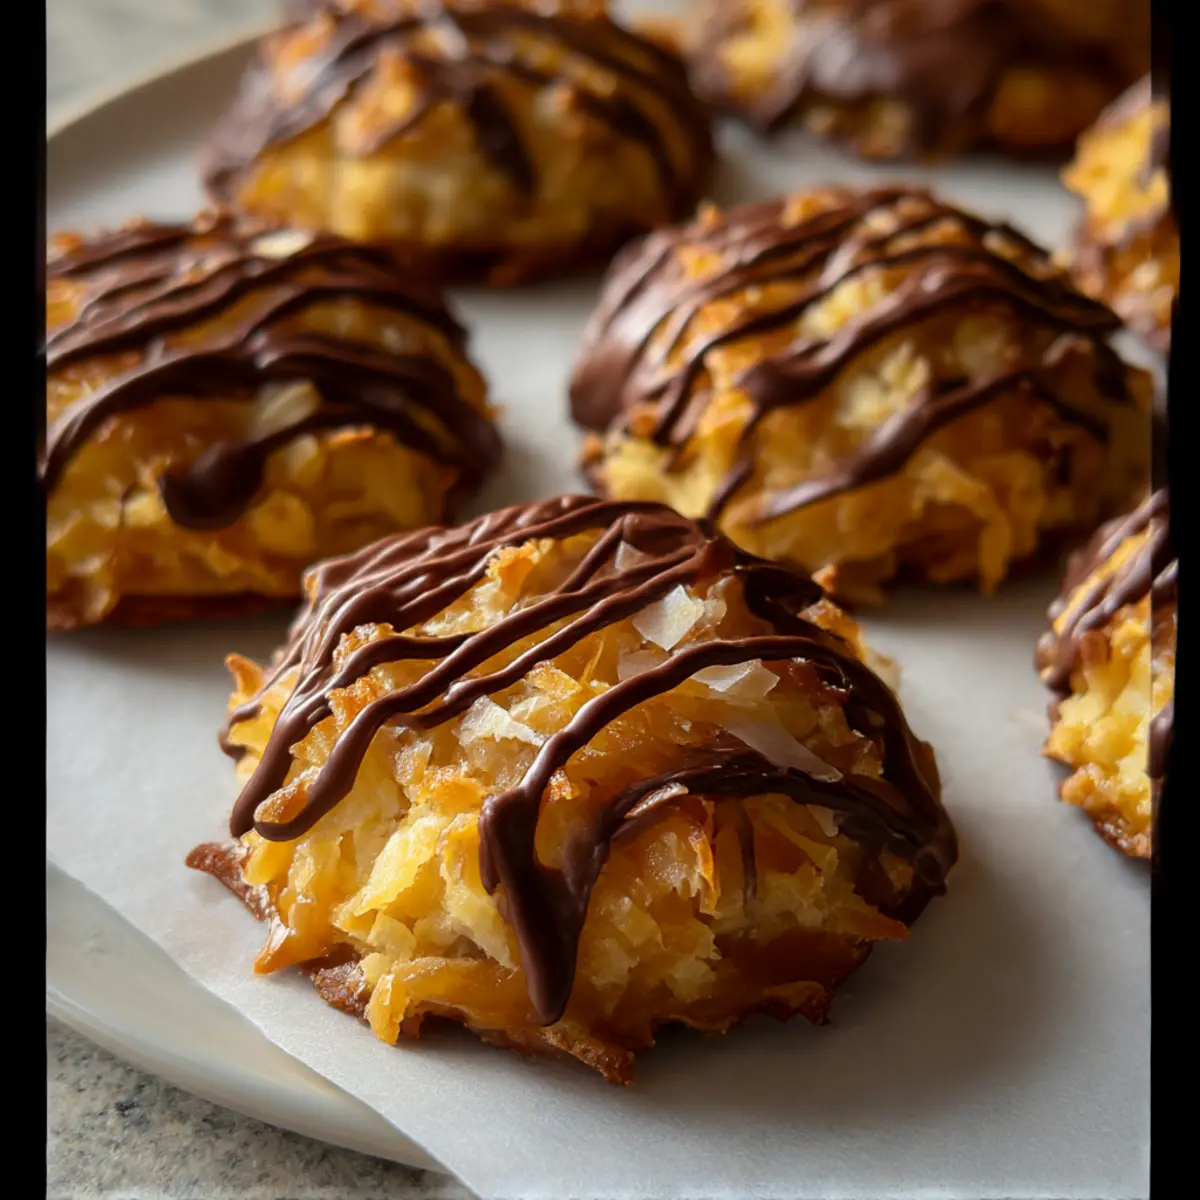
What to Serve with No Bake Samoa Cookies?
These delectable treats are perfect for a sweet gathering, but pairing them with the right delights can elevate your dessert table even further!
-
Vanilla Ice Cream: A scoop of smooth vanilla ice cream provides a creamy contrast to the chewy cookies, offering a delightful flavor blend.
Serve it alongside for a comforting dessert experience that is both indulgent and refreshing. -
Fresh Berries: Raspberries or strawberries add a burst of natural sweetness and a pop of color, balancing the richness of the cookies.
Their tartness pairs beautifully with the caramel and chocolate, creating a delicious harmony of flavors. -
Hot Chocolate: A warm cup of hot chocolate infused with a hint of cinnamon delivers a cozy beverage that complements the sweet notes of the cookies.
The rich chocolate flavor enhances the overall experience of your no-bake treat. -
Nutty Trail Mix: Serving a crunchy nut and dried fruit mix creates an excellent textural contrast, bringing a savory element to the sweet treats.
This adds a delightful crunch while providing a source of protein to balance the sweetness. -
Espresso: A shot of bold espresso pairs perfectly with the cookies, cutting through the sweetness and enhancing the chocolatey goodness.
The lively flavors of coffee and caramel create an extraordinary taste experience that truly delights. -
Chocolate Dipped Fruit: Fresh fruits like bananas or apples dipped in chocolate echo the flavors of the Samoa cookies while providing a refreshingly sweet crunch.
The combination offers a fantastic twist, enticing your guests with delightful textures and tastes. -
Peanut Butter Dip: For a savory touch, serve a creamy peanut butter dip accompanied by apple slices for a delightful contrast to the cookies’ richness.
The nutty flavor enhances the overall dessert spread, making each bite an adventure.
Make Ahead Options
These No Bake Samoa Cookies are perfect for busy cooks looking to save time! You can prepare the caramel and coconut mixture up to 24 hours in advance. Simply follow the first three steps of the recipe, then cover and refrigerate the mixture. When you’re ready to enjoy, just shape the cookies as instructed and melt the chocolate for dipping. Additionally, if you need to store the finished cookies, they keep well in an airtight container at room temperature for up to 3 days or in the refrigerator for up to 1 week—just be sure to let them come to room temperature before serving for the best texture. These make ahead tips will ensure that your No Bake Samoa Cookies are just as delicious, ready to delight your family and friends with minimal effort!
How to Store and Freeze No-Bake Samoa Cookies
-
Room Temperature: Store cookies in an airtight container for up to 3 days to maintain their chewy texture and delightful flavor.
-
Fridge: For longer freshness, keep your No-Bake Samoa Cookies in the refrigerator for up to 1 week. Allow them to come to room temperature before serving for optimal taste.
-
Freezer: Freeze cookies for up to 2 months; layer with parchment paper between them to prevent sticking. Thaw in the fridge before indulging in their deliciousness.
No-Bake Samoa Cookies Variations
Feel free to put your own twist on these scrumptious treats and create a No-Bake Samoa Cookies version that speaks to your taste buds!
-
Gluten-Free: Use gluten-free certified caramel and chocolate to ensure everyone can enjoy them.
-
Salted Caramel Version: Add a sprinkle of flaky sea salt on top for a delightful sweet and salty contrast. It elevates the flavor profile to another level!
-
Different Chocolate Types: Swap out semi-sweet chocolate chips for creamy white chocolate for a sweeter, more indulgent treat. This simple change can bring a whole new experience!
-
Nutty Addition: Stir in some chopped pecans or almonds into the caramel-coconut mixture for an irresistible crunch. You could also replace coconut with nuts if you prefer a different texture.
-
Coconut Substitution: Replace the unsweetened shredded coconut with crushed graham crackers for a cookie base that mimics the original Samoa texture, adding a delightful twist.
-
Flavor Boost: Add a splash of almond extract along with the vanilla for a delightful, nutty undertone that dives deeper into flavor. It’s a simple addition that makes a big difference!
-
Reduced Sugar Option: For a lighter version, use reduced sugar caramel candies without compromising that classic sweet flavor.
-
Boosted Chocolate Drizzle: Infuse some espresso powder into your melted chocolate for a surprise flavor kick that takes these cookies to the next level.
If you’re looking for more delicious treats, you might enjoy my Gingerbread Thumbprint Cookies or the delightful Pumpkin Oatmeal Cookies. Happy baking!
Expert Tips for No-Bake Samoa Cookies
-
Toast Carefully: Toast the shredded coconut slowly over medium heat to avoid burning; stir frequently for an even golden color.
-
Quality Counts: Use high-quality chocolate for dipping; it will melt better and prevent any blooming (white streaks) when cooled.
-
Cooling Time: Don’t rush the refrigeration process; allow the cookies to set for at least 15-20 minutes for the best texture.
-
Temperature Matters: For a softer bite, keep cookies at room temperature before serving; refrigerate only if storing longer.
-
Flavor Enhancements: Experiment with adding nuts or using flavored chocolate for a twist on these classic No-Bake Samoa Cookies.
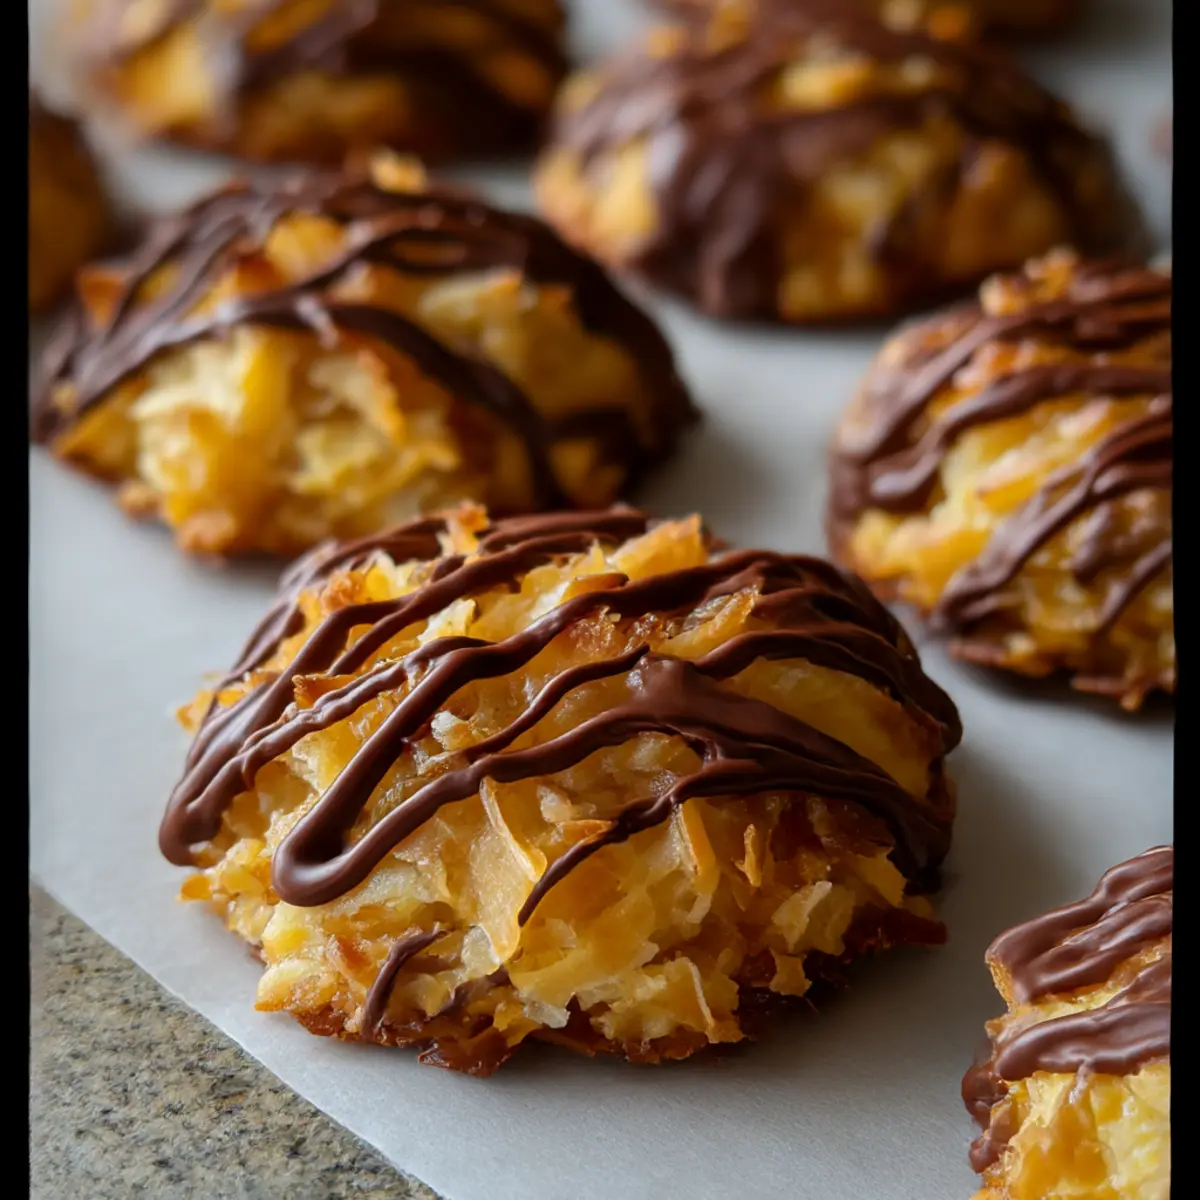
No Bake Samoa Cookies Recipe FAQs
How do I choose the right coconut for my No Bake Samoa Cookies?
Absolutely! When selecting shredded coconut, opt for unsweetened varieties, as they maintain a natural flavor and prevent the cookies from becoming overly sweet. Look for coconut that is pure white with a soft texture—if you see any dark spots or dryness, it’s best to avoid it.
How should I store my No Bake Samoa Cookies?
For best results, store your No Bake Samoa Cookies in an airtight container at room temperature for up to 3 days. If you’d like to keep them fresh longer, refrigerate them for up to 1 week. Just remember to let them come to room temperature before serving for that ideal chewy texture.
Can I freeze No Bake Samoa Cookies?
Absolutely! To freeze your No Bake Samoa Cookies, first layer them between sheets of parchment paper to prevent sticking. Place them in a freezer-safe container or bag and freeze for up to 2 months. When you’re ready to enjoy, thaw them in the refrigerator for several hours or overnight before serving.
What should I do if my chocolate is too thick after melting?
Very good question! If your melted chocolate is too thick, you can easily adjust its consistency. Add a little more coconut oil or butter—1 teaspoon at a time—while stirring until you achieve the desired smoothness. Just remember, the key is to be patient and add gradually for the best results!
Are these No Bake Samoa Cookies suitable for gluten-free diets?
Yes, they can be! To ensure your No Bake Samoa Cookies are gluten-free, carefully check that the caramel candies and chocolate chips you choose are gluten-free certified. Most brands will specify on their packaging. Enjoy your delicious treats without worry!
Can I make substitutions for allergies or preferences?
Absolutely! If you have dietary restrictions, there are great alternatives you can use. For example, swap the caramel for a dairy-free version and use dark chocolate chips or almond butter for even more flavor. Always feel free to get creative with ingredients—it’s all about what you love!
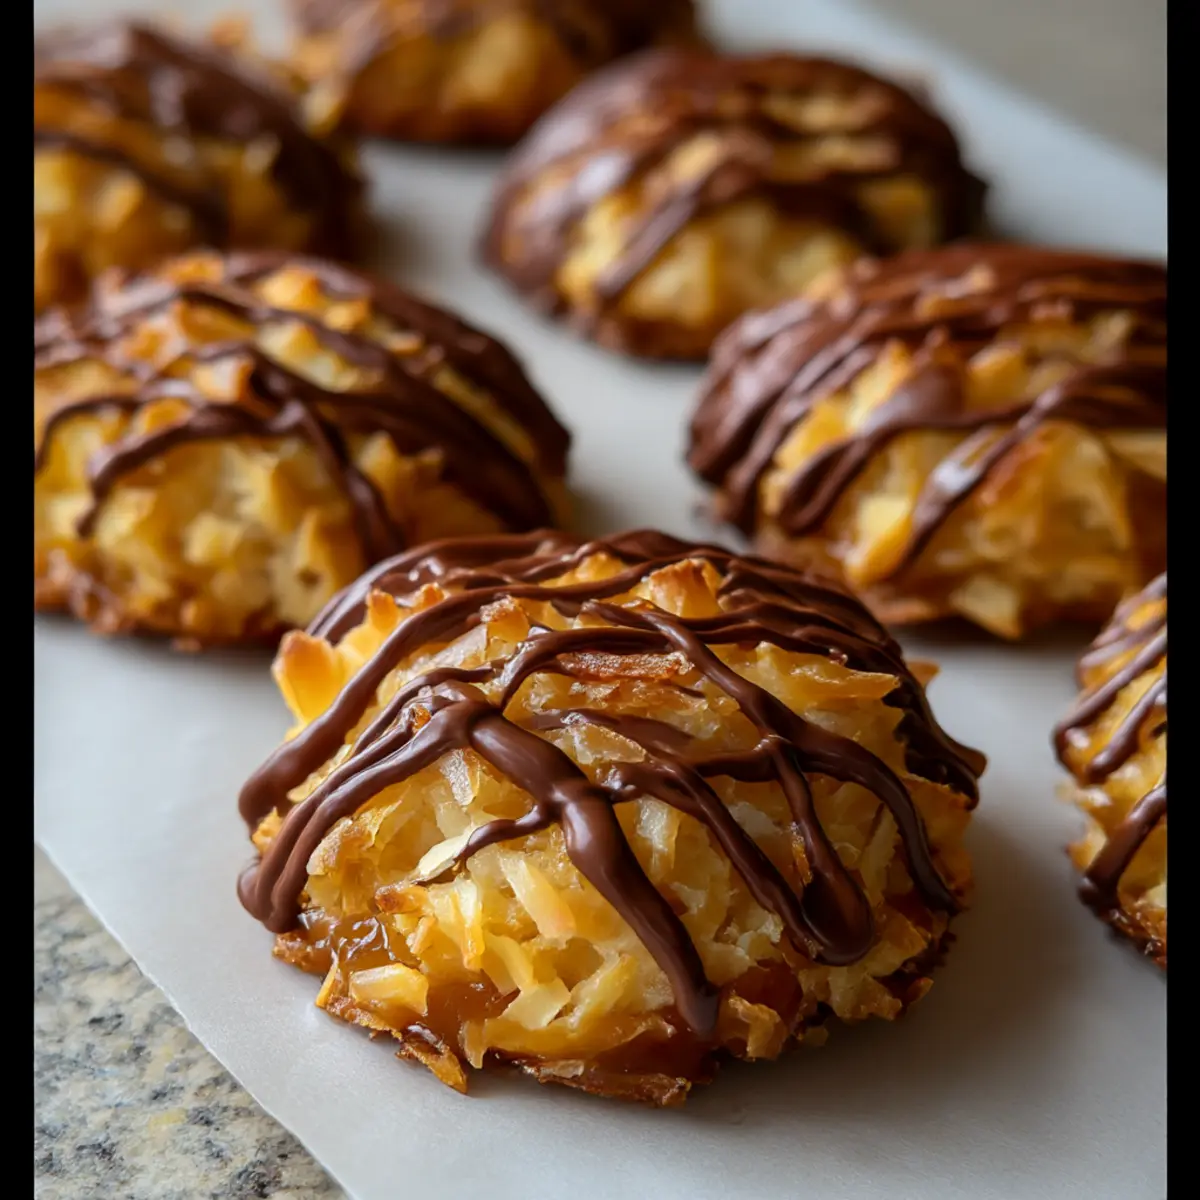
No-Bake Samoa Cookies: Irresistibly Easy Treats You’ll Love
Ingredients
Equipment
Method
- Begin by preheating a skillet over medium heat. Add the unsweetened shredded coconut to the skillet and toast it, stirring frequently for about 3-5 minutes until the coconut turns golden brown and fragrant. Keep a close eye on it to prevent burning. Once toasted, remove from heat and set aside to cool.
- In a saucepan, combine the soft caramel candies and milk (or heavy cream) over low heat. Stir continuously for about 5 minutes, or until the mixture is smooth and fully melted. Once melted, add a splash of vanilla extract and a pinch of sea salt. Keep stirring until everything is well incorporated.
- Gently fold the toasted coconut into the melted caramel in the saucepan. Stir until the coconut is completely coated in the sticky caramel mixture, which should take about 1-2 minutes.
- Lay a sheet of parchment paper on a baking sheet. Using a spoon or a cookie scoop, drop generous spoonfuls of the caramel-coconut mixture onto the parchment. Flatten each mound slightly with the back of the spoon or your fingers to form round cookies.
- In a microwave-safe bowl, combine the semi-sweet chocolate chips and coconut oil (or butter). Heat them in the microwave in 30-second intervals, stirring in between, until smooth and melted, about 1-2 minutes total.
- Once the chocolate is melted, take each cookie from the parchment and dip the bottom in the chocolate, allowing any excess to drip off. Return the cookies to the parchment paper and drizzle more melted chocolate on top.
- Place the baking sheet in the refrigerator for about 15-20 minutes, allowing the chocolate to firm up completely. After they’ve set, let them come to room temperature before serving.
Leave a Reply