
The aroma of cinnamon and nutmeg fills the air, instantly transporting me to crisp autumn days. I couldn’t help but feel excited to share my favorite no-bake dessert: Pumpkin Cheesecake Truffles. These delightful bite-sized treats are not only creamy and smooth but also capture the essence of fall in every mouthful! They’re perfect for any gathering, from Halloween potlucks to Thanksgiving feasts, and the best part is, they’re incredibly easy to make—no oven required! With their gluten-free options and endless variations, you can customize them to suit your taste. Are you ready to impress your friends and family with these gorgeous, pumpkin-inspired delights? Let’s dive into the recipe!
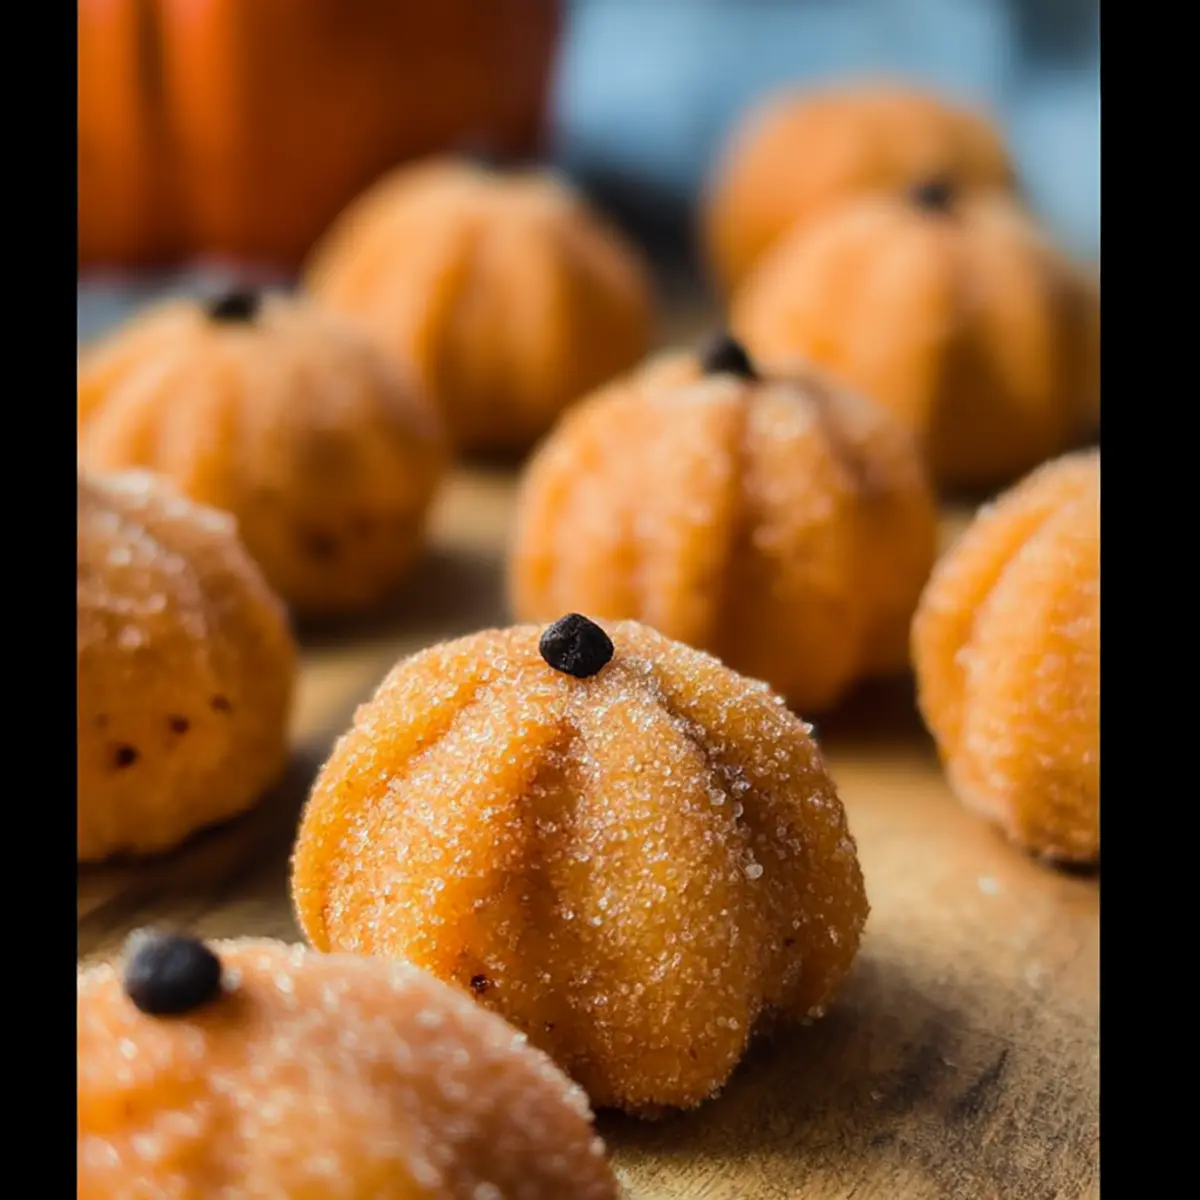
Why are Pumpkin Cheesecake Truffles a Must-Try?
Irresistible flavor: These Pumpkin Cheesecake Truffles embrace the warm, cozy tastes of autumn with notes of cinnamon and nutmeg, making them a delightful treat for the season.
No-bake convenience: Perfect for busy schedules, this simple recipe allows you to whip up a delicious dessert without ever turning on the oven!
Customizable options: Feel free to get creative! Experiment with different toppings, spices, or even flavor extracts, making these truffles your own. Consider pairing them with our Chewy Pumpkin Oatmeal for a complete fall dessert experience!
Crowd pleaser: Whether for family gatherings or festive parties, these cute, bite-sized treats are sure to impress and satisfy every palate.
Easy storage: With their ability to be made ahead of time and stored in the fridge, you can prepare these delights in advance for stress-free entertaining!
Pumpkin Cheesecake Truffles Ingredients
• Here’s everything you need to create these delightful treats!
For the Truffles
- Canned Pumpkin – Provides classic pumpkin flavor; you can use fresh pumpkin puree if it’s well-drained to avoid excess moisture.
- Cream Cheese – Adds creaminess and tang; for a dairy-free option, vegan cream cheese works beautifully.
- Sugar – Sweetens the truffles, balancing the earthy notes of pumpkin.
- Pumpkin Pie Spice – Infuses warm, spiced flavors characteristic of fall; consider a homemade blend of cinnamon, nutmeg, and ginger for a personalized touch.
- Butter – Enhances richness; choose unsalted butter for better control over seasoning.
- Sweetened Condensed Milk – Key for achieving a creamy, fudge-like consistency; coconut or evaporated milk can serve as a dairy-free alternative.
- Graham Cracker Crumbs – Provides texture and a lovely crunch; gluten-free graham crackers can easily substitute for those needing a gluten-free option.
- White Chocolate Chips – Binds the mixture and adds sweetness; feel free to switch to dark chocolate or a sugar-free option for a different taste.
- Food Coloring (optional) – Enhances visual appeal; try using natural dyes for a healthier twist.
With these ingredients in hand, you’re all set to craft your delicious Pumpkin Cheesecake Truffles!
Step‑by‑Step Instructions for Pumpkin Cheesecake Truffles
Step 1: Prepare the Pumpkin Mixture
In a skillet or saucepan over medium-low heat, combine the canned pumpkin, cream cheese, butter, pumpkin pie spice, and sweetened condensed milk. Stir constantly for about 5 minutes until the mixture is smooth and slightly thickened, resembling a creamy consistency. You’ll know it’s ready when it easily pulls away from the edges of the pan, inviting you to take the next delicious step.
Step 2: Incorporate the Dry Ingredients
Remove the skillet from heat and stir in the white chocolate chips and graham cracker crumbs. Mix until everything is thoroughly combined and the mixture is thick enough to hold its shape when rolled into balls. It should look cohesive, with all ingredients well blended, making it a delightful foundation for your Pumpkin Cheesecake Truffles.
Step 3: Optional Color Enhancement
If you wish to enhance the visual appeal, add food coloring at this stage to achieve that vibrant orange hue reminiscent of fall. Mix thoroughly until the color is evenly distributed throughout the truffle mixture, ensuring each bite reflects the festive season beautifully. The colored mixture should be smooth and inviting, ready for chilling.
Step 4: Chill the Mixture
Spread the mixture onto a buttered baking sheet, smoothing it out evenly to about 1 inch thick. Refrigerate for at least 2 hours until firm, allowing the flavors to meld together and the mixture to set properly. You’ll know it’s ready when you can easily handle it without it sticking to your fingers, making rolling a breeze.
Step 5: Shape the Truffles
Once chilled, remove the mixture from the refrigerator and use your hands or a melon baller to scoop small portions. Roll each portion into round balls, about the size of a walnut. The truffles should feel smooth and slightly firm, making it easy to form them without stickiness, perfect for the Pumpkin Cheesecake Truffles you’re creating.
Step 6: Add the Sweet Coating
For an extra touch of sweetness, roll the truffles in granulated sugar, if desired. This step not only adds a lovely sparkle but also enhances the overall flavor. Coat them evenly but refrain from doing this too far in advance; wait until just before serving to keep the sugar crystals intact and appealing.
Step 7: Garnish with Style
Using a toothpick, create gentle grooves on the surface of each truffle and place a chocolate chip on top as a decorative touch resembling a pumpkin stem. This charming detail elevates your Pumpkin Cheesecake Truffles, making them perfect for showcasing at gatherings or as delightful gifts.
Step 8: Serving and Storage
Serve your beautiful truffles immediately or store them in an airtight container in the refrigerator until ready to enjoy. These truffles can be made ahead of time, simplifying your entertaining needs. They’ll keep well for up to a week, and for longer storage, freeze them without sugar coating, rolling in sugar just before serving.
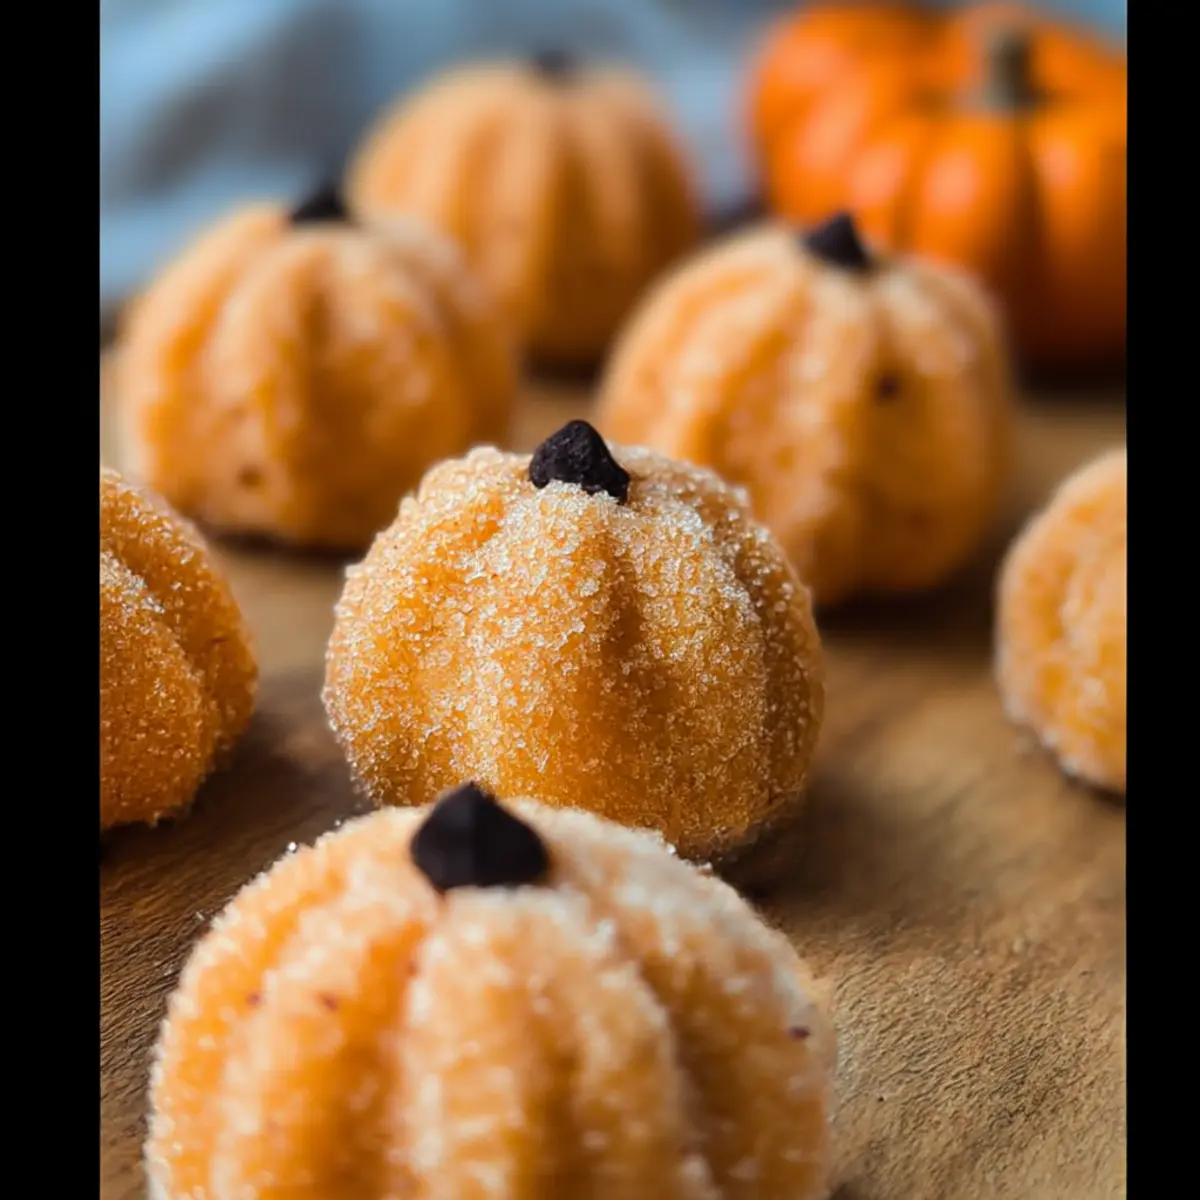
Storage Tips for Pumpkin Cheesecake Truffles
-
Fridge: Store truffles in an airtight container in the refrigerator for up to one week, keeping them fresh and ready to impress.
-
Freezer: For longer storage, freeze truffles without the sugar coating. Place them in a single layer in a freezer-safe container for up to three months.
-
Thawing: To serve, simply thaw the Pumpkin Cheesecake Truffles in the fridge overnight and roll them in sugar just before enjoying for that perfect touch of sweetness.
-
Serving Suggestion: These treats are best enjoyed cold, so keep them chilled until it’s time to serve for a refreshing bite of fall flavors!
What to Serve with Pumpkin Cheesecake Truffles
Elevate your autumn gatherings by crafting a delightful spread around these creamy, seasonal truffles.
- Spiced Apple Cider: Warm spiced apple cider enhances the autumn vibe, bringing out the truffles’ cozy flavors while soothing the soul.
- Pecan Pie Bars: Rich, nutty pecan pie bars provide a textural contrast, balancing the creamy truffles with their crunchy topping.
- Caramel Dip: A luscious caramel dip adds a sweet and decadent touch, perfect for dunking the truffles for an extra layer of indulgence.
- Autumn Salad: A fresh apple and walnut salad drizzled with balsamic vinaigrette offers a crisp, refreshing bite that complements the rich truffles nicely.
- Pumpkin Spice Latte: Pair your truffles with a warm pumpkin spice latte to create a comforting trio that’s perfect for sipping by the fire.
- Chewy Pumpkin Oatmeal Cookies: Serve alongside chewy pumpkin oatmeal cookies to further embrace fall’s flavors in one delightful dessert spread.
- Vanilla Ice Cream: Creamy vanilla ice cream serves as a classic counterpart, contrasting the pumpkin flavors with its smooth, cool nature.
- Chocolate Wine: For a grown-up twist, consider a glass of chocolate wine, which adds a touch of sophistication and richness to the dessert experience.
- Banana Bread: Soft, moist banana bread provides a lovely homey touch while pairing wonderfully with the flavors of the truffles.
- Chai Tea: A warm cup of spiced chai tea rounds off the dessert experience, accentuating the warm spices found in the pumpkin truffles.
Expert Tips for Pumpkin Cheesecake Truffles
-
Cooling Time Matters: Allow the truffle mixture to cool completely before refrigerating to prevent stickiness when shaping the balls.
-
Sugar Coating Timing: Roll the truffles in granulated sugar just before serving to maintain that delightful sparkle without it melting away.
-
Texture Adjustments: If your mixture is too wet, gently reheat it, then add more graham cracker crumbs or chocolate to achieve the desired consistency for your Pumpkin Cheesecake Truffles.
-
Consistent Sizing: Use a melon baller or buttered hands to ensure all your truffles are the same size, making for an appealing presentation.
-
Flavor Customization: Don’t hesitate to experiment with different spices or flavored extracts to create your perfect version of Pumpkin Cheesecake Truffles.
Make Ahead Options
These Pumpkin Cheesecake Truffles are a fantastic solution for busy home cooks looking to save time! You can prepare the truffle mixture up to 24 hours in advance by following all the steps until shaping the truffles, then refrigerate the mixture in an airtight container. When you’re ready to serve, simply roll the chilled mixture into bite-sized balls, coat them in sugar, and add the decorative chocolate chips for a final touch. This prepping method not only enhances the flavors but also ensures your truffles remain just as delicious and fresh! Whether for a gathering or a special treat, these truffles can be made ahead and ready to impress with minimal effort.
Pumpkin Cheesecake Truffles Variations
Make these Pumpkin Cheesecake Truffles truly your own by experimenting with different flavors and ingredients!
-
Gluten-Free: Substitute regular graham cracker crumbs with gluten-free versions to accommodate dietary needs without sacrificing deliciousness.
-
Dairy-Free Delight: Switch cream cheese and butter for their vegan counterparts to keep everyone happy, while maintaining that creamy texture you love.
-
Flavor Boost: Consider using different flavored extracts such as maple or almond to add a unique twist to your truffles.
-
Crunch Factor: Mix in crushed nuts or toffee bits to bring delightful texture and crunch to each luscious bite. Imagine the combination of creamy and crispy flavors dancing together!
-
Sweet & Salty: Swap out the graham cracker crumbs for crushed pretzels for a playful, sweet-salty flavor combo that’s absolutely addictive.
-
Toppings Galore: Get creative with drizzles! Try adding melted caramel or chocolate on top for a rich, decadent finish that elevates your truffles to gourmet status.
-
Spice it Up: For a little heat, add a pinch of cayenne pepper to the mixture or dust the finished truffles with a bit of chili powder for a surprising kick that intrigues the palate.
Explore these variations and create a version of Pumpkin Cheesecake Truffles that perfectly suits your taste! For more delightful fall recipes, check out our Thick Chewy Pumpkin or Creamy Pumpkin Gnocchi for a complete seasonal experience.
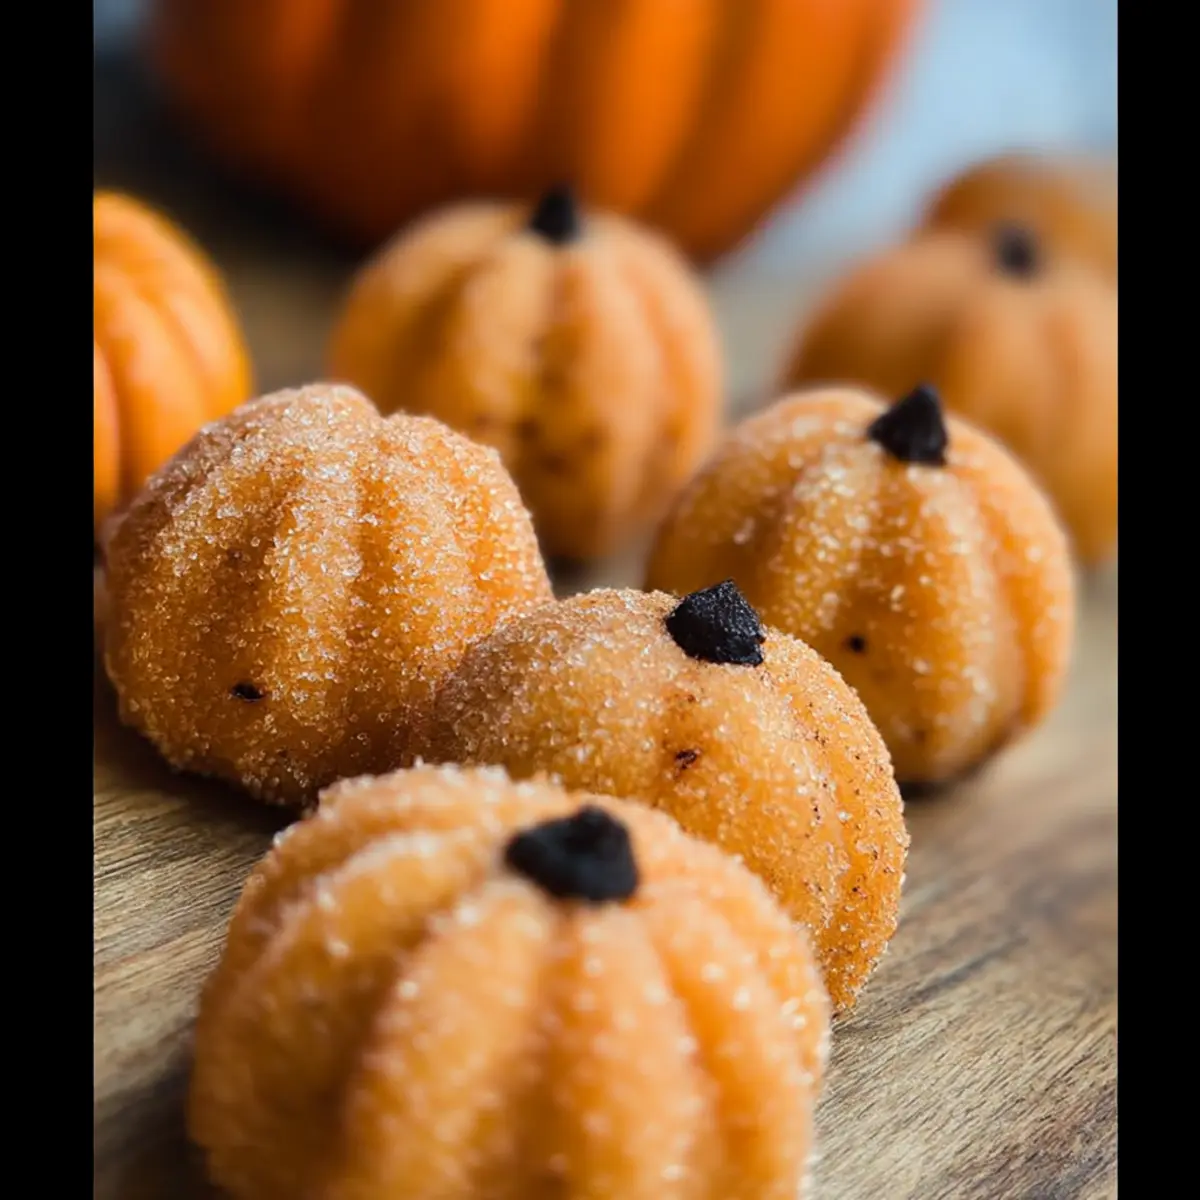
Pumpkin Cheesecake Truffles Recipe FAQs
Which pumpkin puree is best for the recipe?
Absolutely! Canned pumpkin is ideal for consistency and flavor. If using fresh pumpkin puree, make sure it’s well-drained to prevent excess moisture, which could affect the mixture’s texture.
How should I store the Pumpkin Cheesecake Truffles?
Store the truffles in an airtight container in the refrigerator for up to one week. Be sure to keep them sealed tightly to maintain freshness and prevent any odors from affecting their delightful flavor.
Can I freeze Pumpkin Cheesecake Truffles?
Very! For longer storage, freeze the truffles without the sugar coating. Place them in a single layer in a freezer-safe container for up to three months. When you’re ready to enjoy them, simply thaw them in the fridge overnight and roll them in sugar just before serving.
What if my truffle mixture is too wet?
If the mixture feels a bit too wet, don’t worry. Just gently reheat it on low heat in the skillet and gradually add more graham cracker crumbs or white chocolate chips until you achieve a thick, rollable consistency. This will help you get that perfect shape!
Are Pumpkin Cheesecake Truffles suitable for people with allergies?
Yes, you can modify them! For a dairy-free option, use vegan cream cheese and substitute the sweetened condensed milk with coconut or evaporated milk. Plus, gluten-free graham crackers can replace regular ones, making this treat accessible for a wider audience.
Can I customize the flavors?
Absolutely! Experimenting with different flavored extracts like vanilla or maple can give your truffles a unique twist. Additionally, consider adding crushed nuts for crunch or drizzling caramel on top for a decadent finish. Get creative!
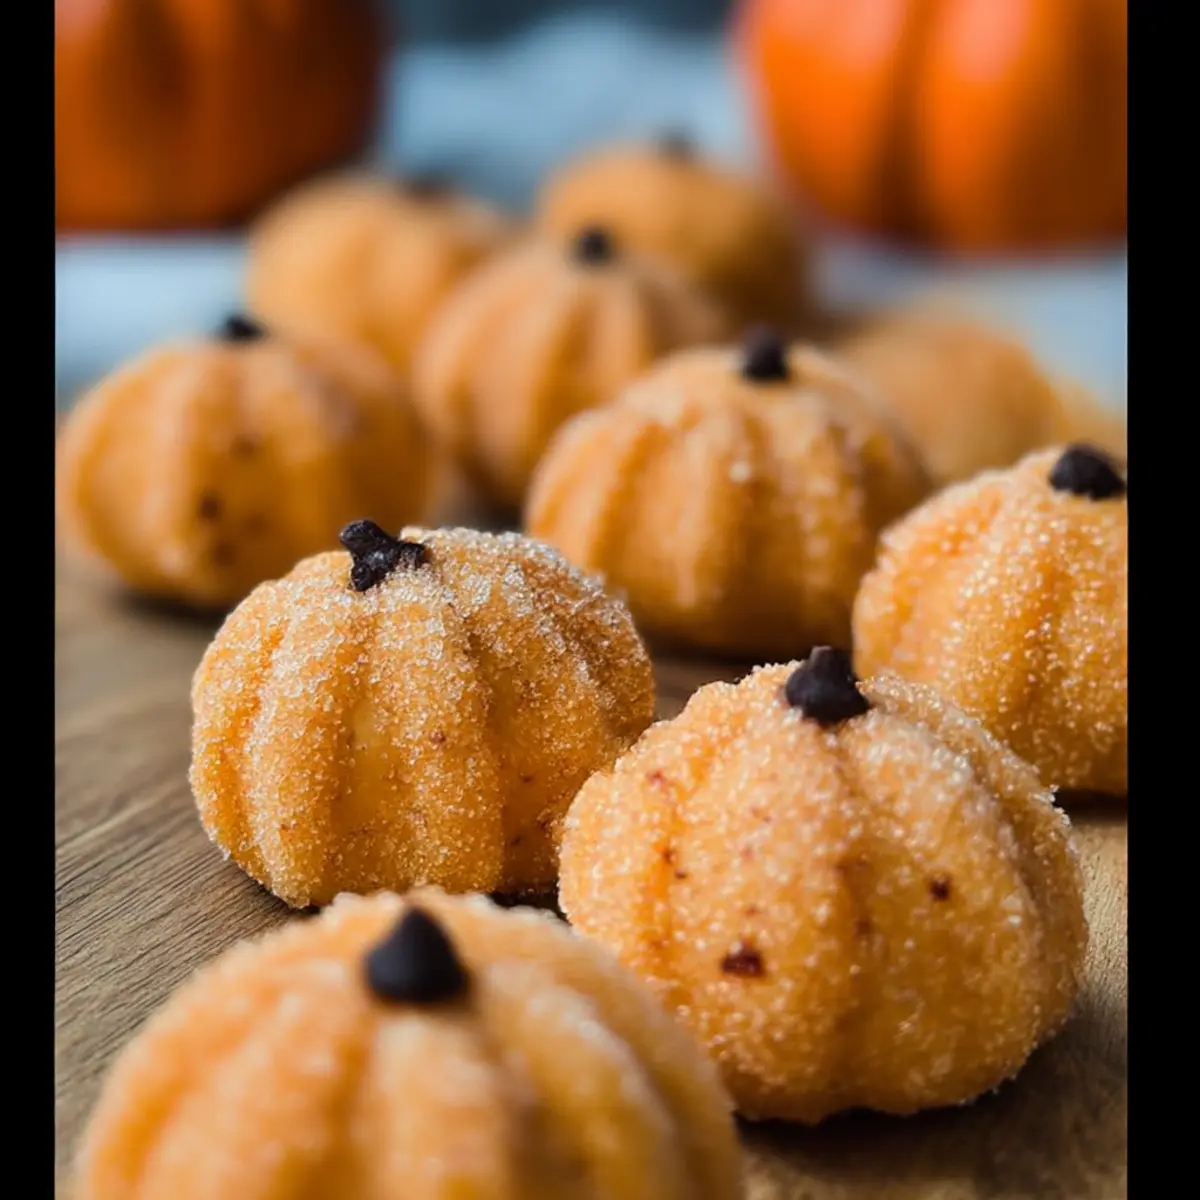
Decadent Pumpkin Cheesecake Truffles for Fall Festivities
Ingredients
Equipment
Method
- In a skillet or saucepan over medium-low heat, combine the canned pumpkin, cream cheese, butter, pumpkin pie spice, and sweetened condensed milk. Stir constantly for about 5 minutes until smooth and slightly thickened.
- Remove the skillet from heat and stir in the white chocolate chips and graham cracker crumbs until well combined.
- If desired, add food coloring to enhance the visual appeal and mix until evenly distributed.
- Spread the mixture onto a buttered baking sheet, refrigerate for at least 2 hours until firm.
- Once chilled, scoop small portions and roll them into round balls about the size of a walnut.
- Roll the truffles in granulated sugar if desired just before serving.
- Using a toothpick, create grooves on each truffle and place a chocolate chip on top.
- Serve immediately or store in an airtight container in the refrigerator.
Leave a Reply