
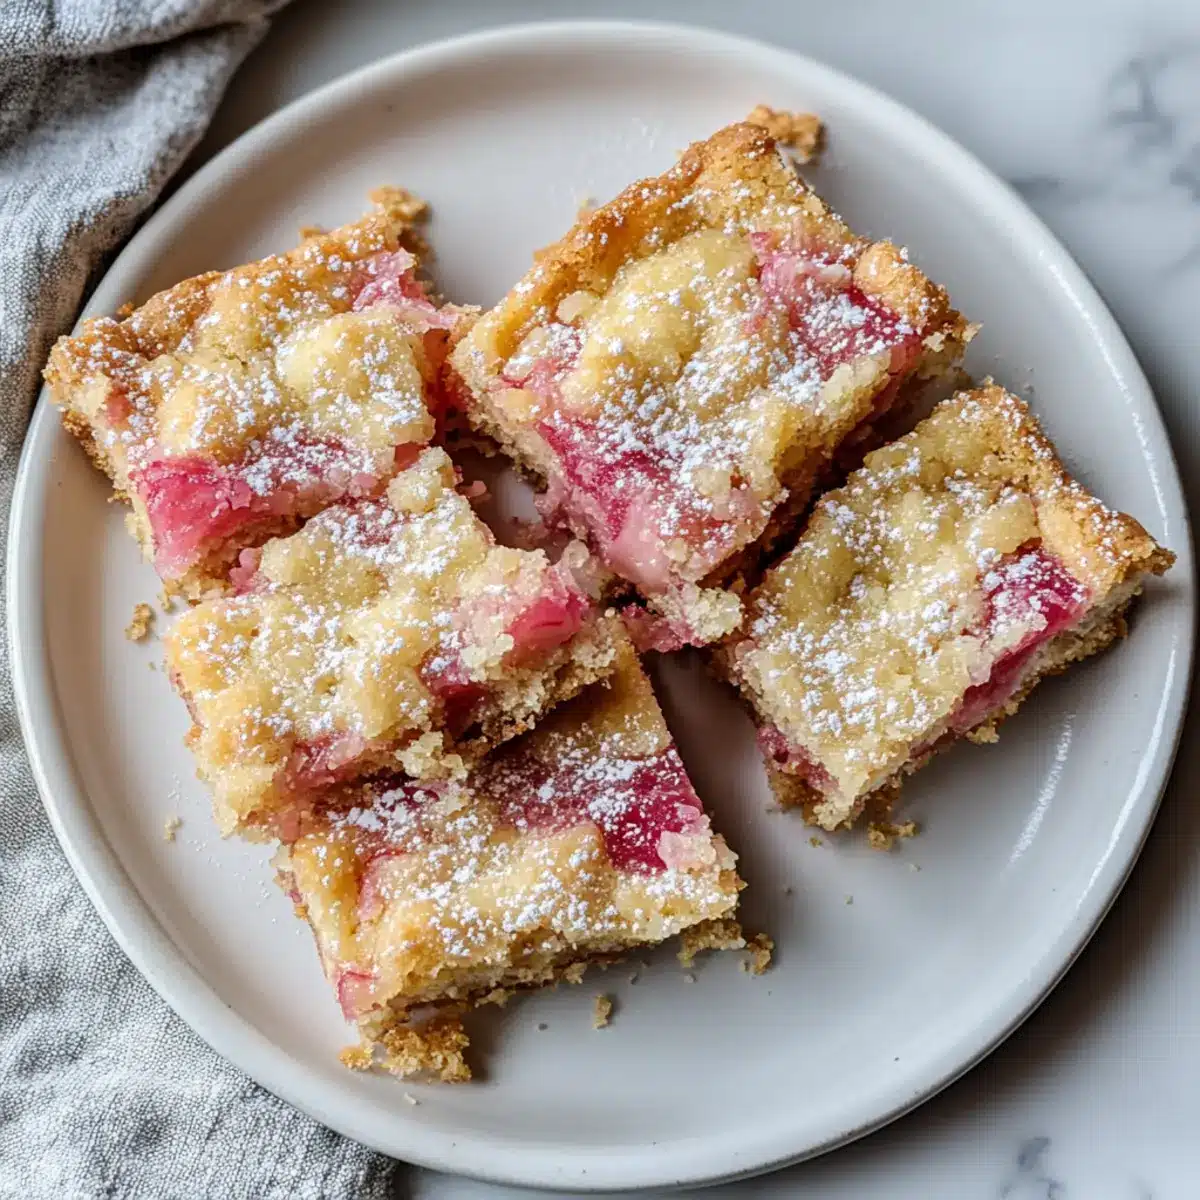
As I stood in my kitchen, the vibrant hue of fresh rhubarb caught my eye, instantly transporting me to sunny spring afternoons filled with laughter and delicious desserts. Today, I’m excited to share a recipe for Rhubarb Dream Bars, a delightful treat that perfectly balances tangy rhubarb and buttery shortbread. This dessert not only comes together in a flash but also brings a crowd-pleasing twist to your usual sweet repertoire. Crafted with simple pantry staples, these bars are a celebration of homemade goodness and seasonal baking. Ready to impress your guests or simply indulge in a sweet moment? Let’s dive into these refreshing Rhubarb Dream Bars that are sure to brighten up any gathering!
Why are Rhubarb Dream Bars a must-try?
Vibrant Flavors: These Rhubarb Dream Bars bring the essence of spring to your table with their tangy, refreshing taste.
Easy to Make: With simple ingredients and quick instructions, even novice bakers can whip up this delightful dessert effortlessly.
Crowd-Pleasing: Perfect for gatherings or casual munching, these bars are sure to impress friends and family alike.
Ideal Pairing: Serve them warm with a scoop of vanilla ice cream for a heavenly treat that melts in your mouth!
Explore more delicious seasonal desserts like Brown Butter Bars to add variety to your baking repertoire!
Rhubarb Dream Bars Ingredients
-
For the Crust
• All-Purpose Flour – Provides structure for the crust; a gluten-free baking mix can be used for a gluten-free option.
• Confectioners’ Sugar – Adds sweetness and a light texture; granulated sugar works but may slightly alter the texture.
• Butter (softened) – Essential for richness and moisture; make sure it’s at room temperature for smoother mixing. -
For the Filling
• White Sugar – Sweetens the rhubarb layer; coconut sugar makes for a healthier swap, but it may change the flavor profile.
• Salt – Enhances overall sweetness; sea salt can be used, or omit if you prefer less saltiness.
• Eggs (beaten) – Binds the filling together and adds structure; flax eggs make a great vegan substitute.
• Chopped Fresh Rhubarb – The star ingredient offering tangy goodness; if using frozen, ensure it’s well-drained to avoid sogginess.
These Rhubarb Dream Bars are not just delicious but also easy to prepare, making them an ideal choice for your next spring gathering!
Step-by-Step Instructions for Rhubarb Dream Bars
Step 1: Preheat the Oven
Begin by preheating your oven to 350°F (175°C). This ensures that the heat is evenly distributed when you bake your Rhubarb Dream Bars, resulting in a perfectly set filling and a crisp crust. While the oven is heating, gather all your ingredients and equipment, including a greased 9×13-inch baking dish for the next steps.
Step 2: Prepare the Crust
In a mixing bowl, combine 2 cups of all-purpose flour, ½ cup of confectioners’ sugar, and 1 cup of softened butter. Use a pastry cutter or your hands to mix until the texture becomes crumbly and cohesive. This buttery mixture forms the foundation of your Rhubarb Dream Bars; press it firmly into the bottom of the greased baking dish to create an even layer.
Step 3: Bake the Crust
Place the baking dish in your preheated oven and bake the crust for 15 minutes, or until it’s lightly golden. Keep an eye on it, as you want it to set without becoming too brown. Once done, remove the dish from the oven and allow the crust to cool while you prepare the tangy rhubarb filling.
Step 4: Mix the Filling
In a clean mixing bowl, combine the beaten eggs, 1 cup of white sugar, a pinch of salt, and ½ cup of all-purpose flour. Stir well until the mixture is smooth. Next, gently fold in 2 cups of chopped fresh rhubarb, ensuring it’s evenly distributed throughout the filling. This vibrant mixture is what makes your Rhubarb Dream Bars so delightful!
Step 5: Assemble and Bake Again
Pour the rhubarb mixture over the cooled crust, spreading it evenly with a spatula for a beautiful result. Return the baking dish to the oven and bake for an additional 30-35 minutes, or until the filling is set and the top is lightly golden. The aroma of baking will fill your kitchen, promising a delicious treat ahead!
Step 6: Cool and Slice
Once baked, remove the Rhubarb Dream Bars from the oven and let them cool completely in the dish. This cooling process helps set the layers and makes slicing easier. For cleaner cuts, consider refrigerating the bars for a bit before using a sharp knife to cut them into squares or rectangles.
Step 7: Serve and Enjoy
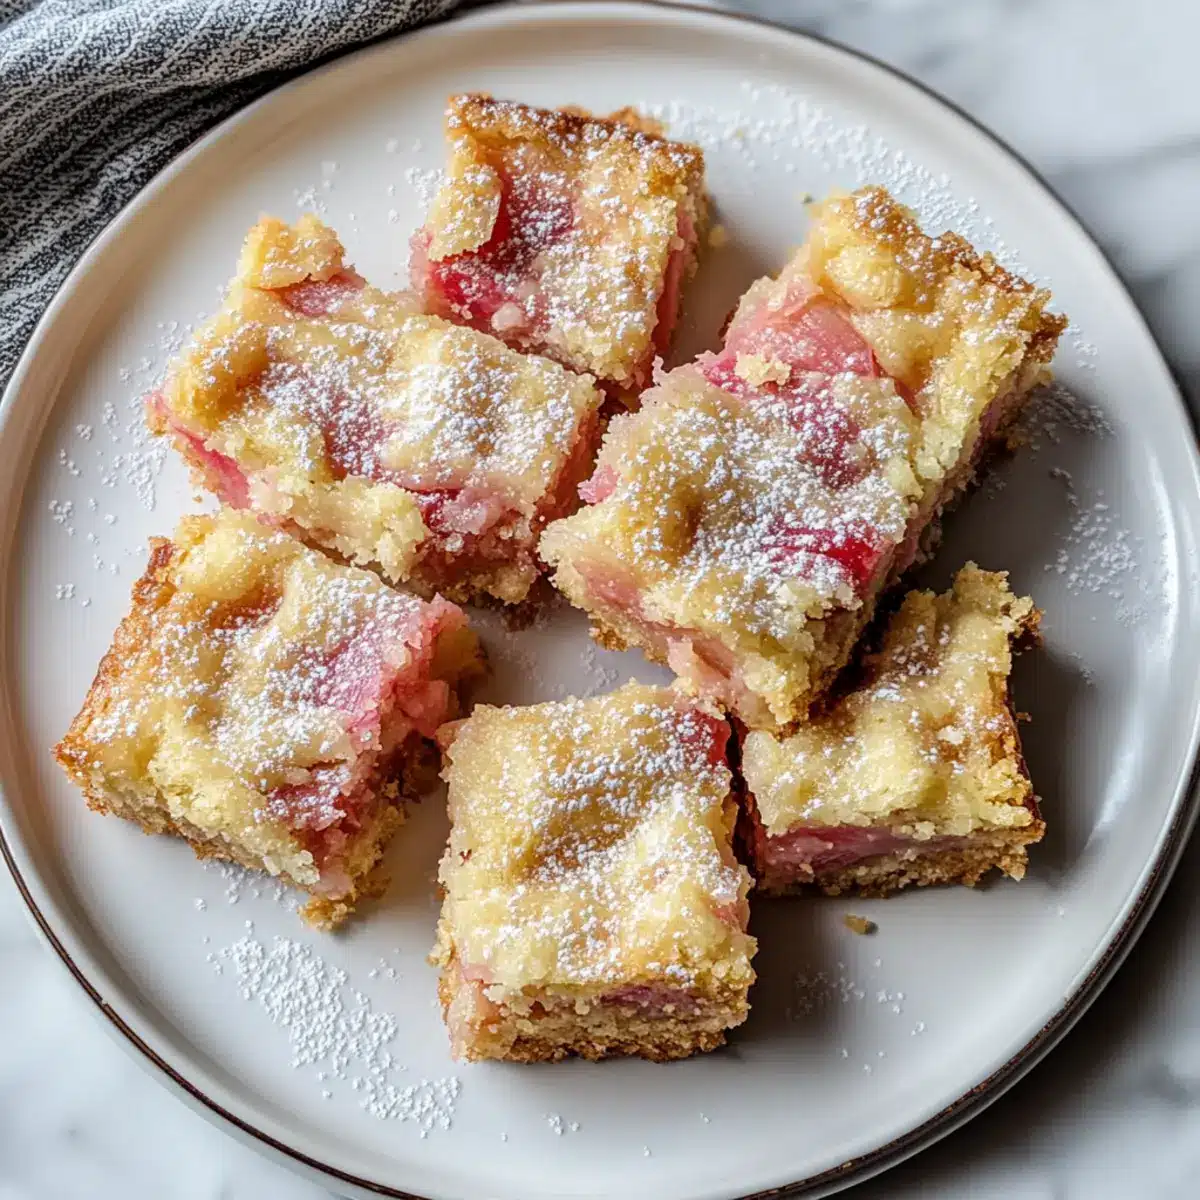
Your Rhubarb Dream Bars are now ready to be served! Enjoy them as a delightful dessert on their own or with a scoop of vanilla ice cream or whipped cream. These bars are not just visually appealing, but their sweet and tangy flavor will make them a hit at any gathering.

Rhubarb Dream Bars Variations & Substitutions
Feel free to explore these delightful options to customize your Rhubarb Dream Bars and make them uniquely yours!
-
Berry Boost: Add a cup of mixed berries like strawberries or raspberries for a fruity twist. The juiciness of the berries complements the rhubarb beautifully, enhancing both flavor and color.
-
Zesty Lemon: Incorporate the zest of one lemon into the filling for a bright, citrusy flair. This little addition elevates the dish with a fresh burst that dances on your palate.
-
Nuts Galore: Sprinkle chopped walnuts or pecans over the crust before pouring in the filling for a delightful crunch. The earthy nutty taste pairs perfectly with the sweet-tart rhubarb, creating a satisfying texture.
-
Dairy-Free Delight: Substitute butter with coconut oil or a vegan butter alternative for a dairy-free version. This not only caters to dietary needs but also infuses the bars with a hint of tropical flavor.
-
Sweet Splendor: Experiment with different sweeteners like maple syrup or honey instead of white sugar. Just remember that this might change the final flavor slightly, offering a unique taste profile.
-
Spicy Kick: Add a pinch of ginger or cinnamon to the filling for a warm, spicy note. This unexpected nuance will surprise everyone and make the bars even more memorable.
-
Frozen Rhubarb: If fresh rhubarb isn’t available, frozen works just as fine—just be sure to drain the excess moisture after thawing. Your bars will still retain that signature tang!
-
Serving Suggestions: For a special touch, serve your bars with a dollop of whipped cream or a scoop of Brown Butter Bars alongside them for a luxurious dessert experience!
With these variations, your Rhubarb Dream Bars will be a delightful twist on a timeless classic, perfect for sharing with friends and family!
Expert Tips for Rhubarb Dream Bars
-
Chill for Clean Cuts: Refrigerate the bars before slicing to achieve neat, professional-looking pieces without crumbling.
-
Use Fresh Rhubarb: Opt for fresh rhubarb for the best flavor. If using frozen, drain excess moisture to prevent a soggy filling.
-
Adjust Sweetness: Taste the filling mixture before pouring it over the crust. Feel free to add more sugar if you prefer a sweeter dessert.
-
Avoid Overbaking: Keep an eye on the bars during the final baking stage; overbaking can lead to a dry filling. Aim for a lightly golden top.
-
Experiment with Flavors: Don’t hesitate to spice things up! Adding lemon zest or nuts can elevate your Rhubarb Dream Bars with delightful new dimensions.
How to Store and Freeze Rhubarb Dream Bars
Fridge: Store your Rhubarb Dream Bars in an airtight container in the refrigerator for up to 5 days to keep them fresh and flavorful.
Freezer: For longer storage, wrap the sliced bars in plastic wrap and then place them in a freezer-safe container. They can be frozen for up to 2 months.
Reheating: If desired, you can reheat the frozen bars in the microwave for a few seconds for a warm treat or enjoy them chilled.
Thawing: To thaw, simply transfer the desired number of bars from the freezer to the fridge for several hours or overnight before serving.
Make Ahead Options
These Rhubarb Dream Bars are a fantastic choice for meal prep, allowing you to savor their delightful flavor with minimal fuss during busy weeks! You can prepare the crust up to 24 hours in advance; just press it into the baking dish, cover with plastic wrap, and refrigerate. The rhubarb filling can be mixed up to 3 days ahead—simply combine the ingredients, cover tightly, and refrigerate. When you’re ready to enjoy your bars, pour the filling over the crust and bake according to the recipe instructions. To maintain their perfect texture, let the bars cool completely before slicing and consider chilling them before cutting for cleaner edges. Enjoy these make-ahead treats that are just as delicious as when freshly baked!
What to Serve with Rhubarb Dream Bars
These delightful treats are a perfect centerpiece for your spring dessert table, inviting sweet moments to savor with loved ones.
- Vanilla Ice Cream: A classic pairing that adds creamy richness, balancing the tangy rhubarb beautifully. Picture a scoop melting over warm bars—a heavenly delight!
- Fresh Whipped Cream: Light and airy, whipped cream enhances the bar’s flavors, inviting every bite to feel indulgent and comforting. Add a touch of vanilla for extra depth!
- Lemon Sorbet: The bright, refreshing notes of lemon sorbet contrast with the sweetness of the bars, creating a harmonious balance that’s perfect for warm days.
- Candied Ginger: Crunchy and spicy, this topping adds a surprising zing that compliments the rhubarb’s tang, awakening your taste buds with each forkful.
- Herbal Tea: A warm cup of chamomile or mint tea creates a soothing experience that pairs perfectly with the dessert’s lush flavors and textures.
- Mixed Berries Salad: Juicy strawberries, blueberries, and raspberries tossed together bring freshness and enhance the spring vibe when served alongside these dreamy bars.
Rhubarb Dream Bars Recipe FAQs
How do I select ripe rhubarb for my bars?
Absolutely! When choosing fresh rhubarb, look for firm stalks with a vibrant color, preferably a deep pink or reddish hue. Avoid any with signs of wilting or dark spots all over, as this indicates it’s past its prime. The stalks should feel sturdy to the touch and snap easily when bent.
How should I store leftover Rhubarb Dream Bars?
To keep your bars fresh and delicious, store them in an airtight container in the refrigerator. They’ll stay good for up to 5 days. For longer storage, consider wrapping individual pieces in plastic wrap before placing them in a freezer-safe container. This way, they can be frozen for up to 2 months, perfect for a sweet treat later on!
Can I freeze Rhubarb Dream Bars, and how do I do it?
Yes, you can freeze these delightful bars! First, allow them to cool completely after baking. Next, slice the bars into individual portions and wrap each piece tightly in plastic wrap. Then, place them in a freezer-safe container or a resealable bag. Be sure to label them with the date, and they can be stored in the freezer for up to 2 months. To enjoy, simply thaw in the fridge for several hours or pop them in the microwave for a few seconds to heat them up!
What are some common problems I might face while making these bars?
Very! One common issue is ending up with a soggy filling, especially if using frozen rhubarb. Make sure to drain any excess moisture from thawed rhubarb before mixing it into your filling. Another troubleshooting tip is to avoid overbaking—keep an eye on the bars during the final bake and aim for a lightly golden top. This will help ensure a perfect texture.
Are there any dietary considerations for Rhubarb Dream Bars?
Certainly! If you have dietary restrictions, there are simple swaps you can make. For gluten-free options, use a gluten-free baking mix in place of all-purpose flour. If you need a vegan alternative, substitute the eggs with flax eggs—mix 1 tablespoon of ground flaxseed with 2.5 tablespoons of water and let it sit for about 5 minutes until it thickens. This way, everyone can enjoy these tangy Rhubarb Dream Bars!
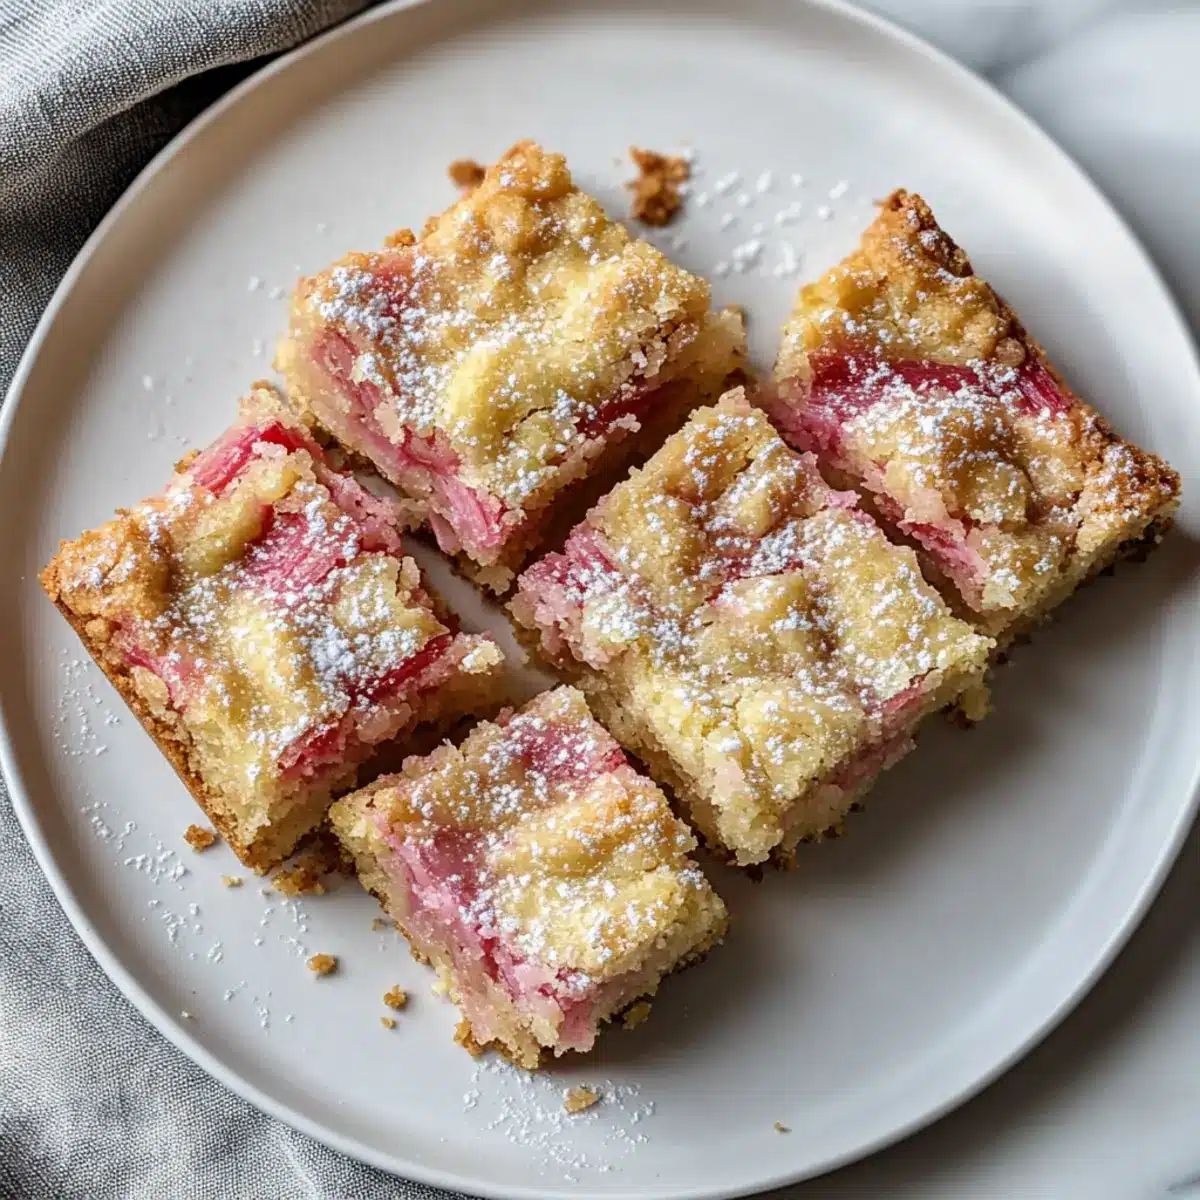
Tangy Rhubarb Dream Bars for a Refreshing Spring Treat
Ingredients
Equipment
Method
- Preheat your oven to 350°F (175°C) and gather all your ingredients and equipment.
- Combine 2 cups of all-purpose flour, ½ cup of confectioners’ sugar, and 1 cup of softened butter in a mixing bowl. Mix until crumbly and press into the greased baking dish.
- Bake the crust for 15 minutes until lightly golden. Remove and let cool.
- In a clean bowl, mix the beaten eggs, 1 cup of white sugar, a pinch of salt, and ½ cup of all-purpose flour until smooth. Fold in 2 cups of chopped fresh rhubarb.
- Pour the rhubarb mixture over the cooled crust and bake for an additional 30-35 minutes until set.
- Let the bars cool completely in the dish before slicing. Refrigerate for cleaner cuts.
- Serve and enjoy on their own or with a scoop of vanilla ice cream or whipped cream.
Leave a Reply