
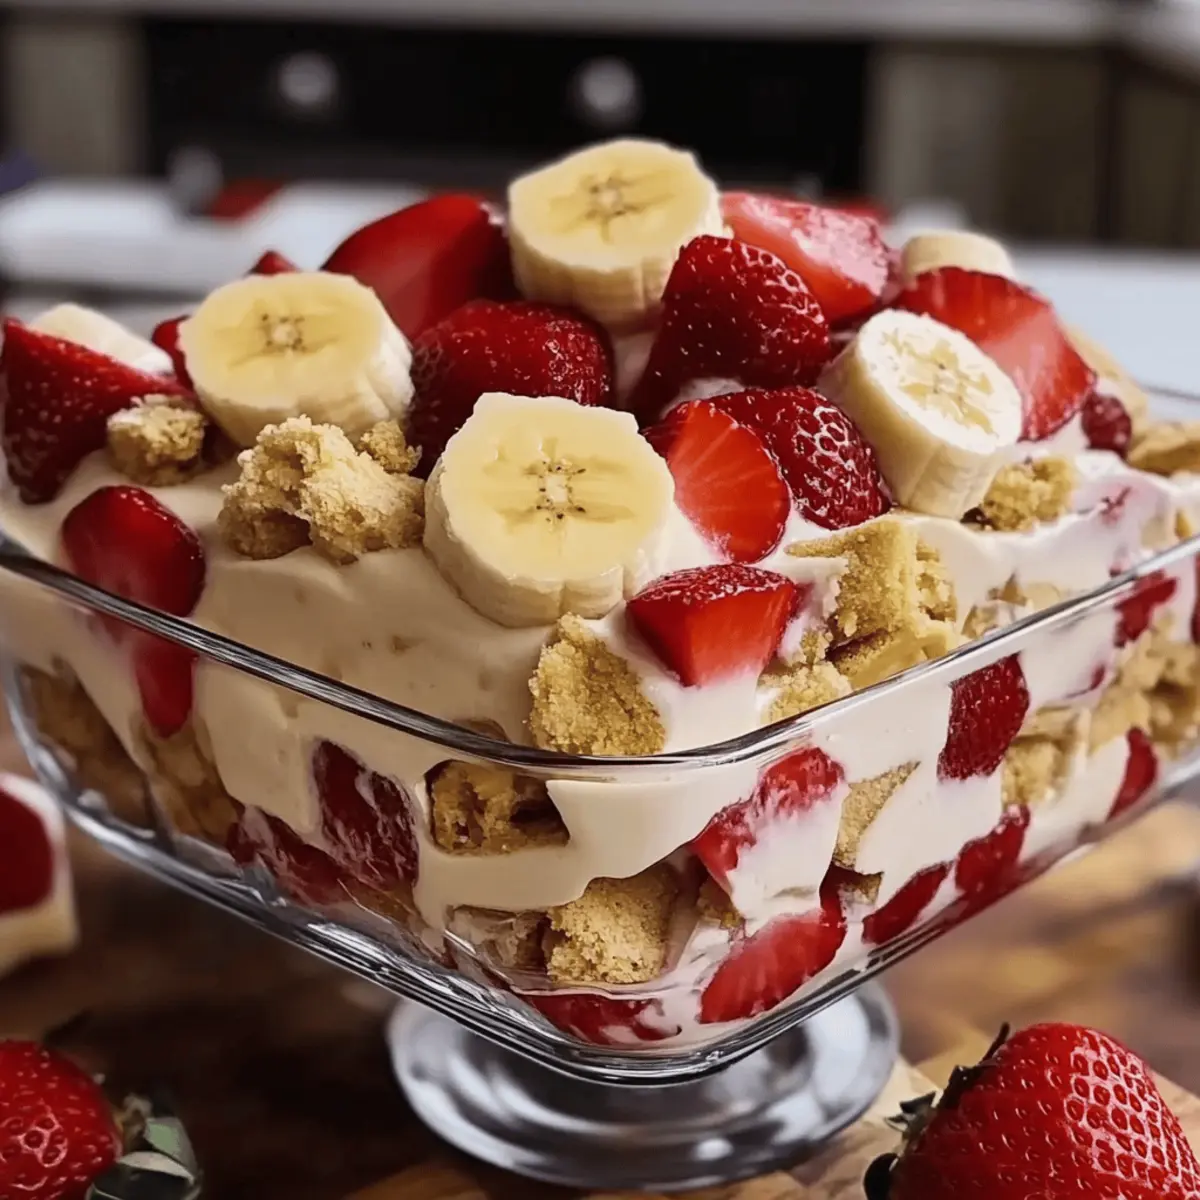
The kitchen buzzed with excitement as I stumbled upon the ultimate dessert concept: a Strawberry Banana Pudding Dream. Imagine all the joys of summer, captured in a creamy, no-bake delight that comes together in just 20 minutes! This recipe takes the classic combination of luscious strawberries and ripe bananas, layering them in a smooth pudding that’s as easy to whip up as it is to devour. Perfect for busy weeknights or festive gatherings, this treat not only saves time but also pleases every palate—making it a true crowd-pleaser. Dive in, and I promise you’ll be wondering how something so simple can bring so much joy to your table! Are you ready to create a dessert that will make your taste buds dance?
Why is this dessert a must-try?
Vibrant Flavors: The Strawberry Banana Pudding Dream bursts with ripe strawberries and bananas, delivering a refreshing taste that screams summer.
No-Bake Simplicity: Whip it up in just 20 minutes, perfect for busy home cooks who crave homemade delights without the fuss.
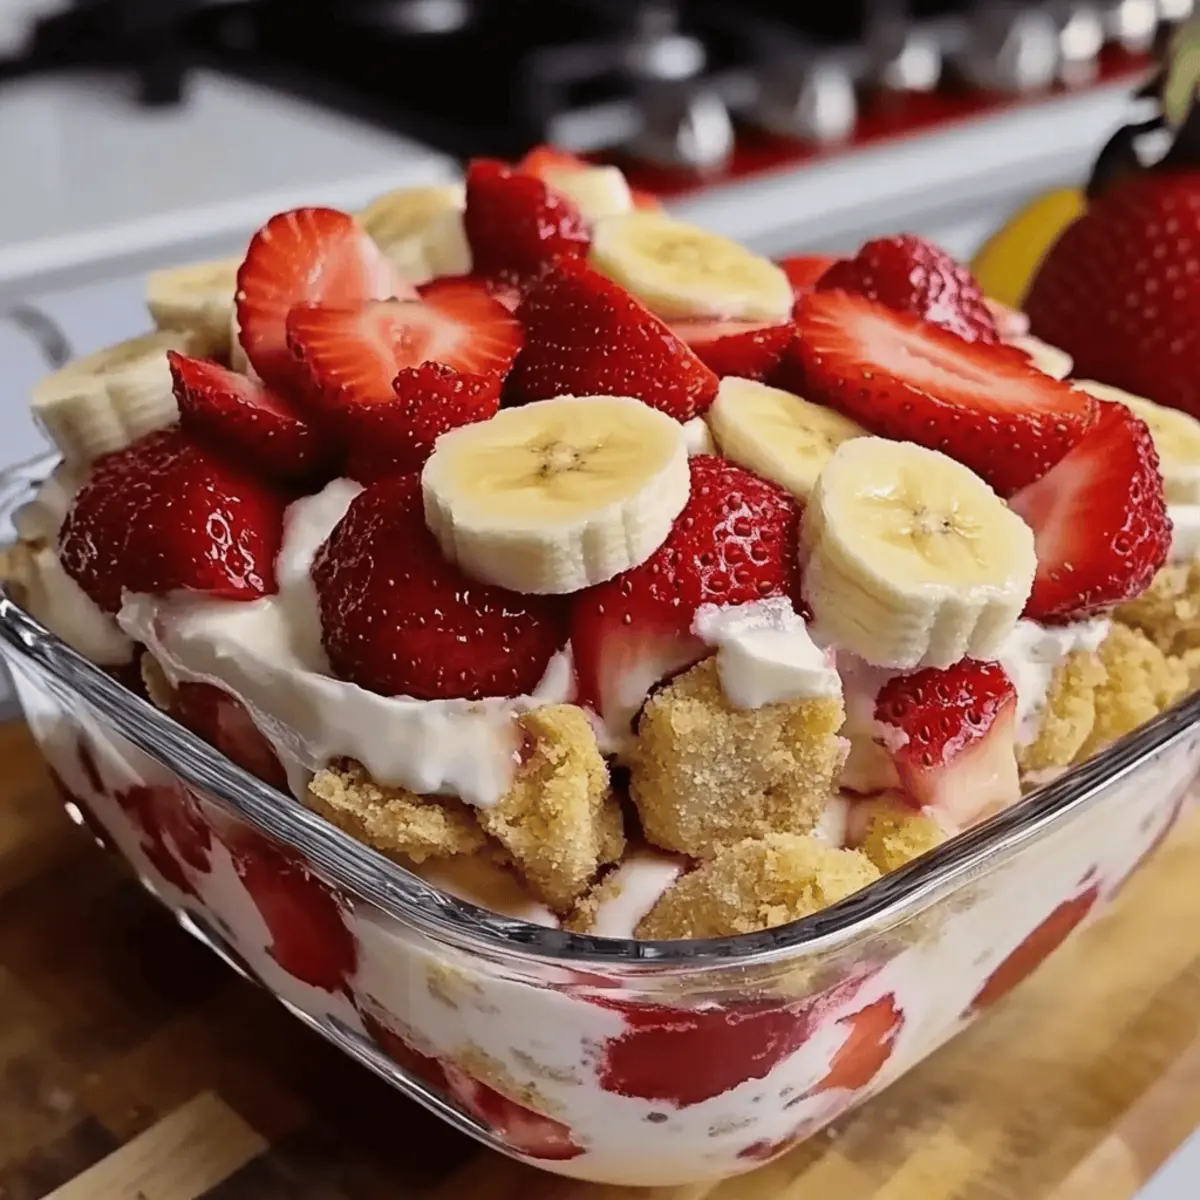
Crowd-Pleaser: This dessert is a guaranteed hit at gatherings, delighting guests of all ages with its creamy texture and fruity layers.
Versatile Options: Experiment with chocolate pudding or other fruits to create your unique spin on this classic treat.
Make-Ahead Magic: Prepare it in advance and let it chill, allowing the flavors to meld for an even richer taste! If you’re also looking for an easier treat, check out our Sugar Air Fryer recipe for more no-bake fun.
Strawberry Banana Pudding Dream Ingredients
Here’s everything you need to create your delicious Strawberry Banana Pudding Dream!
For the Pudding Base
- French Vanilla Pudding Mix – This serves as the creamy foundation; opt for instant vanilla pudding as a substitute if desired.
- Milk – Hydrates the pudding mix for a smooth texture; whole or your favorite dairy-free milk works well.
- Cream Cheese – Adds richness and creaminess; consider using Greek yogurt or dairy-free cream cheese for a lighter version.
- Sweetened Condensed Milk – Infuses the pudding with sweetness; it’s key to the flavor, so no substitutes recommended.
For the Layers
- Vanilla Wafers – Provides delightful crunch; gluten-free wafers can be used for a gluten-free treat.
- Bananas – Brings natural sweetness and creaminess; make sure to choose ripe bananas for the best flavor.
- Strawberries – Offers a burst of freshness and vibrant color; fresh berries are preferred, but thawed frozen strawberries work too.
For the Topping
- Whipped Topping – Gives a light and airy finish; homemade whipped cream or a dairy-free option is great for a personalized touch.
Now gather these ingredients and get ready to whip up your Strawberry Banana Pudding Dream—your taste buds are in for a treat!
Step‑by‑Step Instructions for Strawberry Banana Pudding Dream
Step 1: Blend the Base
In a mixing bowl, use a hand mixer to blend 8 ounces of softened cream cheese with one can of sweetened condensed milk until silky smooth. This should take about 2-3 minutes. Ensure there are no lumps in the mixture, as this will create a creamy pudding base for your Strawberry Banana Pudding Dream.
Step 2: Add Pudding and Milk
Next, sprinkle in the French vanilla pudding mix and gradually add 2 cups of milk while continuing to mix. Stir until thoroughly combined, about 1-2 minutes, until the mixture thickens slightly and is free from lumps. This luscious cream will be the star of your dessert layers!
Step 3: Prepare the Layers
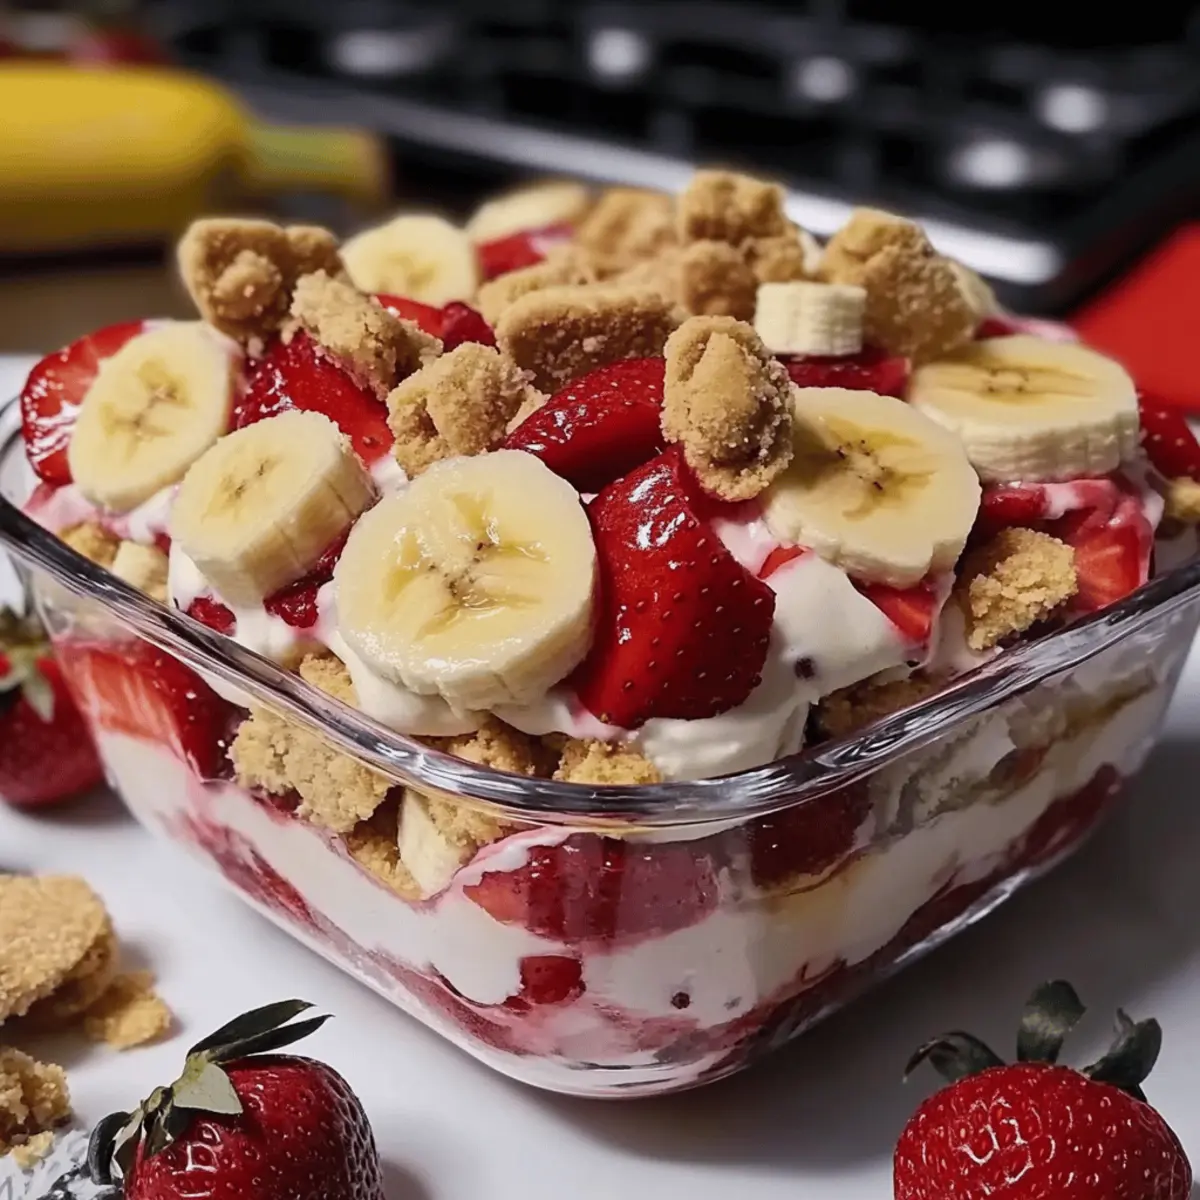
In a large serving dish or trifle bowl, arrange a layer of vanilla wafers at the bottom, covering the base completely. Next, slice 2 ripe bananas and scatter half of them over the wafers, followed by half of the fresh strawberries, halved or sliced. This colorful layer adds flavor and texture to your Strawberry Banana Pudding Dream.
Step 4: Pour the Pudding Mixture
Evenly pour half of the creamy pudding mixture over the first layer of wafers, bananas, and strawberries. Use a spatula to gently spread it into an even layer, ensuring all the fruits are coated beautifully. This will create a delightful melding of flavors as the pudding seeps into the layers beneath.
Step 5: Repeat the Layering
Repeat the layering process by adding another layer of vanilla wafers, followed by the remaining banana slices and strawberries. Complete this layer with the rest of the creamy pudding mixture, smoothing it out with your spatula. This second layer adds depth and height to your Strawberry Banana Pudding Dream.
Step 6: Top with Whipped Topping
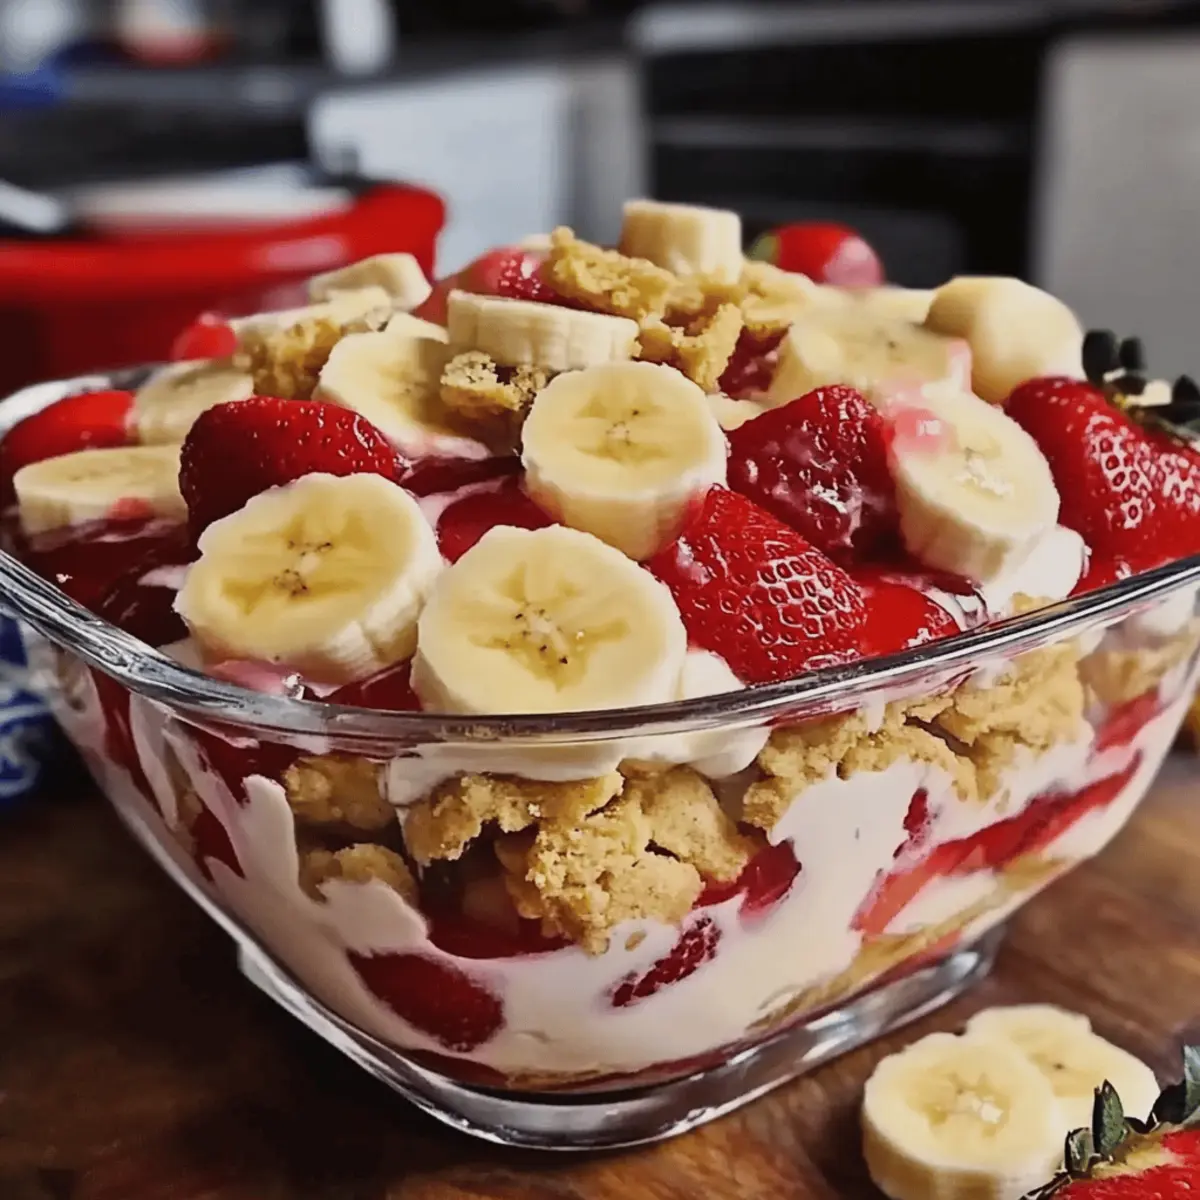
Finish off your dessert by spreading a generous layer of whipped topping over the pudding mixture, creating a light and fluffy crown. Use a spatula to smoothly spread it to the edges, ensuring no pudding is visible. This satisfying topping will enhance both the presentation and taste of your Strawberry Banana Pudding Dream.
Step 7: Chill and Set
Cover the dish tightly with plastic wrap and refrigerate for at least 4 hours, or ideally overnight. This chilling time allows the flavors to meld and the pudding to set perfectly. Once chilled, your Strawberry Banana Pudding Dream will be ready to serve, with layers that stay rich and delicious.
Strawberry Banana Pudding Dream Variations
Feel free to let your creativity shine and customize this delightful dessert to suit your tastes and dietary needs!
-
Chocolate Twist: Use chocolate pudding mix instead of French vanilla for a rich, decadent alternative. It adds a delightful depth to the fruity layers.
-
Berry Medley: Incorporate a variety of fruits such as blueberries or raspberries for an exciting burst of flavors. The more, the merrier when it comes to deliciousness!
-
Dairy-Free Delight: Swap out cream cheese and whipped topping for dairy-free alternatives. Coconut cream is a fantastic option that offers a luscious texture without any dairy.
-
Sugar-Free Version: Opt for sugar-free pudding mix and condensed milk to create a lighter version without sacrificing flavor. Perfect for those watching their sugar intake.
-
Nutty Crunch: Add crushed nuts, like pecans or almonds, between the layers for extra crunch and a delightful nutty contrast. It provides a fantastic textural twist that can elevate every bite.
-
Caramel Drizzle: Drizzle caramel sauce over each layer before adding the pudding for a sweet and indulgent touch. This adds a layer of flavor that is simply irresistible!
-
Minty Fresh: Toss in some finely chopped fresh mint with your strawberries for a refreshing twist. It enhances the fruity flavor and adds a lovely aroma to each spoonful.
-
For more dessert inspiration: Don’t forget to check out our Gingerbread Pudding Cake for a spiced take on pudding, or try our Sugar Air Fryer recipe for a fun and crunchy treat!
Make Ahead Options
These Strawberry Banana Pudding Dreams are perfect for meal prep fatigue! You can prepare the creamy pudding base and refrigerate it up to 24 hours in advance. Just blend the cream cheese, sweetened condensed milk, French vanilla pudding mix, and milk, then store it in an airtight container. The layered components—vanilla wafers, sliced bananas, and strawberries—can also be prepped ahead, but to keep the bananas from browning, slice them just before assembling. When you’re ready to serve, layer the components in your dish and finish with the whipped topping, allowing it some time to chill for optimal flavor melding. This not only saves you valuable time but ensures your dessert tastes just as delicious!
What to Serve with Strawberry Banana Pudding Dream
Create a delightful meal that elevates your no-bake dessert into a full experience, bursting with flavors and textures.
- Fresh Fruit Salad: A medley of seasonal fruits adds a refreshing contrast to the creamy pudding, making each bite a fruity delight.
- Grilled Chicken Skewers: These subtly seasoned skewers offer a savory touch, complementing the sweetness of the Strawberry Banana Pudding Dream while providing protein.
- Cheesy Garlic Bread: The warm, gooey flavors of this comforting side add a savory depth to your meal, balancing out the sweetness of the dessert perfectly.
- Mint-Infused Iced Tea: Cool and refreshing, this drink evokes summer vibes, enhancing the fruity notes of the pudding and keeping your guests refreshed.
- Chocolate-Covered Strawberries: Elevate your dessert by punctuating the creaminess with a bit of chocolate decadence, delivering harmony in every layer you enjoy.
- Vanilla Ice Cream: A scoop of this creamy treat on the side offers an extra layer of indulgence and brings balance to the sweetness of the pudding.
- Coconut Macaroons: These chewy, coconut delights pair beautifully with the pudding, tying together flavors of tropical bliss and texture contrast.
- Lemon Tart: The zesty citrus flavor cuts through the sweetness of the pudding, creating an exciting and delightful finish to your meal.
- Pineapple Upside-Down Cake: A slice of this classic cake introduces a delightful tang and nostalgic sweetness that resonates well with the fruity pudding.
- Sparkling Water with Lime: A refreshing and bubbly drink ensures a light feel, offering a crisp palate cleanser between bites of dessert.
Expert Tips for Strawberry Banana Pudding Dream
-
Prep Ahead: Make the pudding a day before serving. This allows the flavors to deepen, creating a richer and more delightful dessert.
-
Layer Evenly: Ensure each layer of bananas, strawberries, and pudding is evenly distributed. This creates a balanced flavor experience in every spoonful of your Strawberry Banana Pudding Dream.
-
Avoid Soggy Wafers: To prevent the vanilla wafers from getting too soft, layer them just before serving or use a firmer gluten-free wafer for extra crunch.
-
Choose Ripe Fruit: Use ripe bananas and fresh strawberries for the best flavor. Overripe or unripe fruits can affect the overall deliciousness of this no-bake dessert.
-
Cover Tightly: When chilling, cover the dish well to prevent any odors from the fridge from affecting your lovely pudding’s flavor.
How to Store and Freeze Strawberry Banana Pudding Dream
Fridge: Store any leftovers in an airtight container in the refrigerator for up to 3 days. This helps maintain the freshness and prevents the creamy layers from absorbing unwanted odors.
Freezer: Although it’s best enjoyed fresh, you can freeze the Strawberry Banana Pudding Dream for up to 1 month. Cover tightly with plastic wrap and then foil to avoid freezer burn.
Thawing: When ready to enjoy, transfer it to the refrigerator and let it thaw for several hours or overnight. Note that the texture may change slightly after freezing.
Reheating: This dessert is meant to be enjoyed cold, so no reheating is necessary. Simply serve chilled from the fridge after storage.
Strawberry Banana Pudding Dream Recipe FAQs
What type of bananas should I use?
Absolutely! For the best flavor and creaminess, choose ripe bananas that are slightly speckled with brown. Overripe bananas are sweet and perfect for this dessert, while unripe ones might not offer the same delicious taste.
How should I store any leftovers?
Very! Store any leftover Strawberry Banana Pudding Dream in an airtight container in the refrigerator for up to 3 days. This keeps the layers fresh and prevents any absorption of fridge odors, ensuring each bite is still delightful.
Can I freeze the Strawberry Banana Pudding Dream?
Certainly! While it’s best enjoyed fresh, you can freeze your Strawberry Banana Pudding Dream for up to 1 month. Make sure to cover it tightly with plastic wrap and then aluminum foil to prevent freezer burn. When you’re ready to enjoy it, transfer it to the fridge to thaw overnight for the best texture.
What should I do if the pudding doesn’t thicken?
If your pudding mixture isn’t thickening, double-check that you’re using instant pudding mix and adequate milk as per the instructions. Ensure you’re blending the ingredients for at least 2 minutes; if it’s still runny, chill it for a little longer in the refrigerator to help it set.
Is this dessert suitable for people with dietary restrictions?
Absolutely! This Strawberry Banana Pudding Dream can easily be made gluten-free by swapping vanilla wafers for gluten-free varieties. To make it dairy-free, consider using a dairy-free cream cheese and milk. Always check labels to accommodate for allergies, especially concerning the whipped topping and pudding mix.
How far in advance can I make this dessert?
You can prepare this delightful no-bake dessert up to a day in advance. In fact, making it the day before allows the flavors to deepen and meld together, enhancing the overall taste. Just remember to cover it tightly while it chills in the fridge!
Delicious Strawberry Banana Pudding Dream: A No-Bake Wonder
Ingredients
Equipment
Method
- In a mixing bowl, blend cream cheese with sweetened condensed milk until silky smooth, about 2-3 minutes.
- Sprinkle in the French vanilla pudding mix and gradually add milk while mixing. Stir until thickened and free from lumps, about 1-2 minutes.
- In a large serving dish, arrange a layer of vanilla wafers at the bottom, then layer with banana slices and half of the strawberries.
- Pour half of the creamy pudding mixture over the fruit layer, smoothing it out with a spatula.
- Repeat the layering process with the remaining ingredients, ending with the pudding mixture on top.
- Spread whipped topping over the pudding layer evenly.
- Cover the dish tightly with plastic wrap and refrigerate for at least 4 hours or overnight to set.
Leave a Reply