
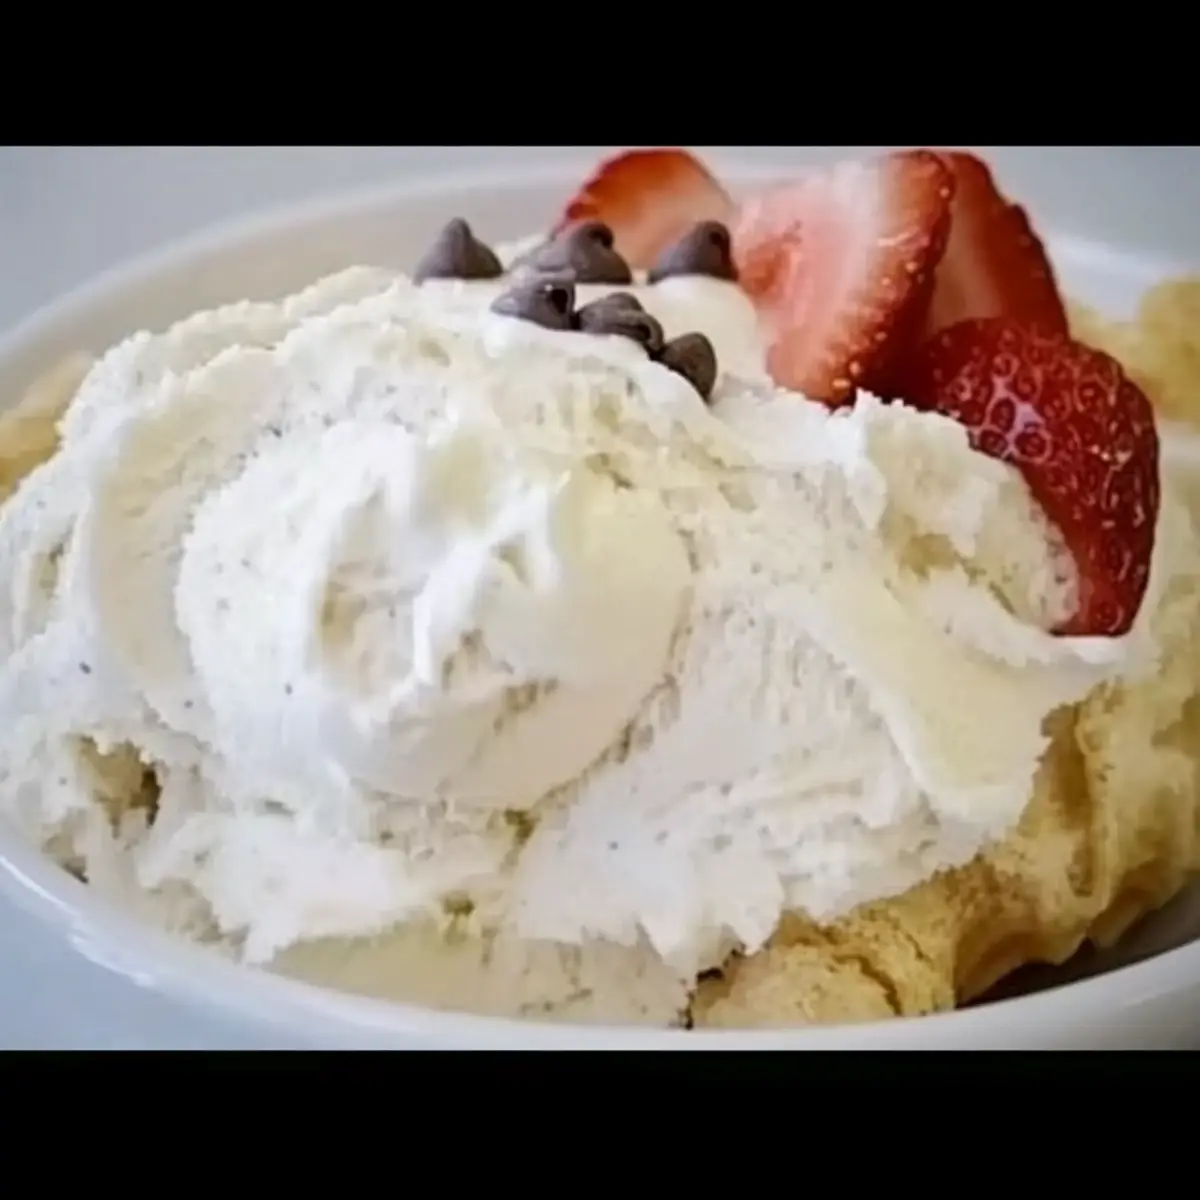
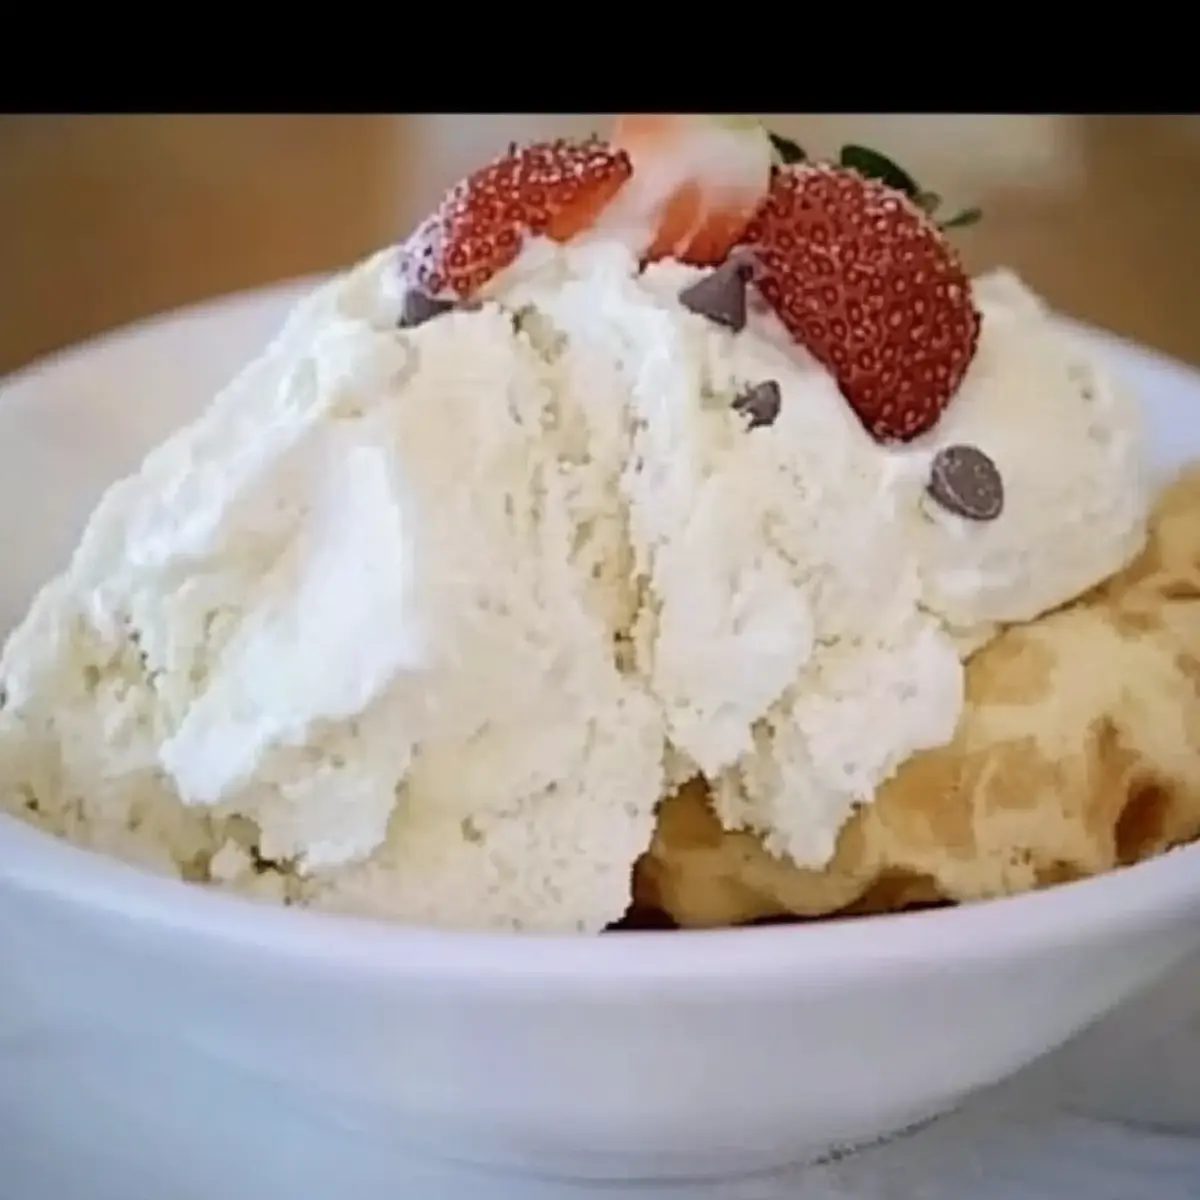
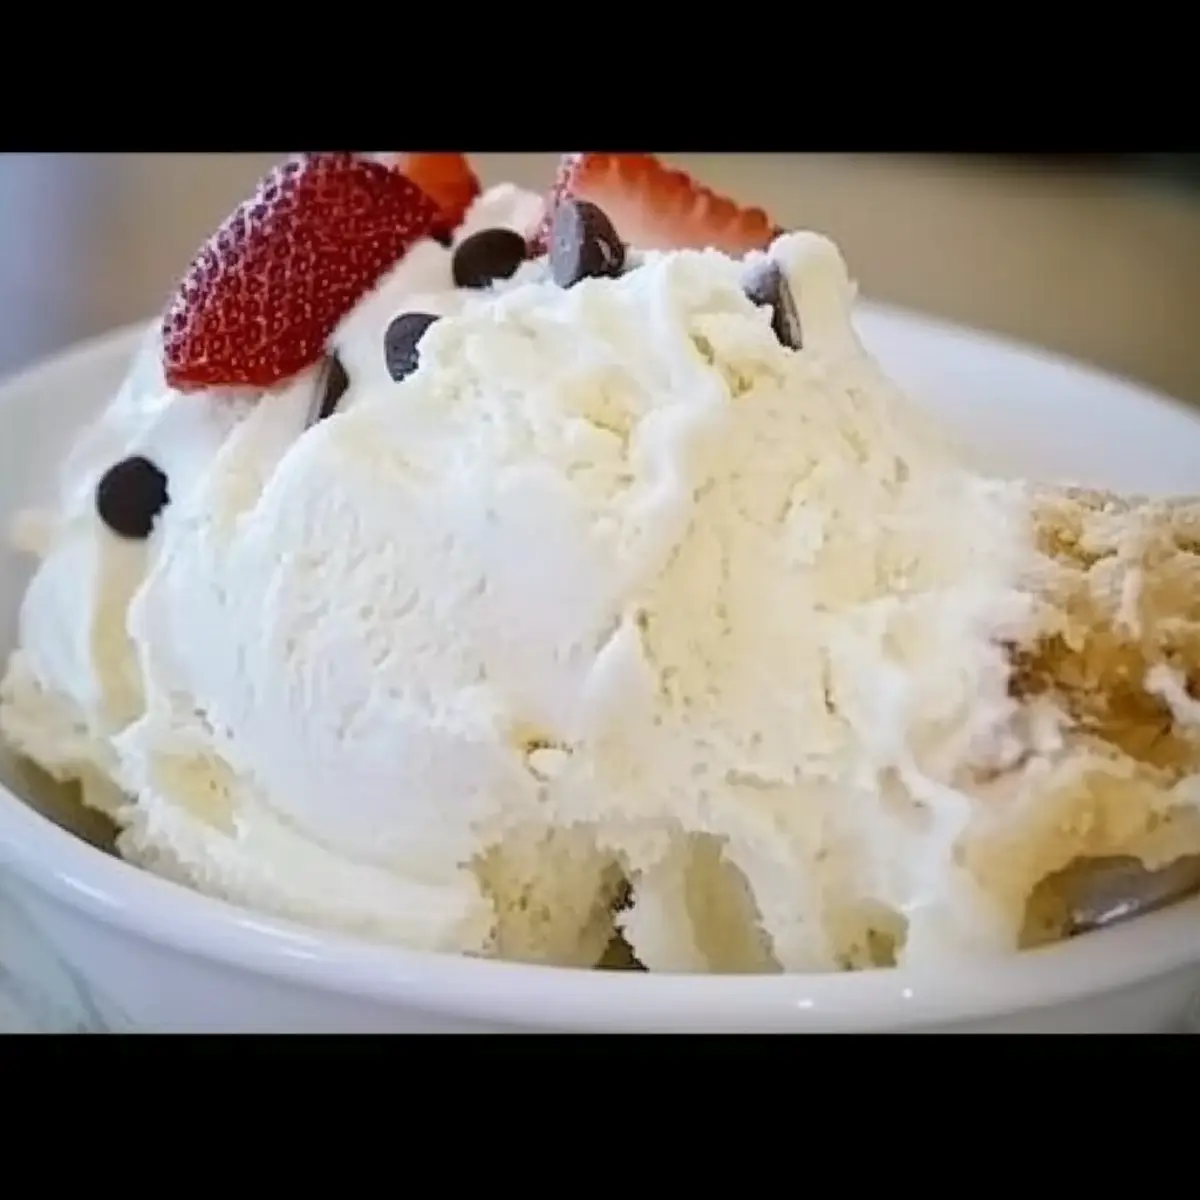
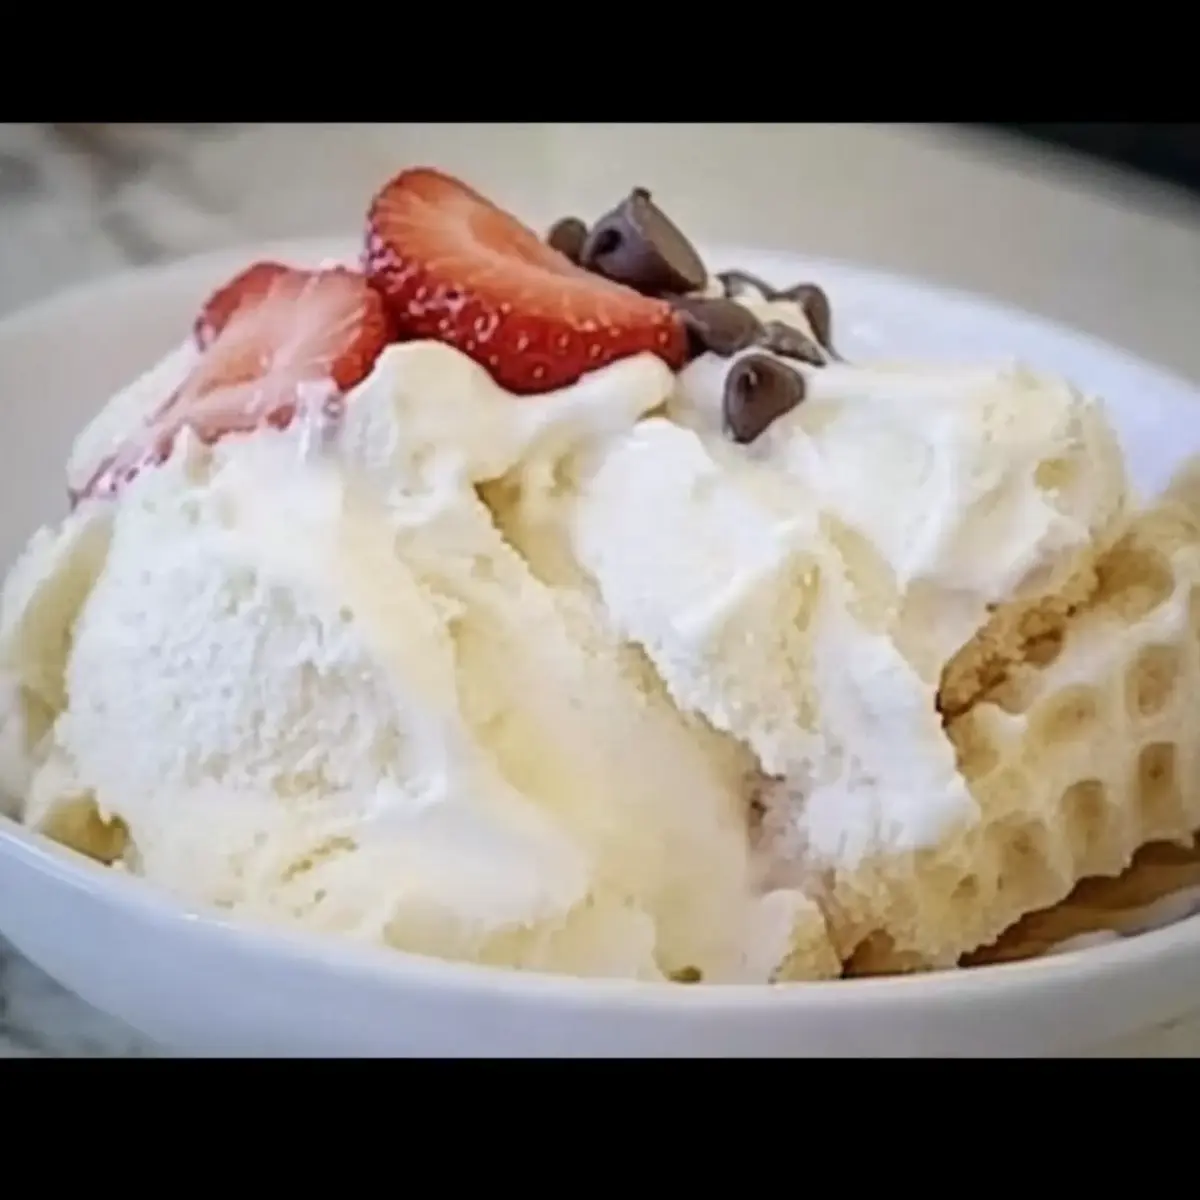
The moment the summer sun hits, I can almost taste the silky goodness of homemade vanilla ice cream melting in my mouth. This no-cook recipe is not only a breeze to whip up but also a nostalgic reminder of carefree days spent with family, enjoying simple pleasures. With just a handful of straightforward ingredients, you can create a rich, creamy treat that will impress both friends and family alike. Plus, it’s egg-free and fully customizable—think luscious fruits, crunchy nuts, or decadent chocolate swirls. Imagine serving this delightful ice cream at your next gathering, where it becomes the star of the dessert table! Are you ready to make some sweet summertime memories?
Why is this ice cream so memorable?
Simplicity: With no cooking involved, this homemade vanilla ice cream comes together in a flash, making it perfect for those spontaneous summer cravings.
Customizable Fun: Add-ins like fresh fruits, chocolate chunks, or nuts let you tailor each batch to your taste.
Nostalgic Flavors: The classic vanilla base evokes memories of childhood summers, making every scoop a delightful trip down memory lane.
Creamy Texture: Blending heavy cream and whole milk ensures a rich, luxurious mouthfeel that melts beautifully.
Crowd-Pleaser: Whether at family barbecues or cozy movie nights, this creamy treat is sure to impress and delight everyone.
So, why not elevate your dessert game? Serve it with your favorite pie, just like our Coconut Chicken Rice or indulge in a scoop on top of some brownies!
Homemade Vanilla Ice Cream Ingredients
For the Base
• Heavy Cream – Provides the ice cream’s richness and creamy texture. Substitute with half-and-half for a lighter version.
• Whole Milk – Balances the richness and adds volume; skim milk can be used for a lower-fat alternative, but it will affect creaminess.
• Salt – Enhances the overall flavor; can be omitted for low-sodium preferences.
• Sugar – Sweetens and helps achieve the right texture; substitute with honey or agave for a different sweetness profile.
• Vanilla Extract – Imparts a classic vanilla flavor; pure vanilla is preferred for the best taste; vanilla bean paste is a great alternative.
For the Custom Add-Ins
• Fruits – Fold in fresh pureed strawberries, blueberries, or chunks of your favorite fruit for a burst of flavor.
• Chocolate – Add chocolate chips or cocoa powder for a decadent twist; substitute ½ cup of cocoa powder for ½ cup of sugar.
• Nuts – Include 1 cup of chopped nuts such as pecans or walnuts for an added crunch in every scoop.
Dive into this homemade vanilla ice cream adventure and let the classic flavors awaken your senses!
Step‑by‑Step Instructions for Homemade Vanilla Ice Cream
Step 1: Mix the Base Ingredients
In a large mixing bowl, combine 2 cups of heavy cream, 2 cups of whole milk, a pinch of salt, ¾ cup of sugar, and 2 tablespoons of vanilla extract. Using a whisk, mix until the sugar is fully dissolved and the mixture is smooth, which should take about 2-3 minutes. This creamy base is essential for your homemade vanilla ice cream.
Step 2: Pour and Prepare
Next, transfer the blended mixture into your ice cream freezer container. Ensure you’ve set up your ice cream maker according to the manufacturer’s instructions. If using a manual churner, be ready to have some fun as you’ll be processing this delightful mix for about 20-25 minutes, until it thickens and doubles in volume.
Step 3: Customize Your Ice Cream
As the ice cream mixture begins to thicken, it’s time to get creative! Toss in your favorite add-ins, such as fresh pureed strawberries, chocolate chips, or crunchy nuts. Gently fold them into the mixture to ensure even distribution without deflating its volume, creating a personal touch to your homemade vanilla ice cream.
Step 4: Freeze to Firm Up
Once processed, transfer the deliciously thick ice cream into an airtight container. Place it in the freezer and let it chill for about 1 hour. This step is crucial for achieving the perfect, scoopable texture before serving. You’ll know it’s ready when it feels firm to the touch yet still creamy when served.
Step 5: Serve and Enjoy
After the ice cream has set, it’s time for the best part — serving! Scoop generous portions into bowls or cones, and delight in the creamy goodness of your homemade vanilla ice cream. Whether on its own or paired with your favorite dessert, each scoop is sure to bring back that warm, nostalgic feeling of summer memories.
Helpful Tricks for Homemade Vanilla Ice Cream
-
Mix Thoroughly: It’s essential to mix your ingredients well to ensure the sugar dissolves completely. This prevents graininess in your homemade vanilla ice cream.
-
Chill Before Freezing: Refrigerate the mixture for about 30 minutes before processing in the ice cream maker. It helps achieve a creamier texture.
-
Don’t Overload with Add-Ins: When customizing, add a moderate amount of fruits or nuts to avoid impacting the texture negatively. Too many add-ins can make it icy rather than creamy.
-
Watch Processing Time: Keep an eye on the ice cream maker; process just long enough for it to thicken and double in volume. Over-churning can lead to a crumbly texture.
-
Use Quality Vanilla: Opt for pure vanilla extract for the best flavor. Imitation vanilla can alter the taste of your homemade vanilla ice cream.
Homemade Vanilla Ice Cream Variations
Feel free to explore delightful tweaks that can elevate your homemade vanilla ice cream experience!
-
Chocolate Delight: Replace ½ cup of sugar with ½ cup of cocoa powder for a rich chocolate twist that melts in your mouth. Imagine the combination as chocolatey goodness envelops that familiar vanilla base, striking a perfect balance.
-
Fresh & Fruity: Fold in pureed strawberries, blueberries, or chunks of peaches right before it thickens for bright bursts of flavor. The essence of summer shines through, bringing that bright and refreshing vibe to your dessert.
-
Nutty Crunch: Incorporate 1 cup of chopped pecans, walnuts, or almonds for an enjoyable texture change. As you crunch into the smooth ice cream, each scoop becomes a unique adventure that balances creamy and crunchy perfectly.
-
Swirl It Up: Add a ribbon of homemade caramel or fudge sauce for a decadent sundae experience. The gooey swirls create a beautiful contrast against the smooth ice cream, inviting friends and family to dive in!
-
Spiced Variation: Mix in a pinch of cinnamon or ginger for a warm and cozy twist that is perfect for cool summer nights. These spices enhance the classic flavor profile, enveloping each scoop in a comforting embrace.
-
Coconut-Creamy: Swap out whole milk with coconut milk for a tropical, dairy-free alternative. This twist on flavor adds a luscious coconut essence that pairs delightfully with fruity add-ins, making each scoop an island vacation.
-
Minty Fresh: Add a few drops of peppermint extract to craft a refreshing mint version that delights the palate. Pair it with chocolate chips for a simple yet satisfying combination that’s reminiscent of a classic mint chocolate chip.
-
Zesty Lemon: Stir in lemon zest and a tablespoon of lemon juice for a bright, zesty flavor that cuts through the creaminess. This refreshing twist is perfect for hot summer days and makes every scoop tantalizingly tangy.
And if you’re looking for more delicious inspirations, don’t hesitate to check out our Cajun Chicken Pasta for a savory treat or end your meal on a sweet note with our Vanilla Bean Brown dessert!
How to Store and Freeze Homemade Vanilla Ice Cream
Fridge: Store in the fridge for up to 1 week if you plan to eat it soon. Transfer to an airtight container after mixing to prevent the ice cream from freezing solid.
Freezer: For longer storage, keep your homemade vanilla ice cream in an airtight container in the freezer for up to 2 weeks. It’s best to consume within a week for optimal flavor and texture.
Reheating: If the ice cream hardens too much, let it sit at room temperature for about 10 minutes before scooping. This will soften it for easy serving while maintaining its creamy nature.
Wrap It Well: Cover the surface of the ice cream with plastic wrap before sealing the container to prevent ice crystals from forming and keep it as fresh as possible.
Make Ahead Options
These homemade vanilla ice cream preparations are perfect for busy cooks who want to save time! You can mix all the base ingredients and refrigerate the mixture for up to 24 hours before processing. This not only allows the flavors to meld but also makes it easier to whip up your ice cream on a whim. When you’re ready to enjoy your homemade vanilla ice cream, simply pour the chilled mixture into your ice cream maker and process according to the manufacturer’s instructions. For added texture, consider folding in your favorite mix-ins right before it reaches the desired thickness. Just remember to transfer it to the freezer for about an hour to achieve that creamy, scoopable perfection!
What to Serve with Homemade Vanilla Ice Cream
Indulging in creamy homemade vanilla ice cream opens up a world of delightful pairing options to create a heavenly dessert spread.
- Warm Brownies: Serve warm, fudgy brownies alongside a scoop of ice cream for a classic a la mode experience. The contrast of warm and cold brings everything together beautifully.
- Fresh Fruit Salad: A fruity salad of seasonal berries and melons adds a refreshing touch, balancing the richness of the ice cream with vibrant, juicy flavors.
- Chocolate Sauce: Drizzling warm chocolate sauce over the ice cream transforms it into an elegant dessert with a touch of indulgence. The silky chocolate pairs perfectly with the vanilla.
- Crispy Waffle Cones: Scooping ice cream into crispy waffle cones introduces a delightful crunch and makes for a fun, handheld treat that’s perfect for summer days.
- Peanut Butter Swirl: Swirl creamy peanut butter through the ice cream for a nutty twist that enhances the vanilla and adds an addictive layer of flavor.
- Coconut Pie Slices: Pair with slices of coconut cream pie for a tropical-inspired dessert duo, where the light flavors complement each other splendidly.
- Ice Cream Sandwiches: Sandwich homemade vanilla ice cream between two freshly baked cookies, creating a nostalgic treat that’s sure to please everyone at your gathering.
- Coffee: A rich, brewed cup of coffee is the perfect way to balance out the sweetness and make every spoonful more delightful.
- Creamy Milkshake: Blend your vanilla ice cream with milk for a homemade milkshake that’s thick and delicious, adding a fun twist to your dessert experience.
- Chocolate Chip Cookies: Serve with classic chocolate chip cookies for a satisfying pairing that never goes out of style—perfectly sweet and comforting.
Homemade Vanilla Ice Cream Recipe FAQs
What type of cream is best for this homemade vanilla ice cream?
I always recommend using heavy cream for a rich and creamy texture. However, if you’re looking for a lighter option, half-and-half can work too, although it may slightly alter the creaminess.
How should I store homemade vanilla ice cream?
To keep your homemade vanilla ice cream fresh, store it in an airtight container in the freezer for up to 2 weeks. For the best flavor and texture, consume it within a week. If storing for longer, consider wrapping the surface with plastic wrap before sealing the container to minimize ice crystal formation.
Can I freeze this ice cream for later use?
Absolutely! Once your homemade vanilla ice cream is processed, transfer it to an airtight container and freeze it for up to 2 weeks. When you’re ready to enjoy, allow it to sit at room temperature for about 10 minutes before scooping to soften it slightly for easier serving.
How do I troubleshoot grainy ice cream?
Grainy texture usually results from undissolved sugar. Be sure to mix the ingredients thoroughly until the sugar is fully dissolved before freezing. If you encounter graininess after freezing, gently re-mix it in a bowl once it softens slightly to help redistribute the sugar.
Can I make this recipe dairy-free or vegan?
Yes! For a dairy-free or vegan version of this homemade vanilla ice cream, substitute the heavy cream and whole milk with full-fat coconut milk or any plant-based milk. Be sure to adjust sweetness and flavorings to enhance the taste—adding a touch of vanilla extract or a bit of agave syrup can be delightful!
Is this homemade vanilla ice cream safe for my pets?
It’s best to avoid giving homemade vanilla ice cream to pets. While the basic ingredients may not be toxic, many pets have lactose intolerance or may not tolerate sugar well. It’s safer to opt for pet-friendly frozen treats available in pet stores.
Creamy Homemade Vanilla Ice Cream for Sweet Summer Bliss
Ingredients
Equipment
Method
- In a large mixing bowl, combine heavy cream, whole milk, salt, sugar, and vanilla extract. Mix until smooth.
- Transfer the mixture to your ice cream freezer container and set up your ice cream maker.
- Add in your favorite custom add-ins as the mixture thickens and gently fold them in.
- Transfer to an airtight container and freeze for about 1 hour to firm up.
- Scoop and serve the homemade vanilla ice cream into bowls or cones.
Leave a Reply