
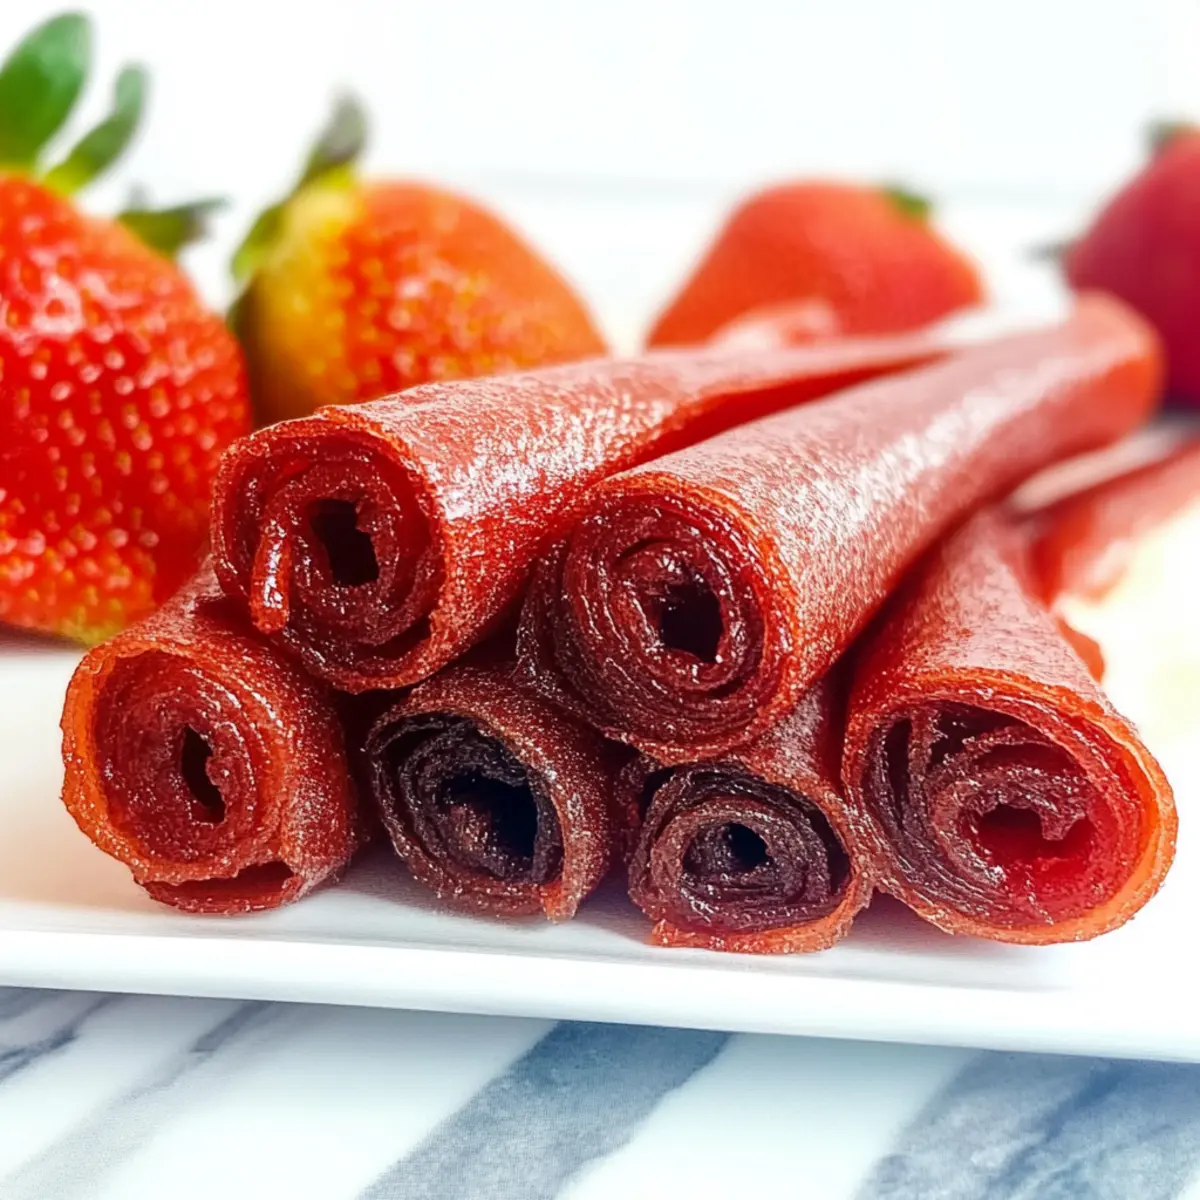
As I walked through the farmer’s market, the vibrant red strawberries caught my eye, and I couldn’t help but envision a delicious snack. This moment led me to create my 3-Ingredient Homemade Strawberry Fruit Roll-Ups, a balm for nostalgic cravings without the guilt of store-bought snacks. The beauty of this recipe lies in its simplicity: just three wholesome ingredients and no fancy equipment needed. These chewy delights are not only a healthier alternative to processed treats but also a crowd-pleaser that you can customize with your choice of sweeteners. Imagine whipping up a batch to tuck into lunchboxes or savor during a cozy movie night! Ready to dive into the sweet, fruity goodness? Let’s get started!

Why Make Homemade Strawberry Fruit Roll-Ups?
Simplicity at its core: With just three ingredients, this recipe is refreshingly easy to prepare—no complicated techniques needed!
Wholesome goodness: You’ll feel great knowing every bite is made with natural ingredients, free from added sugars and preservatives.
Customizable sweetness: Adjust the sweetness to fit your taste by swapping honey for maple syrup or agave, giving you complete control over your snack.
Kid-friendly fun: Perfect for lunchboxes or an after-school treat, these fruit roll-ups are easy to pack and deliciously chewy, appealing to kids and adults alike!
Healthy nostalgia: Relive the joy of childhood snacks in a healthier way. Just like my Homemade Butter Chicken or Fall Fruit Salad, this recipe offers a delightful taste of comfort that everyone can enjoy!
Homemade Strawberry Fruit Roll-Ups Ingredients
For the Roll-Ups
- Frozen Strawberries – the main ingredient that brings vibrant flavor and chewy texture; fresh strawberries can be substituted if you have them on hand.
- Honey – a natural sweetener you can adjust to your taste; feel free to swap it out for maple syrup or agave for a different sweetness profile.
- Lemon Juice – adds a touch of tang while preserving the gorgeous color of the strawberries; this ingredient is essential for balancing the sweetness in your homemade strawberry fruit roll-ups!
Step‑by‑Step Instructions for Homemade Strawberry Fruit Roll-Ups
Step 1: Preheat the Oven
Begin by preheating your oven to the lowest temperature setting, typically between 140°F and 170°F. This slow drying process is essential for achieving the perfect chewy texture in your homemade strawberry fruit roll-ups. While the oven warms up, you can prepare the baking surface.
Step 2: Prepare the Baking Sheet
Line a baking sheet with parchment paper, ensuring it covers the entire surface. This will prevent sticking and make it easy to remove your fruit roll-ups later. Take a moment to smooth out any wrinkles in the parchment for even drying, setting the stage for your delicious treat.
Step 3: Blend the Ingredients
In a food processor or blender, combine the thawed strawberries, honey, and lemon juice. Blend the mixture until it reaches a smooth consistency, about 30 to 60 seconds. This vibrant mixture is the heart of your homemade strawberry fruit roll-ups, so make sure it’s well combined and looks beautifully pink.
Step 4: Spread the Mixture
Pour the blended strawberry mixture onto the prepared baking sheet. Using a spatula, spread it evenly to about ⅛ to ¼ inch thick. Be careful not to create holes or gaps in the mixture, as this can lead to uneven drying. This even layer ensures a consistent texture across your fruit roll-ups.
Step 5: Bake in the Oven
Place the baking sheet in your preheated oven and bake for 4 to 6 hours. Keep an eye on the mixture during the last hour; it should no longer feel tacky in the center when it’s done. This drying time will transform your strawberry mixture into delightful, chewy fruit roll-ups as you enjoy the enticing aroma wafting through your kitchen.
Step 6: Cool and Slice
Once the fruit roll-ups are fully dried, remove the baking sheet from the oven and allow it to cool completely. Gently peel the parchment paper away from the roll-ups, then use clean scissors or a pizza cutter to slice them into 1-inch wide strips. This step is where your homemade strawberry fruit roll-ups are transformed from the baking sheet into perfect snack-sized pieces!

Storage Tips for Homemade Strawberry Fruit Roll-Ups
Fridge: Store your homemade strawberry fruit roll-ups in an airtight container for up to 2 weeks. Adding a paper towel inside helps to absorb excess moisture, keeping them fresh.
Freezer: For longer storage, freeze the fruit roll-ups by placing them in a single layer in a sealed freezer bag. They can last up to 3 months, ensuring you always have a healthy snack ready!
Reheating: If you prefer a softer texture, let them sit at room temperature for about 10-15 minutes before enjoying. There’s no need to reheat since they are delightful as is!
Check for Freshness: Always look for any signs of spoilage before consuming. If they start to feel sticky or develop an off smell, it’s best to discard them for safety.
Make Ahead Options
These 3-Ingredient Homemade Strawberry Fruit Roll-Ups are perfect for busy meal prep enthusiasts! You can blend the strawberries, honey, and lemon juice up to 24 hours in advance and refrigerate the mixture in an airtight container. When you’re ready to bake, simply pour it onto a lined baking sheet and follow the drying instructions. To maintain that delicious chewy texture, ensure the mixture is spread evenly and monitor it closely while baking. Once dried, allow them to cool completely, cut into strips, and store in an airtight container for up to two weeks. This thoughtful prep makes snack time a breeze for everyone!
Homemade Strawberry Fruit Roll-Ups Variations
Feel free to get creative with these delightful fruit roll-ups—they’re just waiting for your personal twist!
-
Berry Mix: Blend ripe strawberries with other berries like blueberries or raspberries for a mixed berry flavor explosion. Just imagine the delightful burst of different flavors in every bite!
-
Tropical Twist: Replace strawberries with blended mango or pineapple to bring a taste of the tropics into your kitchen. This vibrant change adds a sunny sweetness that’s sure to brighten your day.
-
Honey Alternatives: Try using maple syrup or agave syrup instead of honey for a vegan option. Both options sweeten beautifully while providing a new dimension of flavor to your roll-ups.
-
Citrus Zing: Incorporate a splash of orange or lime juice instead of lemon for added zest. This simple switch adds a refreshing twist that enhances the overall flavor profile.
-
Vanilla Infusion: Add a teaspoon of vanilla extract to the blended mixture for a warm, comforting flavor. This hint of vanilla creates a lovely depth that elevates your fruit roll-ups to new heights.
-
Spice it Up: For a subtle warmth, sprinkle in a pinch of cinnamon or ginger before blending. This adds a cozy flavor reminiscent of fall that will be pleasing with each chewy bite.
-
Nutty Goodness: For an extra crunch, blend in a tablespoon of ground nuts or nut butter. This not only adds texture but also enhances the nutritional value of your snack.
-
Heat it Up: If you enjoy a bit of heat, consider adding a pinch of cayenne pepper or chili powder to the blend. A spicy kick can create an exciting contrast with the sweet strawberry flavor, making your taste buds dance!
As you whip up your homemade strawberry fruit roll-ups, think about how they can be paired with my scrumptious Birria Tacos Homemade for a fantastic snacking experience. Let your creativity shine while enjoying these heartfelt treats!
Expert Tips for Homemade Strawberry Fruit Roll-Ups
• Even Spreading: Ensure the fruit layer is spread uniformly to avoid uneven drying, which could result in some parts being too chewy or too dry.
• Hydrate Dry Edges: If you find the edges of your roll-ups are drying out too much, gently rub them with a small amount of water to rehydrate and restore their chewiness.
• Monitor Temperature: Pay close attention while baking; oven temperatures can vary widely. Check the roll-ups periodically to ensure they aren’t over-drying.
• Storage Matters: After cooling, store your homemade strawberry fruit roll-ups in an airtight container with a paper towel to absorb excess moisture and keep them fresh for longer.
• Customization Freedom: Feel free to experiment with different sweeteners or fruits, like blueberries or mangoes, to create unique flavors that suit your taste!
What to Serve with 3-Ingredient Homemade Strawberry Fruit Roll-Ups
Enjoying these delightful chewy snacks can be even more satisfying when paired with complementary flavors and textures.
-
Yogurt Parfait: Creamy yogurt adds a luscious contrast, making a fantastic breakfast or snack bursting with flavor.
-
Nut Butter: A smear of almond or peanut butter enhances the roll-ups’ sweet melodies with savory richness, perfect for a midday treat.
-
Granola: Crunchy granola brings a satisfying crunch to the mix, adding more texture to your fruity snack experience.
-
Fresh Fruit Salad: The vibrant mix of seasonal fruits provides refreshing juiciness and balances the sweetness of the roll-ups.
-
Cheese Cubes: Soft cheese like Brie introduces a creamy and mild flavor that beautifully complements the fruity notes of the roll-ups.
-
Herbal Tea: A warm cup of herbal tea, like chamomile or mint, offers soothing herbal undertones, creating a cozy treat experience.
-
Trail Mix: Combine your roll-ups with a homemade trail mix for an on-the-go snack that combines sweetness with a satisfying crunch.
-
Chocolate Dipping Sauce: Everyone loves a hint of decadence! A light chocolate drizzle can elevate these fruity snacks for a special occasion.
-
Smoothies: Blend a smoothie with your favorite fruits for a nutritious drink that pairs wonderfully with the chewy fruit roll-ups.

3-Ingredient Homemade Strawberry Fruit Roll-Ups Recipe FAQs
What type of strawberries should I use for the roll-ups?
You can use frozen strawberries, which provide great flavor and texture. If you have fresh strawberries available, feel free to substitute them. Just ensure they’re ripe, vibrant red, and free from dark spots for the best results.
How should I store my homemade strawberry fruit roll-ups?
Store your homemade strawberry fruit roll-ups in an airtight container in the fridge for up to 2 weeks. Adding a paper towel inside helps absorb excess moisture, maintaining their delightful chewiness.
Can I freeze the fruit roll-ups?
Absolutely! To freeze the fruit roll-ups, place them in a single layer in a sealed freezer bag, ensuring there’s no air trapped inside. They can last up to 3 months in the freezer. When you’re ready to enjoy, simply remove and let them sit at room temperature for about 10-15 minutes for the perfect texture.
What if my fruit roll-ups are too sticky after baking?
If the fruit roll-ups are still tacky in the center, they need more baking time. Check every 30 minutes after the initial 4 hours until they no longer feel sticky. To fix overly dry edges, gently rub with a small amount of water to rehydrate them back to that chewy goodness.
Are these fruit roll-ups safe for kids with allergies?
These homemade strawberry fruit roll-ups are generally safe, but always check for allergies. The main allergens to consider are honey (which can be substituted with maple syrup or agave) and potential fruit allergens if using different types of fruit. Always double-check your ingredient labels!
How can I customize the sweetness of the roll-ups?
You have complete control over the sweetness by adjusting the amount of honey or swapping it for other sweeteners like maple syrup or agave. Taste the mixture before spreading to ensure it fits your flavor preferences, making it a fun experiment for the whole family!
Deliciously Simple Homemade Strawberry Fruit Roll-Ups
Ingredients
Equipment
Method
- Preheat your oven to the lowest temperature setting, typically between 140°F and 170°F.
- Line a baking sheet with parchment paper.
- In a food processor or blender, combine thawed strawberries, honey, and lemon juice. Blend until smooth.
- Pour the blended mixture onto the prepared baking sheet and spread it evenly.
- Place the baking sheet in the preheated oven and bake for 4 to 6 hours.
- Once dried, remove from the oven, allow to cool, and slice into 1-inch wide strips.
Leave a Reply