
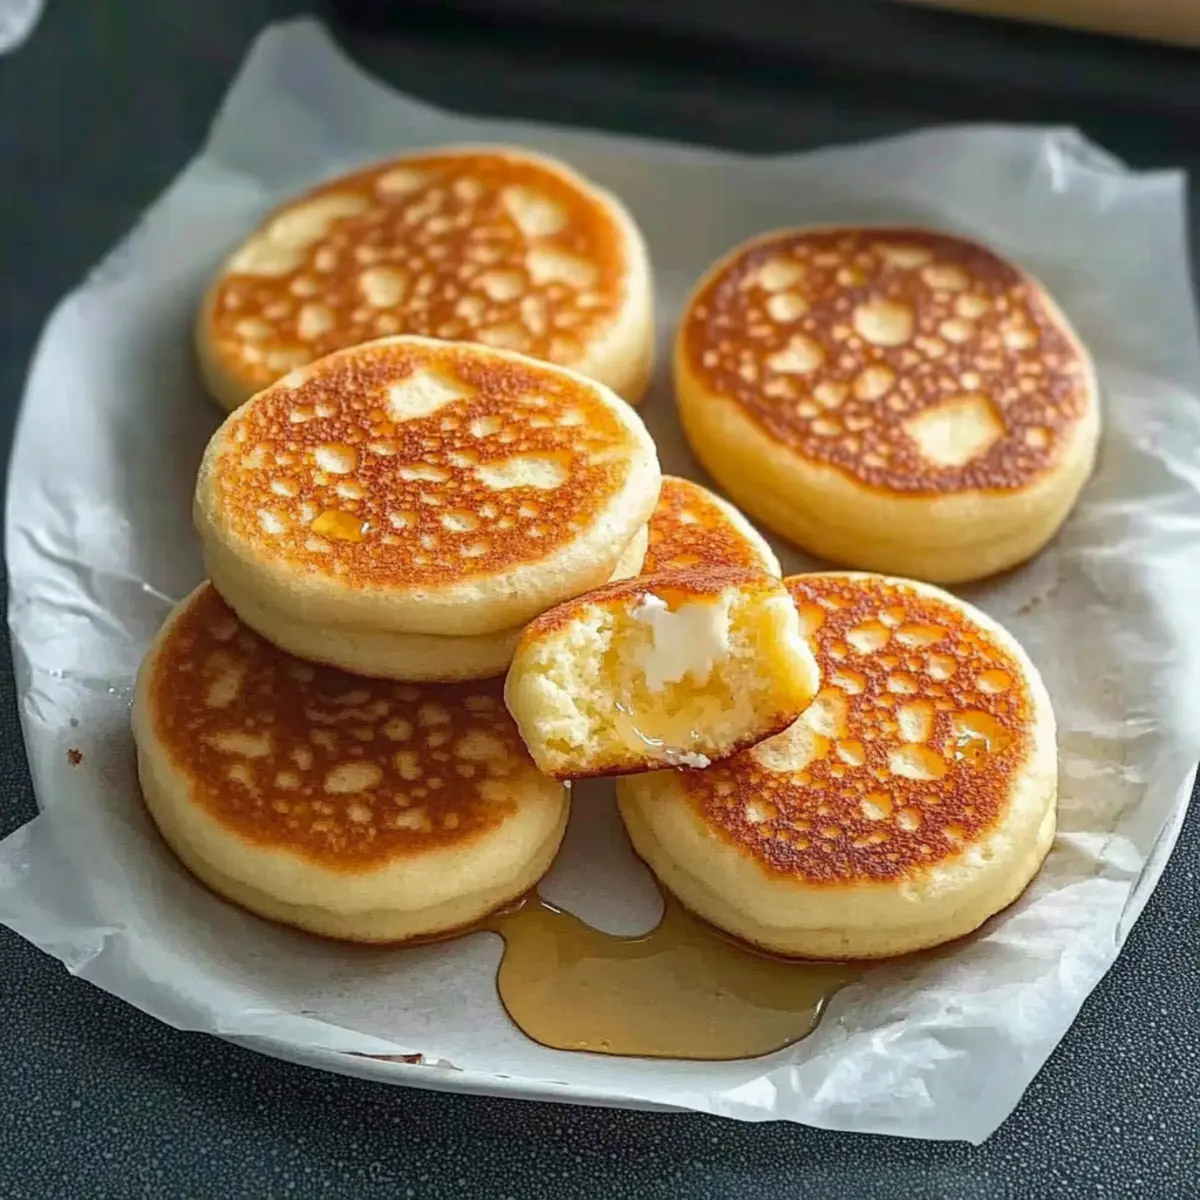
As I savored my morning tea, an old memory washed over me: the delightful crunch of a perfectly toasted crumpet, warm from the griddle, and topped with a dollop of creamy butter. Today, I’m excited to share my favorite Gluten Free Crumpets Recipe that not only brings back that nostalgic joy but also caters to those embracing a gluten-free lifestyle. With minimal effort and just a handful of simple ingredients, you can whip up these fluffy breakfast treats that are as airy as they are satisfying. Each crumpet comes out with a delightful crispy edge, perfect for soaking up your favorite spreads. Whether you’re enjoying a quiet breakfast or entertaining guests, these homemade crumpets are a quick and easy way to elevate your morning routine. Ready to bring a taste of tradition to your table? Let’s dive into this delightful recipe!
Why Make Gluten Free Crumpets?
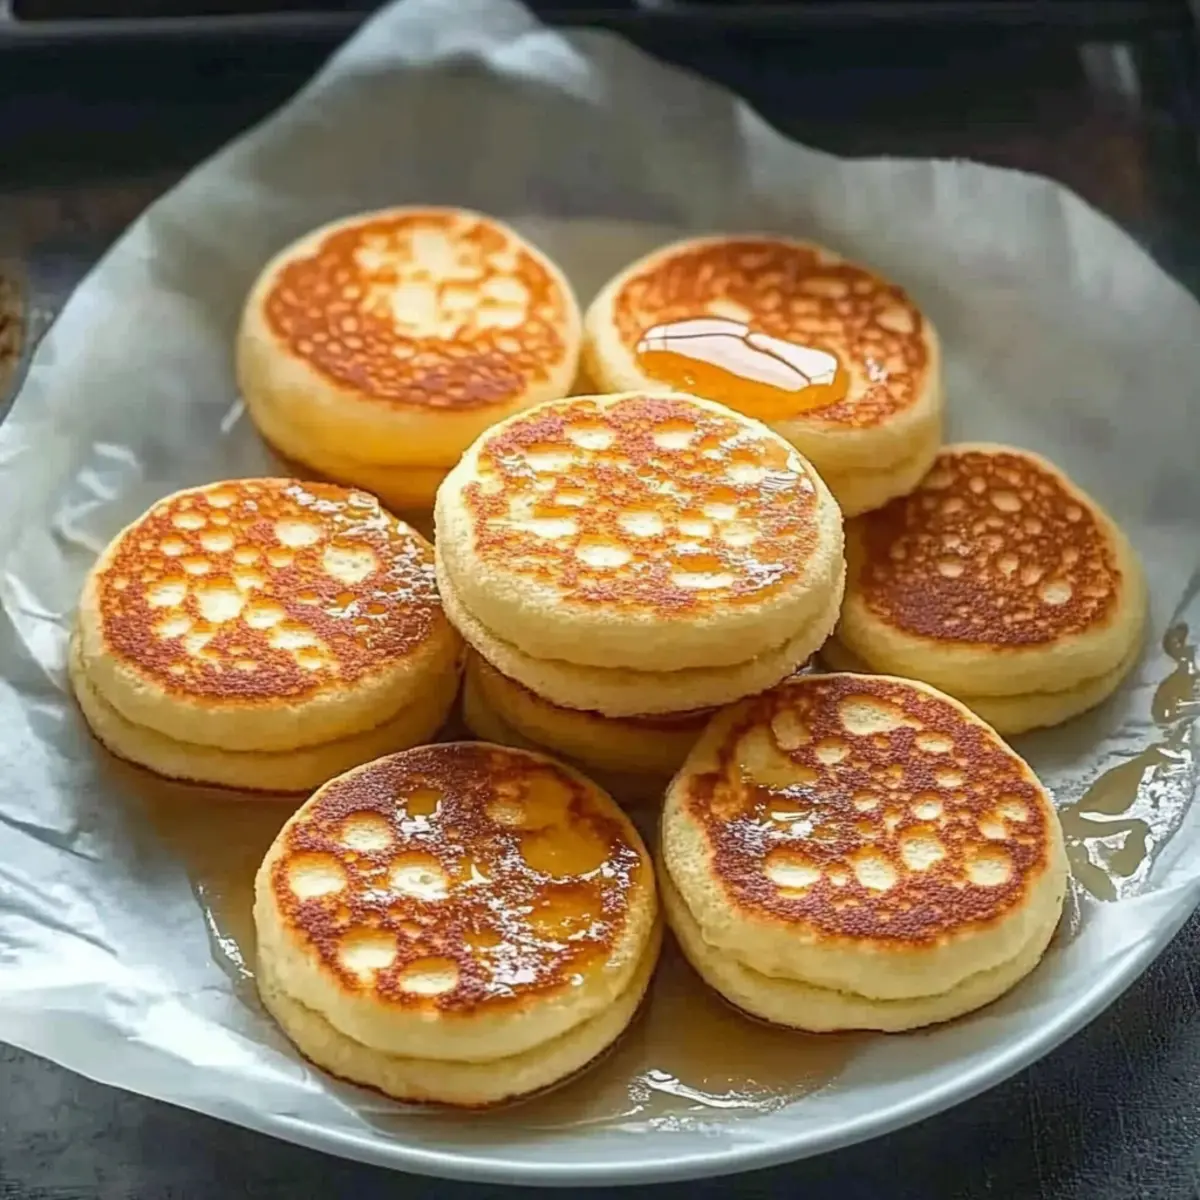
Flavorful Experience: Each bite of these crumpets is a heavenly combination of soft, chewy interiors and crispy edges, making them an irresistible breakfast choice.
Quick to Prepare: With simple ingredients and minimal prep time, you’ll have these delightful crumpets ready in no time—perfect for busy mornings!
Endless Customization: Add your favorite toppings or mix in unique variations, like cheese or chocolate chips, for a personalized twist.
Crowd-Pleasing Delight: Serve them warm at brunch, and they’ll impress family and friends, leaving everyone asking for seconds!
Versatile Usage: Pair with Apple Quinoa Salad for a fuller meal or enjoy with your go-to jam. These crumpets fit seamlessly into any meal occasion!
Gluten Free Crumpets Ingredients
For the Batter
• Gluten-Free All-Purpose Flour – The essential base, ensuring your crumpets have the right structure; choose a blend with xanthan gum for the best results.
• Baking Powder – A key leavening agent that creates fluffy texture; be sure it’s specifically labeled gluten-free.
• Baking Soda – Helps enhance fluffiness and browning when combined with vinegar; don’t skip this ingredient!
• Salt – A crucial flavor enhancer that balances the sweetness; just a pinch goes a long way.
• Warm Water – Hydrates the dry ingredients and helps create a smooth batter.
• Sugar – Adds a hint of sweetness for the crumpets; feel free to omit for a less sweet option.
• Apple Cider Vinegar – Reacts with baking soda for maximum rise; in a pinch, lemon juice can be a great substitute.
• Olive Oil or Melted Butter (optional) – Brings richness and enhances flavor, making your crumpets even more delightful.
The wonderful thing about this Gluten Free Crumpets Recipe is that it’s not only easy to make but also adaptable, allowing you to infuse flavors that suit your taste buds perfectly. Enjoy your cooking adventure!
Step‑by‑Step Instructions for Gluten Free Crumpets Recipe
Step 1: Mix Dry Ingredients
In a large mixing bowl, whisk together 2 cups of gluten-free all-purpose flour, 1 teaspoon of baking powder, 1 teaspoon of baking soda, and ½ teaspoon of salt. This dry mix is crucial for achieving that fluffy texture in your gluten-free crumpets. Ensure all ingredients are well combined to form a uniform mixture.
Step 2: Combine Wet Ingredients
In a separate bowl, mix together 2 cups of warm water, 1 tablespoon of sugar, and 1 tablespoon of apple cider vinegar. Stir until the sugar dissolves completely. These wet ingredients will hydrate your dry mixture and create a batter. The warmth helps activate the leavening agents for a better rise.
Step 3: Combine Mixtures
Pour the wet ingredients into the bowl with the dry ingredients, stirring gently until you achieve a smooth batter. It’s okay if it’s a little runny; a thinner batter helps create those delightful holes in your crumpets! Make sure there are no dry lumps left in the mixture.
Step 4: Rest the Batter
Cover the bowl with a clean kitchen towel and let the batter rest at room temperature for about 30-50 minutes. During this time, delight in watching your batter bubble and rise, which is essential for the perfect texture in your gluten-free crumpets.
Step 5: Preheat the Pan
While your batter rests, heat a non-stick or cast-iron skillet over medium heat. If desired, add a touch of olive oil or melted butter to the pan to prevent sticking. Preheating your skillet ensures even cooking and a lovely golden crust on your crumpets.
Step 6: Use a Ring Mold
Once the skillet is hot, carefully place metal ring molds in the pan. These will help maintain the shape of your gluten-free crumpets as they cook, resulting in that classic round form we all love. Make sure your molds are lightly greased for easy removal later.
Step 7: Pour the Batter
Using a ladle, pour the batter into each ring mold until they are filled halfway. Leave some space for the batter to rise. At this point, you’ll want to turn your heat down to slightly below medium; this will help the crumpets cook thoroughly without burning.
Step 8: Cook the Crumpets
Let the crumpets cook for 5-7 minutes. You’ll know they’re ready to flip when you see bubbles forming on the top and the edges look set. These visual cues are essential to ensure they cook evenly and achieve that airy interior characteristic of gluten-free crumpets.
Step 9: Flip the Crumpets
Carefully flip the crumpets using tongs or a spatula and cook for an additional 2-3 minutes. They should be lightly golden brown on the bottom and have a firm structure. This will help ensure that they are cooked through and ready to serve.
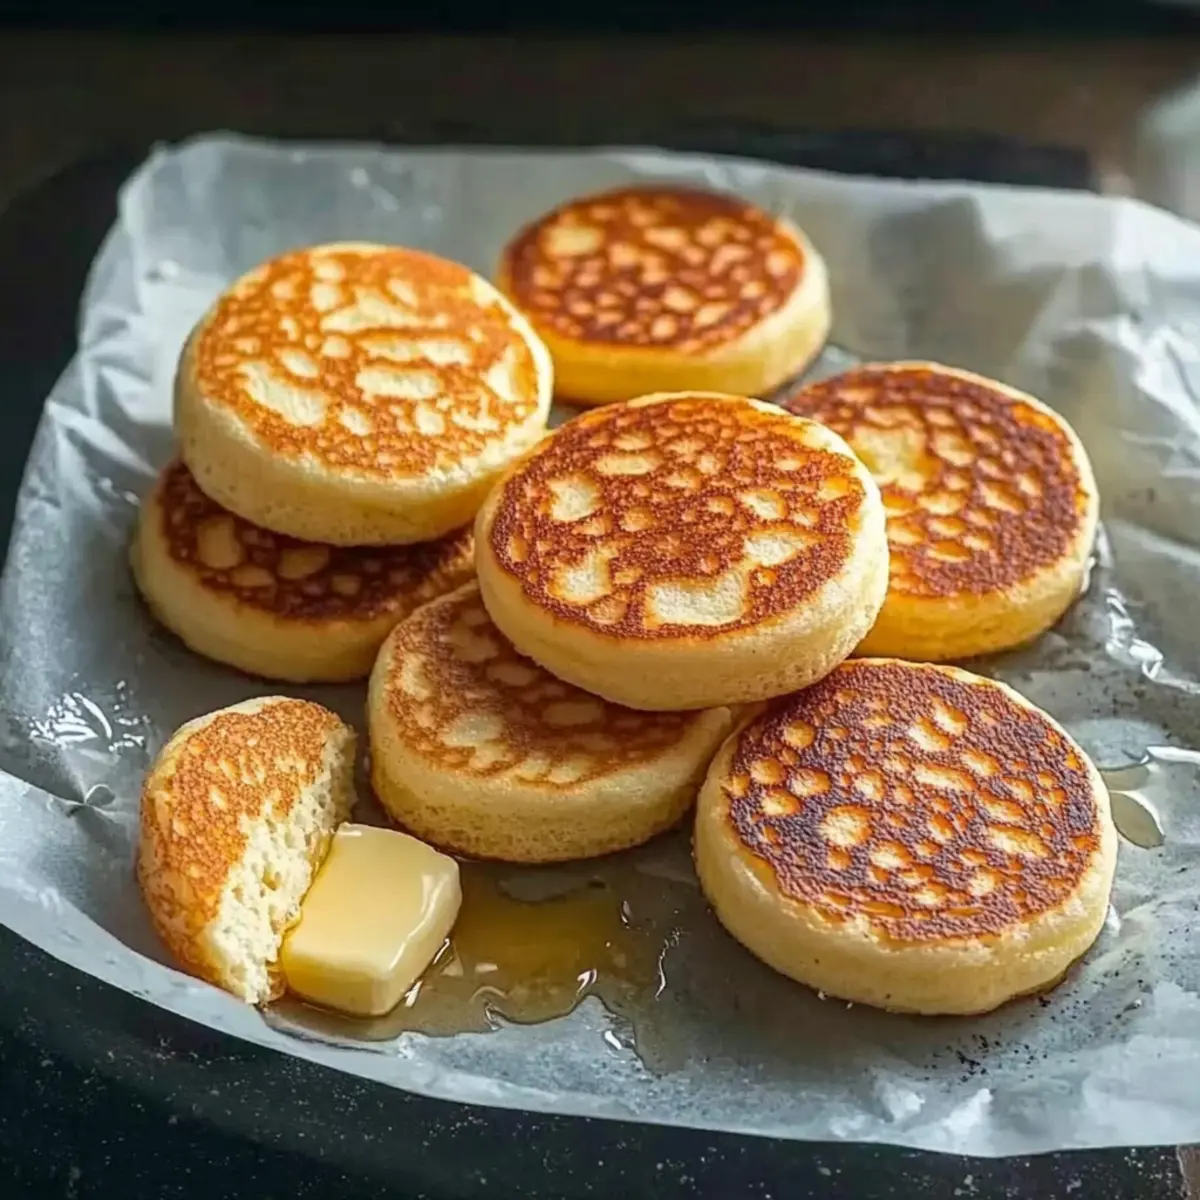
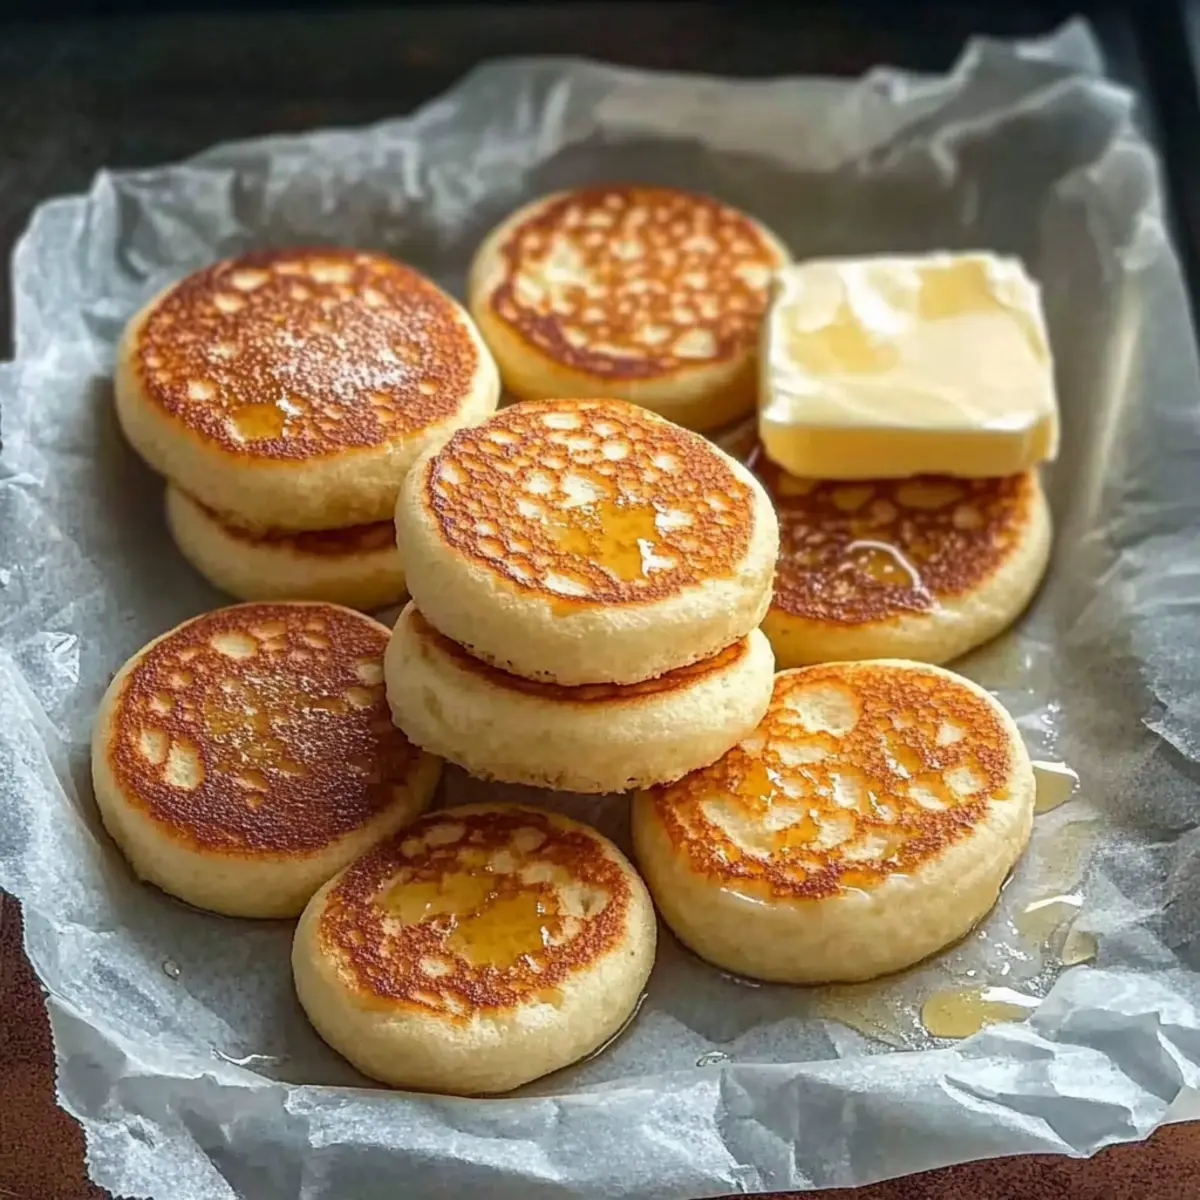
Step 10: Remove and Cool
Once cooked, carefully take the crumpets out of the ring molds and transfer them to a wire rack to cool slightly. Repeat the process with the remaining batter, keeping an eye on the heat to prevent over-browning. Enjoy the aroma of these freshly made gluten-free crumpets wafting through your kitchen!
Gluten Free Crumpets Recipe Variations
Feel free to get creative and make these delightful crumpets your own by trying some of these custom twists!
- Herb-Infused: Add dried herbs like rosemary or thyme for a fragrant, savory flavor. These crumpets are perfect as a side for soups or salads.
- Sweet Crumpets: Stir in chocolate chips or dried fruit like cranberries for a sweet breakfast treat. Drizzle with honey for an irresistible twist!
- Savory Crumpets: Mix in shredded cheese or spices such as garlic powder for an extra flavor kick. They pair beautifully with a fresh garden salad or a rich soup.
- Vegetable Crumpets: Incorporate finely grated zucchini or carrot into the batter for added moisture and nutrients. They’re a great way to sneak in veggies!
- Nutty Crumpets: Add chopped nuts like walnuts or pecans for a crunchy texture. Top with creamy peanut butter or almond butter for a delightful breakfast.
- Spicy Crumpets: Throw in a pinch of cayenne or paprika for a hint of heat. These crumpets can balance well with avocado or spicy spreads.
- Fruit-Infused: Puree bananas or applesauce into the batter to create naturally sweet crumpets. Enjoy them topped with a dollop of yogurt for a refreshing start to your day.
- Make-Ahead Batter: Prepare the batter the night before and let it rest in the refrigerator. Simply cook the crumpets in the morning for a hassle-free breakfast!
For a delicious pairing, try enjoying your crumpets with a refreshing Apple Quinoa Salad on the side, or perhaps a sweet drizzle of maple syrup for that perfect sweet-and-savory contrast!
Storage Tips for Gluten Free Crumpets
- Room Temperature: Keep crumpets at room temperature for up to 1 day if you plan to enjoy them soon. Store in a cool, dry place to retain texture.
- Fridge: Store leftover gluten-free crumpets in an airtight container in the fridge for up to 3 days. This helps maintain their moisture and flavor.
- Freezer: For longer storage, freeze crumpets individually wrapped in plastic wrap for up to 2 months. This keeps them fresh and ready for a quick breakfast.
- Reheating: Reheat crumpets directly from the fridge or freezer. Toast until golden brown for a crispy outside and soft inside—perfection with your favorite spreads!
Make Ahead Options
These Gluten Free Crumpets are perfect for busy mornings, allowing you to prep in advance for a quick breakfast option! You can prepare the batter and refrigerate it for up to 24 hours; this overnight rest helps develop flavor and texture. Simply combine your dry and wet ingredients, mix until smooth, and cover the bowl with plastic wrap before placing it in the fridge. When you’re ready to serve, just heat your skillet and follow the cooking instructions as usual. To maintain quality, be sure to give the batter a gentle stir before pouring it into the molds, as some settling may occur. You’ll enjoy delightful, fluffy crumpets with minimal morning effort!
What to Serve with Gluten Free Crumpets
The delightful texture and flavor of these crumpets create a perfect foundation for a memorable breakfast experience.
-
Creamy Avocado Spread: The richness of avocado pairs beautifully, adding a smooth, buttery element that contrasts with the crumpets’ crisp edges. Top with a sprinkle of salt and chili flakes for a flavor boost.
-
Sweet Honey Drizzle: A touch of honey offers a natural sweetness that enhances the warm flavors of the crumpets, creating a comforting combination with each bite.
-
Fresh Berries and Whipped Cream: Juicy berries bring a burst of freshness, while a dollop of whipped cream transforms your crumpets into a comforting dessert. This pairing not only appeals to your taste buds but adds a pop of color to your table.
-
Savory Egg Omelet: A fluffy omelet filled with veggies or cheese complements the crumpets perfectly, creating a hearty breakfast option that keeps you satisfied all morning.
-
Smoked Salmon & Cream Cheese: For a sophisticated twist, layer cream cheese and smoked salmon on top. The salty, smoky flavors enhance the lightness of the crumpets, making it an elegant brunch option.
-
Refreshing Herbal Tea: A cup of warm herbal tea acts as a perfect beverage, balancing the rich flavors of your meal while providing a calming start to your day.
-
Homemade Jam: Slather your crumpets with a spoonful of homemade jam, whether it’s tart berry or sweet peach. The fruity spread elevates the experience, combining textures and flavors for a delightful bite.
Expert Tips for Gluten Free Crumpets
- Rest is Key: Allow the batter to rest for at least 30-50 minutes. This helps create those precious bubbles, ensuring your crumpets are light and fluffy.
- Select the Right Flour: Use a gluten-free all-purpose flour blend that contains xanthan gum for optimal texture. Avoid blends that may lead to dense crumpets.
- Temperature Matters: Keep an eye on your cooking heat. Adjust it as needed to avoid over-browning while ensuring the inside cooks thoroughly in your gluten-free crumpets.
- Greasing Tools: Lightly grease your ring molds to prevent sticking. If you find them tough to remove, a little extra oil or butter can work wonders next time.
- Experiment and Adapt: Don’t hesitate to customize your crumpets! Adding flavors like herbs or cheese can elevate this gluten-free crumpets recipe to new heights.
Gluten Free Crumpets Recipe FAQs
What kind of gluten-free flour should I use?
I recommend using a gluten-free all-purpose flour blend that includes xanthan gum. This ingredient helps provide the structure and elasticity needed for that perfect crumpet texture. Avoid blends that don’t contain xanthan gum, as they may result in denser crumpets.
How long can I store leftover crumpets?
You can store leftover gluten-free crumpets in an airtight container in the fridge for up to 3 days. For optimal flavor, reheat them in a toaster before serving. If you want to keep them longer, freezing is a great option!
Can I freeze gluten-free crumpets?
Absolutely! To freeze gluten-free crumpets, wrap each one individually in plastic wrap, making sure they’re well sealed. Place them in a freezer-safe bag or airtight container, and freeze for up to 2 months. When you’re ready to enjoy them, simply toast them straight from the freezer until they’re heated through and crispy.
What should I do if my crumpets aren’t cooking through?
If you find your crumpets aren’t cooking through, make sure to adjust your cooking heat. Sometimes, reducing the heat slightly can ensure they cook evenly without burning. Additionally, allow them to cook for a little longer until they show bubbles on the surface and feel firm to the touch. It’s all about finding that sweet balance!
Are these crumpets safe for people with allergies?
While the gluten-free crumpets recipe itself is gluten-free, always double-check your ingredient labels for potential allergen cross-contamination. Ingredients like baking powder can sometimes contain gluten or other allergens, so it’s essential to ensure they are certified gluten-free.
How can I customize the flavor of these crumpets?
The beauty of this gluten-free crumpets recipe lies in its versatility! You can mix in herbs for a savory twist or add chocolate chips or dried fruits for a delightful sweet variation. Be adventurous—try different combinations to find your perfect flavor!
Gluten Free Crumpets Recipe: Light, Fluffy Breakfast Bliss
Ingredients
Equipment
Method
- In a large mixing bowl, whisk together flour, baking powder, baking soda, and salt.
- In a separate bowl, mix together warm water, sugar, and apple cider vinegar.
- Pour the wet ingredients into the bowl with the dry ingredients, stirring gently until smooth.
- Cover the bowl and let the batter rest at room temperature for about 30-50 minutes.
- Heat a non-stick skillet over medium heat and optionally add oil or butter.
- Place metal ring molds in the pan and ensure they are lightly greased.
- Using a ladle, pour the batter into each mold until filled halfway.
- Cook the crumpets for 5-7 minutes until bubbles form on top.
- Carefully flip the crumpets and cook for an additional 2-3 minutes.
- Remove from molds and transfer to a wire rack to cool slightly.
Leave a Reply