
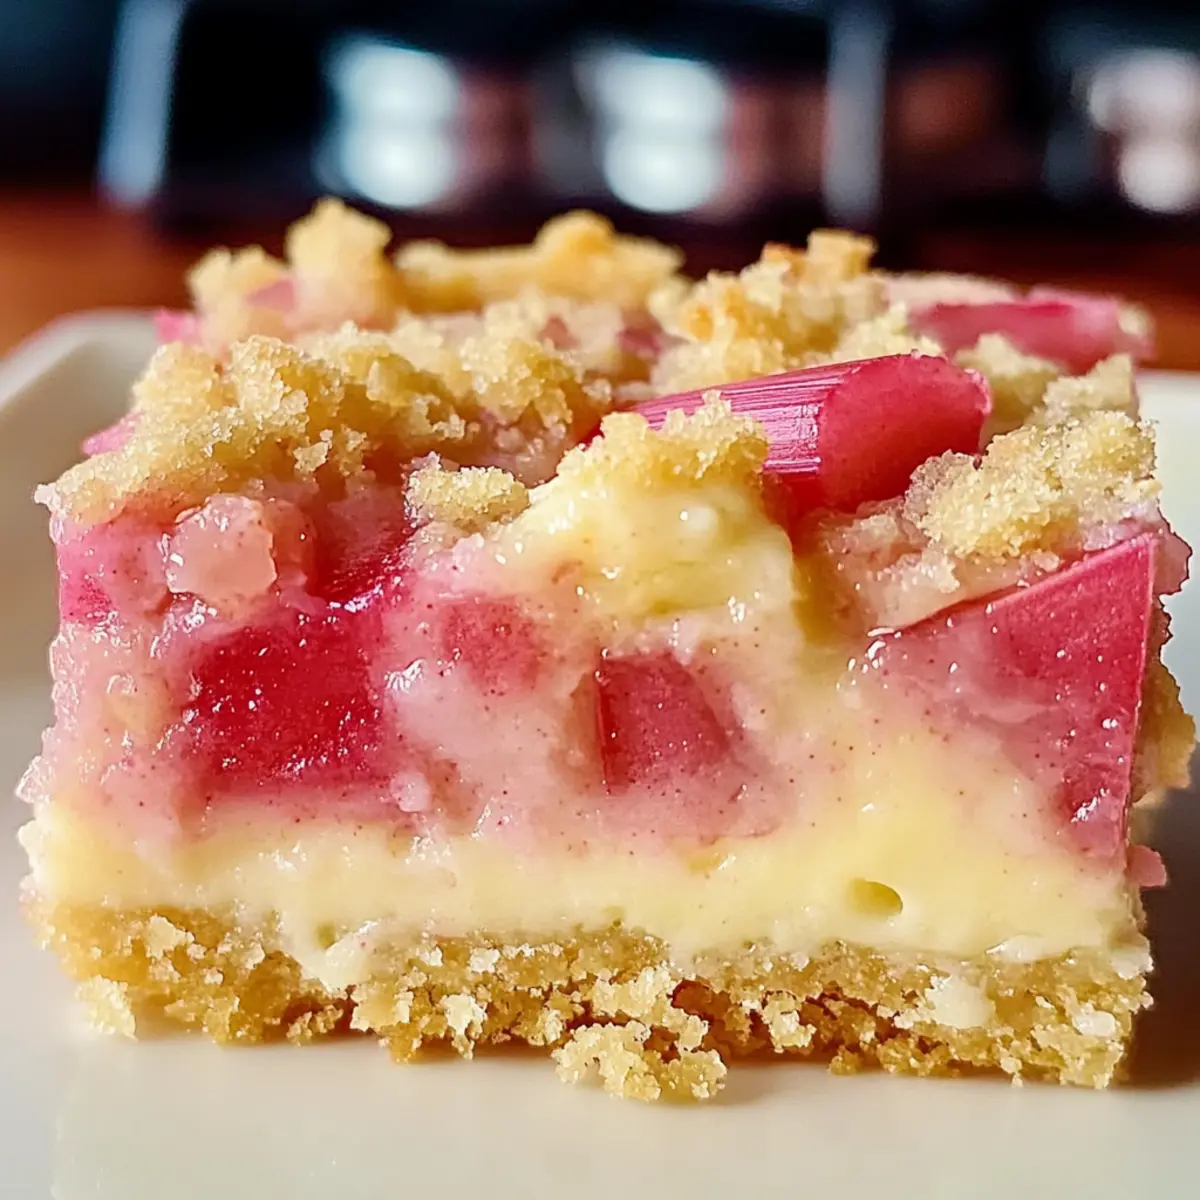
Spring always brings a wave of nostalgia, and for me, it’s embodied in the radiant blush of rhubarb gracing the farmers’ market stalls. I couldn’t resist crafting my Rhubarb Dream Bars—a delightful dessert that harmonizes the tangy brightness of fresh rhubarb with a creamy, custard-like top layer, all cradled by a buttery shortbread crust. With just six simple ingredients, this recipe guarantees ease and comfort, making it a perfect choice for gatherings or cozy afternoons at home. Plus, they can be made gluten-free, allowing everyone to enjoy this timeless treat! So, are you ready to infuse your baking with a little springtime magic?
Why Are Rhubarb Dream Bars So Special?
Simplicity at Its Finest: With just six ingredients, these bars are easy to whip up, making them perfect even for novice bakers!
Nostalgic Flavor: The classic combination of tangy rhubarb and a creamy custard topping evokes warmth and fond memories.
Versatile Options: Feel free to customize your bars—swap the rhubarb for strawberries or add nuts for a delightful crunch.
Gluten-Free Friendly: Using a gluten-free flour blend makes these Rhubarb Dream Bars accessible to everyone, so nobody misses out on this spring treat.
Crowd-Pleasing Delight: Perfect for family gatherings or cozy get-togethers; these bars are sure to impress your guests and become a recipe to share!
For a deeper dive into the delectable world of desserts, check out these delightful Brown Butter Bars that might just become your new favorite!
Rhubarb Dream Bars Ingredients
• To create these delightful Rhubarb Dream Bars, gather the following ingredients:
For the Crust
• All-Purpose Flour – Adds structure to the crust; use gluten-free 1:1 flour blend for a gluten-free version.
• Powdered Sugar – Sweetens and lightens the crust, giving it a delightful texture.
• Butter – Must be cold and cubed to ensure a flaky shortbread crust.
For the Filling
• Eggs – Essential for binding the ingredients and creating a creamy filling.
• Granulated Sugar – Sweetens the filling; feel free to adjust the amount to your taste.
• Salt – Enhances flavor and balances the sweetness in the filling.
• Diced Rhubarb – The star of the show, this adds a tangy and vibrant flavor; fresh or thawed frozen rhubarb works.
• Ground Cinnamon (Optional) – Adds a cozy warmth; use this if you want a little extra flavor.
Step‑by‑Step Instructions for Rhubarb Dream Bars
Step 1: Preheat and Prepare
Begin by preheating your oven to 325°F (160°C). While the oven warms, grease a 9×13 inch baking pan with butter or non-stick spray to ensure easy removal. This crucial first step sets the stage for your Rhubarb Dream Bars, making sure the crust will come out perfectly.
Step 2: Make the Crust Mixture
In a large mixing bowl, combine 2 cups of all-purpose flour and ½ cup of powdered sugar. Using a pastry cutter or your fingers, cut in 1 cup of cold, cubed butter until the mixture resembles coarse crumbs. Once combined, press the crumbly mixture firmly into the bottom of the prepared pan, creating an even layer for the crust.
Step 3: Bake the Crust
Place the crust in the preheated oven and bake for 15 minutes, or until it turns lightly golden. Keep an eye on it; the edges will begin to brown slightly, signaling that it’s ready to provide a sturdy base for your Rhubarb Dream Bars.
Step 4: Prepare the Filling
While the crust is baking, take the same bowl and lightly beat 4 large eggs. Stir in 2 cups of granulated sugar, ½ cup of flour, 1 teaspoon of salt, and ground cinnamon if desired. Mix until everything is well combined, forming a creamy filling for your bars.
Step 5: Incorporate the Rhubarb
Gently fold in 4 cups of diced rhubarb to your egg mixture. Make sure to distribute the rhubarb evenly throughout the filling. This vibrant fruit will add the signature tanginess to your Rhubarb Dream Bars, so be thorough without overmixing.
Step 6: Pour Over the Crust
After the crust has finished baking, remove it from the oven and allow it to cool for a few minutes. Carefully pour the rhubarb filling over the warm crust, spreading it evenly. This layering creates a delightful combination of textures and flavors that will develop beautifully as it bakes.
Step 7: Bake the Bars
Return the pan to the oven and bake the Rhubarb Dream Bars for an additional 60 minutes. You’ll know they’re done when the center is set and no longer jiggles when shaken. The top will also turn a lovely golden hue, indicating a perfect finish.
Step 8: Cool and Slice
Once baked, remove the pan from the oven and let it cool completely at room temperature. This cooling period is vital for the bars to firm up, making it easier to slice into neat squares. Patience will reward you with clean edges!
Step 9: Serve and Enjoy
Once cooled, cut into squares and serve your delightful Rhubarb Dream Bars chilled or at room temperature. For an extra touch, consider serving them with a dollop of whipped cream. These bars are sure to be a hit at any gathering!
Expert Tips for Rhubarb Dream Bars
-
Room Temperature Eggs: Using eggs at room temperature helps create a smoother filling, ensuring even mixing and texture throughout the Rhubarb Dream Bars.
-
Cool Completely: Allowing the bars to cool completely before slicing is crucial. This ensures they firm up properly, allowing for clean edges and prettier presentation.
-
Texture Check: Don’t skip checking the center; it should be set and no longer jiggly. If it appears undercooked, bake a little longer to achieve that custard-like consistency.
-
Customize Wisely: Feel free to swap rhubarb for strawberries or add a sprinkle of nuts on top. Just be mindful that it may alter the texture and flavor balance of the Rhubarb Dream Bars.
-
Storage Smartly: These bars keep well! Store leftovers in an airtight container in the fridge for 4-5 days or freeze them for longer enjoyment; simply thaw to serve.
What to Serve with Rhubarb Dream Bars?
Looking to elevate your dessert experience? Let’s explore some delightful pairings that will complement the bright, creamy flavors of your Rhubarb Dream Bars.
- Whipped Cream: A dollop of light and airy whipped cream adds a rich creaminess that beautifully contrasts the tangy filling.
- Vanilla Ice Cream: This classic pairing brings a delightful creaminess that balances the tartness of the rhubarb. Enjoy it while the bars are slightly warm!
- Fresh Berries: A mix of strawberries and blueberries offers a vibrant burst of color and flavor. Their sweetness enhances the dessert while adding a refreshing touch.
- Mint Tea: This soothing drink complements the tangy flavors beautifully, creating a refreshing end to your meal or afternoon snack.
- Lemonade: The citrusy zing of fresh lemonade livens up your dessert experience, making it a perfect companion for spring gatherings.
- Chocolate Drizzle: A light drizzle of chocolate adds an unexpected gourmet twist, enhancing both the flavor and visual appeal of the Rhubarb Dream Bars.
With these delightful options, you can create a well-rounded experience that celebrates the wonderful flavors of spring and makes every bite of your Rhubarb Dream Bars even more enjoyable!
Make Ahead Options
These Rhubarb Dream Bars are a fantastic choice for those who want to save time and make delicious desserts ahead of time! You can prepare the crust up to 24 hours in advance by mixing the flour, powdered sugar, and butter, then pressing it into the pan. Store the crust in the refrigerator, covered tightly to maintain freshness. The filling can also be mixed and stored in an airtight container for up to 3 days in the fridge, keeping the flavors vibrant. When you’re ready to bake, simply pour the filling over the crust and proceed with the baking instructions. This way, you can enjoy the same delightful flavors without the last-minute rush!
How to Store and Freeze Rhubarb Dream Bars
Fridge: Store the Rhubarb Dream Bars in an airtight container for up to 4-5 days. Make sure they are completely cooled first to maintain freshness and flavor.
Freezer: For longer storage, freeze the bars in a single layer, wrapped tightly in plastic wrap, for up to 3 months. Thaw in the fridge before serving for the best texture.
Layering: If stacking your bars, place parchment paper between the layers to prevent sticking, ensuring each piece remains intact and delicious.
Reheating: If you prefer your bars slightly warm, gently reheat individual squares in the microwave for 10-15 seconds. Enjoy them chilled or warmed up as a delightful treat!
Rhubarb Dream Bars: Delicious Variations
Feel free to play with flavors and textures to make these Rhubarb Dream Bars uniquely yours, adding delightful twists and alternatives!
-
Dairy-Free: Substitute butter with coconut oil and use plant-based milk in the filling for a dairy-free treat. Your bars will still be creamy and delicious!
-
Nutty Crunch: Add ½ cup chopped nuts like almonds or pecans to the crust before baking, enhancing both texture and flavor. It gives an exciting contrast to the smooth filling!
-
Berry Fusion: Swap rhubarb with chopped strawberries or raspberries for a sweeter, fruit-forward experience. This variation will brighten up the bar’s flavor profile beautifully.
-
Cream Cheese Swirl: Blend in 4 oz of softened cream cheese into the filling for an indulgent twist. It adds richness and a tangy kick that pairs beautifully with the rhubarb.
-
Spicy Zing: Incorporate a dash of ginger or cardamom into the filling for a warm, spicy note. This addition brightens the bars while providing an exotic flair that’s sure to impress.
-
Cinnamon Boost: Use 1 tablespoon of ground cinnamon instead of just 1 teaspoon in the filling for an extra cozy flavor. It will evoke the warmth and comfort of home baking in every bite.
-
Zest it Up: Grate in some lemon or orange zest for a refreshing citrusy brightness. This little tweak can elevate the tanginess of the rhubarb and enhance the overall flavor!
-
Greek Yogurt Addition: Substitute some granulated sugar with Greek yogurt in the filling for added creaminess while reducing sweetness. It’s a healthier way to indulge in these delightful bars.
For even more delicious recipes, be sure to explore these tempting Brown Butter Bars that might sweep you off your feet!
Rhubarb Dream Bars Recipe FAQs
How do I select ripe rhubarb for my bars?
Absolutely! When choosing rhubarb, look for firm stalks that are bright in color—think deep pink or vibrant green. Avoid wilted or overly large stalks, as they may be tough and not as flavorful. If you spot any dark spots or signs of browning, it’s best to skip those. Fresh rhubarb delivers the best tangy punch!
What’s the best way to store leftover Rhubarb Dream Bars?
You’ll want to store your bars in an airtight container in the fridge, where they’ll stay fresh for up to 4-5 days. Just make sure they’re completely cooled before sealing. If you’re stacking them, I recommend placing parchment paper between layers to avoid any sticking—this is a little trick I often use!
Can I freeze Rhubarb Dream Bars, and how?
Absolutely! To freeze your Rhubarb Dream Bars, first ensure they are cooled completely. Then, wrap each bar tightly in plastic wrap and place them in a freezer-safe container. They can be stored in the freezer for up to 3 months. When you’re ready to enjoy, simply thaw them in the fridge overnight for the best texture.
What if my bars don’t set properly?
If your Rhubarb Dream Bars haven’t set and still jiggle in the center after baking, don’t fret! This can sometimes happen based on oven calibration. Just return them to the oven and bake for an additional 5-10 minutes, checking periodically. The center should be firm and springy when done. Remember, patience is key for achieving that perfect custard-like consistency!
Are Rhubarb Dream Bars gluten-free?
Yes, they can be! Simply substitute all-purpose flour with a gluten-free 1:1 flour blend. This alternative will create a deliciously similar texture while accommodating gluten sensitivities. Just ensure your other ingredients, like the baking powder if used, are gluten-free to keep the recipe safe for everyone.
Rhubarb Dream Bars: Creamy, Tangy Delights You’ll Love
Ingredients
Equipment
Method
- Preheat your oven to 325°F (160°C) and grease a 9x13 inch baking pan.
- In a large mixing bowl, combine 2 cups of all-purpose flour and ½ cup of powdered sugar. Cut in 1 cup of cold, cubed butter until the mixture resembles coarse crumbs.
- Press the crumbly mixture firmly into the bottom of the prepared pan.
- Bake for 15 minutes until lightly golden.
- Lightly beat 4 large eggs. Stir in 2 cups of granulated sugar, ½ cup of flour, 1 teaspoon of salt, and ground cinnamon if desired.
- Gently fold in 4 cups of diced rhubarb.
- Pour the rhubarb filling over the warm crust, spreading evenly.
- Bake for an additional 60 minutes until the center is set and golden on top.
- Allow the bars to cool completely before slicing.
- Cut into squares and serve chilled or at room temperature.
Leave a Reply